If your above-ground pool wall buckles, start by draining some water to reduce pressure and check the extent of damage. Carefully support the bowed section with braces or support beams if needed. You may need to gently straighten minor bends or replace severely damaged panels. Guarantee the water chemistry is properly balanced before refilling, and regularly inspect the wall during the process. For detailed steps and tips, continue exploring to learn how to repair your pool effectively.
Key Takeaways
- Drain the pool partially to reduce pressure and access the buckled wall safely.
- Assess the severity of the buckling and support the wall with braces or supports if needed.
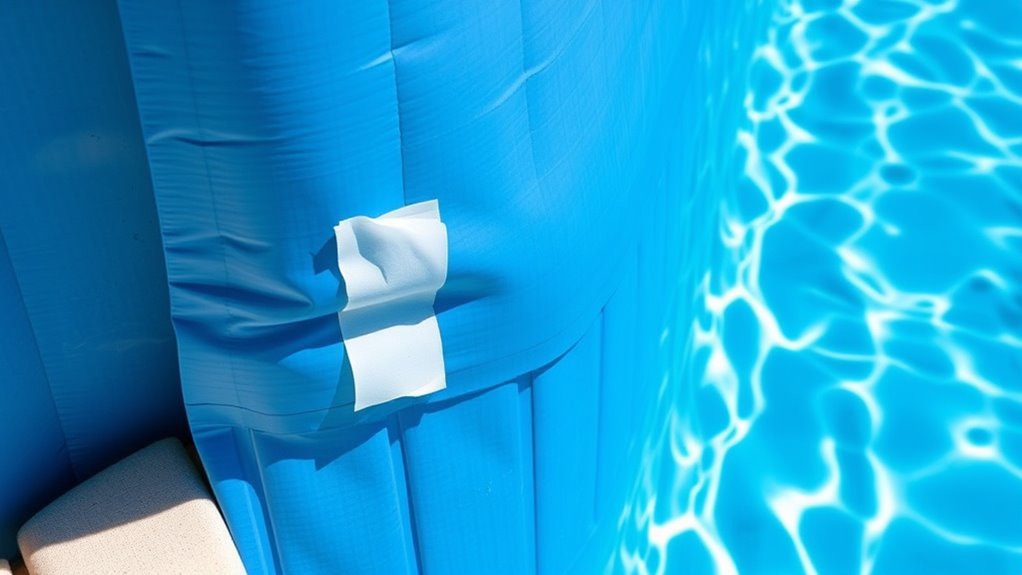
- Straighten minor bends manually and remove damaged liner sections for better access.
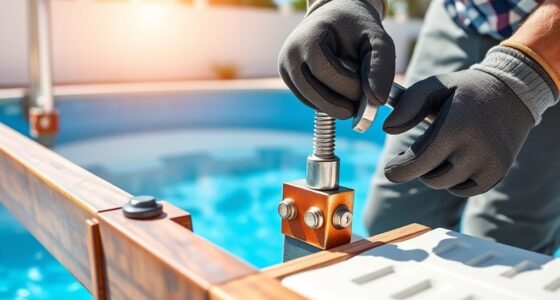
- Replace or repair severely damaged wall panels with proper fitting and secure fastening.
- Reinstall the liner, refill gradually while monitoring water chemistry, and inspect for stability.
If your above-ground pool wall is buckling, acting quickly can prevent further damage and make sure your pool stays safe and functional. The first step is to assess the severity of the buckling. If the damage is minor, you might be able to fix it yourself without replacing the entire wall. However, if the buckling is extensive, you’ll need to consider more extensive repairs, including pool liner replacement and reinforcing the wall. Before diving into repairs, verify your pool’s water chemistry is properly balanced. Correct chemical levels prevent corrosion and deterioration of the pool’s materials, which can contribute to wall issues over time. Test your water for pH, alkalinity, and stabilizer levels, and adjust as needed to maintain ideal balance. Proper chemical balancing also helps the pool liner stay in good condition, reducing the risk of leaks or further damage.
Once your water is balanced, drain the pool enough to access the buckled section of the wall. Drainage helps reduce pressure on the wall, making it easier to realign or reinforce. Carefully remove the liner from the affected area if necessary, which might involve pulling back sections of the liner or cutting it away if it’s damaged. If the wall is bent inward but still structurally sound, you can try to straighten it by hand or with gentle tools. For more severe buckling, you might need to temporarily brace the wall or use support beams to hold it in place while you work.
Drain the pool to access and straighten the buckled wall safely.
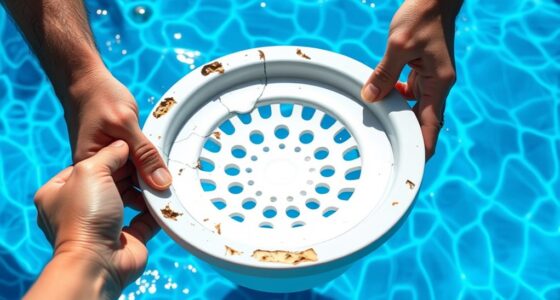
If the wall is severely damaged or bent beyond repair, replacing the entire wall panel may be necessary. This process often involves disassembling the section, removing the damaged panel, and installing a new one. During this process, it’s critical to verify the new panel fits perfectly and is securely fastened. After fixing the wall, check the liner for tears or damage, and replace it if needed. Installing a new liner can help prevent future issues and improve the overall integrity of your pool.
Finally, refill the pool gradually, maintaining proper chemical levels throughout the refilling process. As you fill, keep an eye on the water chemistry to prevent imbalances that could compromise your repair work. Regularly inspect the wall to ensure it stays straight and secure. Performing these steps diligently helps you restore your pool’s safety and prolongs its lifespan, saving you money and effort in the long run.
Frequently Asked Questions
How Can I Prevent Future Wall Buckling in My Pool?
To prevent future wall buckling, you should focus on pool reinforcement and wall stabilization. Regularly inspect your pool for signs of stress and reinforce weak areas with additional supports. Confirm proper water levels to avoid pressure imbalances, and consider installing wall braces or stabilizers if needed. Maintaining balanced chemical levels also helps keep the pool structure strong, reducing the risk of buckling caused by pressure or corrosion.
What Tools Are Essential for DIY Pool Wall Repairs?
Think of your toolbox as a surgeon’s arsenal. You’ll need a pool wall reinforcement kit for strengthening weak spots, along with a DIY repair kit that includes patch materials, adhesive, and a sander. A utility knife, pliers, and a measuring tape are essential for precise work. Don’t forget a level to guarantee your repairs are even. These tools help you tackle repairs efficiently and restore your pool’s integrity.
How Long Does a Typical Repair Take?
A typical repair takes about 2 to 4 hours, depending on the extent of the buckling. You’ll first need to reinforce the pool wall to prevent further damage, which might take around an hour. Afterward, you’ll focus on chemical balancing to guarantee water quality. Properly following these steps helps your repair last longer, so take your time and double-check your work for the best results.
Are There Any Safety Precautions I Should Follow?
Sure, because risking a splashy disaster is the way to go, right? When you tackle pool maintenance, always wear safety equipment like gloves and goggles—trust me, pool water isn’t the only thing that can splash back. Keep a first aid kit nearby, and don’t forget to turn off the pump before starting. Stay alert, follow instructions carefully, and you’ll avoid turning your pool project into a slip-and-slide stunt.
Can I Repair the Wall Without Draining the Pool?
You can attempt a repair without draining the pool, but it’s not always ideal. First, perform a thorough structural assessment of the wall to identify the extent of buckling. Use pool wall reinforcement techniques to stabilize the area temporarily. Keep in mind, a full drain often provides better access for a more effective, long-lasting fix. Always prioritize safety and consider consulting a professional if you’re unsure about the structural integrity.
Conclusion
Remember, addressing a buckling pool wall promptly can save you money and prevent further damage. Regular inspections help catch issues early—did you know that over 60% of pool repairs are due to neglecting early signs? By doing DIY repairs, you not only extend your pool’s lifespan but also enjoy your summer without costly professional fixes. Stay vigilant, act quickly, and enjoy a safe, fun swimming season all year round.