
To refurbish your spa cabinet yourself, start by evaluating its condition and planning your design. Gather the necessary tools like sandpaper, primer, paint or stain, and safety gear. Prepare your workspace by protecting surrounding surfaces and removing old finishes. Sand, clean, and repair any damage before applying primer and your chosen finish. Add decorative touches if desired, then seal the surface for protection. Continue exploring step-by-step tips to achieve a professional look and long-lasting results.
Key Takeaways
- Assess the cabinet’s condition, including damage, finish, and hardware, to plan appropriate repairs and refinishing steps.
- Gather essential tools, repair materials, and safety gear to ensure a safe and effective refurbishment process.
- Protect surrounding surfaces and workspace with drop cloths and tape to prevent dust, paint, and debris from spreading.
- Sand surfaces smoothly, remove old paint or varnish, and apply primer before painting or staining for a professional finish.
- Seal the final surface with a high-quality protective coating and perform regular maintenance to extend durability.

Sanding Detailer Finishing Kit, Finer Grits, 24 Piece
24 Piece Finishing Kit
As an affiliate, we earn on qualifying purchases.
As an affiliate, we earn on qualifying purchases.
Assessing Your Spa Cabinet’s Condition and Planning Your Design
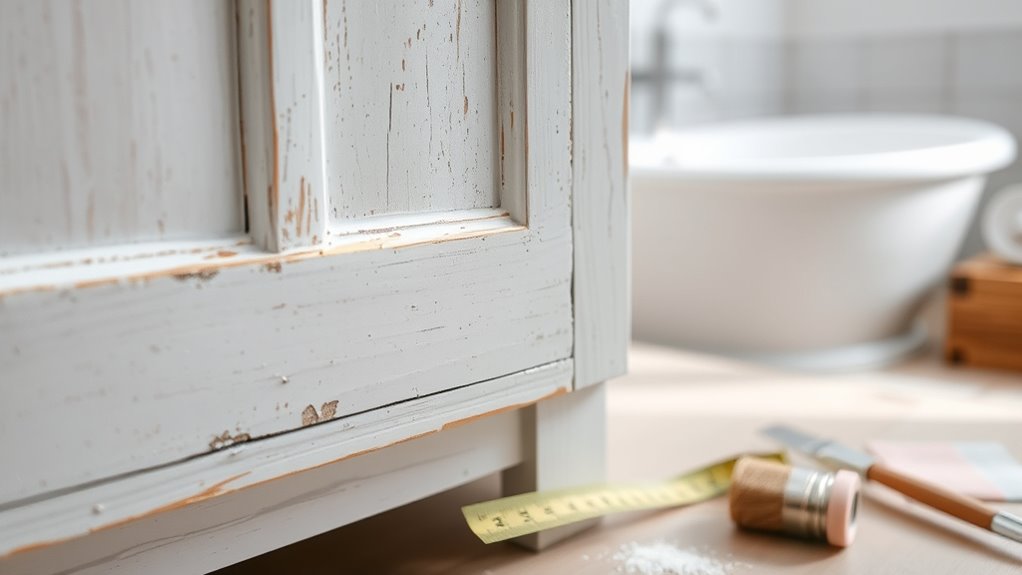
Before you begin refurbishing your spa cabinet, it’s essential to evaluate its current condition carefully. Inspect for signs of damage, such as cracks, warping, or rot. Check the hardware—are hinges and handles working smoothly, or do they need replacing? Assess the finish; is it peeling, faded, or stained? Take note of areas that require sanding or stripping. Consider your desired look and functionality—do you want a modern, sleek design or a rustic vibe? Measure your cabinet precisely to plan for any modifications or added features. Planning your design beforehand helps you identify what repairs are necessary and what materials you’ll need. This step ensures your refurbishment is focused, efficient, and tailored to your vision. Additionally, understanding the importance of secure storage is crucial for protecting your investments during the refurbishment process. Incorporating proper lighting can also enhance both the functionality and aesthetic appeal of your finished project. Exploring safety precautions is also vital to ensure your refurbishment process remains safe and hazard-free. Incorporating knowledge of essential oils for various health concerns can inspire creative storage solutions for your spa cabinet, helping keep your oils organized and accessible. Moreover, utilizing AI-driven tools can assist in designing custom storage options that maximize space and efficiency.

Varathane Premium Fast Dry Wood Stain Spray | 1 Hour Dry Time | 1 Coat Color | Interior Wood Stain | Furniture, Cabinets, Doors, Trim | 10.25 oz | Cognac
Premium spray wood stain provides quick, even coverage on interior furniture, cabinets, doors and more
As an affiliate, we earn on qualifying purchases.
As an affiliate, we earn on qualifying purchases.
Gathering Tools and Materials for the Refurbishment
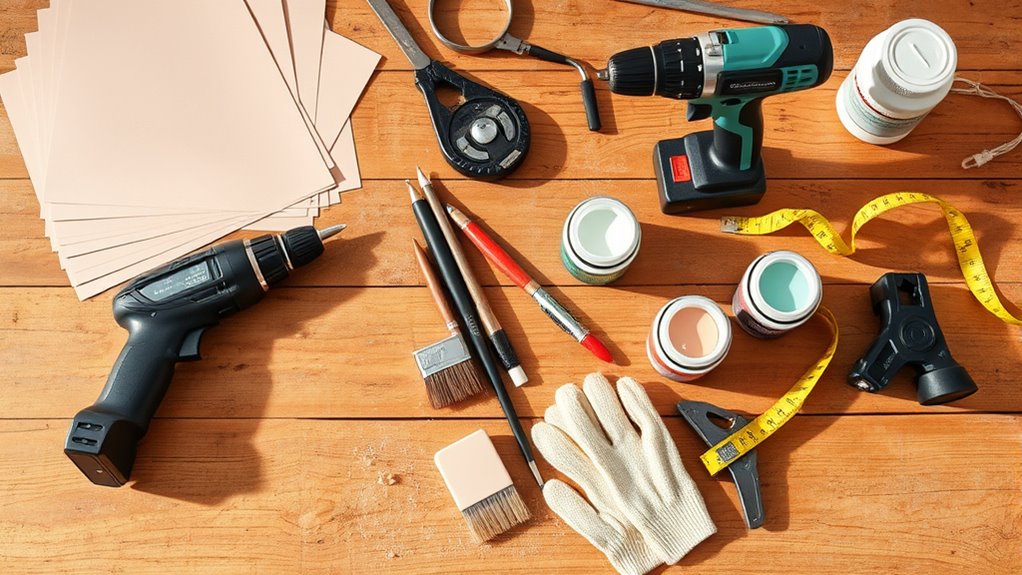
To successfully refurbish your spa cabinet, you need to gather the right tools and materials, ensuring you’re prepared for each step of the process. Start with basic supplies like a screwdriver set, sandpaper or a sanding block, and a putty knife for surface prep. You’ll also need cleaning products such as a degreaser and a cloth for thorough cleaning. For repairs, gather wood filler or epoxy, depending on damage. For painting or staining, choose high-quality primer, paint, or stain suitable for outdoor use. Don’t forget painter’s tape, drop cloths, and protective gear like gloves and masks. Having everything on hand before you start prevents delays and keeps your project running smoothly from start to finish. Additionally, considering proper surface preparation ensures long-lasting results and a professional finish. It’s also helpful to review furniture refinishing techniques to achieve a polished look. When working on your project, keeping in mind Hyundai Tuning principles can inspire innovative ideas for custom finishes and enhancements. Proper planning and gathering the necessary tools and materials can make all the difference in achieving a professional-looking refurbishment. Moreover, understanding juice cleansing benefits can motivate healthier lifestyle choices during your DIY project.

Pre-Taped Masking Film for Painting(2 Rolls) – 22" x 66'Painters Plastic Sheeting with Tape and Drape, Painters Drop Cloth for Automotive & Home, Cover for Walls/Floors/Windows/Cars Protection
【Masking Tape & Film 2 in 1 Convenience】This painter's plastic with tape is the cover for painting protection….
As an affiliate, we earn on qualifying purchases.
As an affiliate, we earn on qualifying purchases.
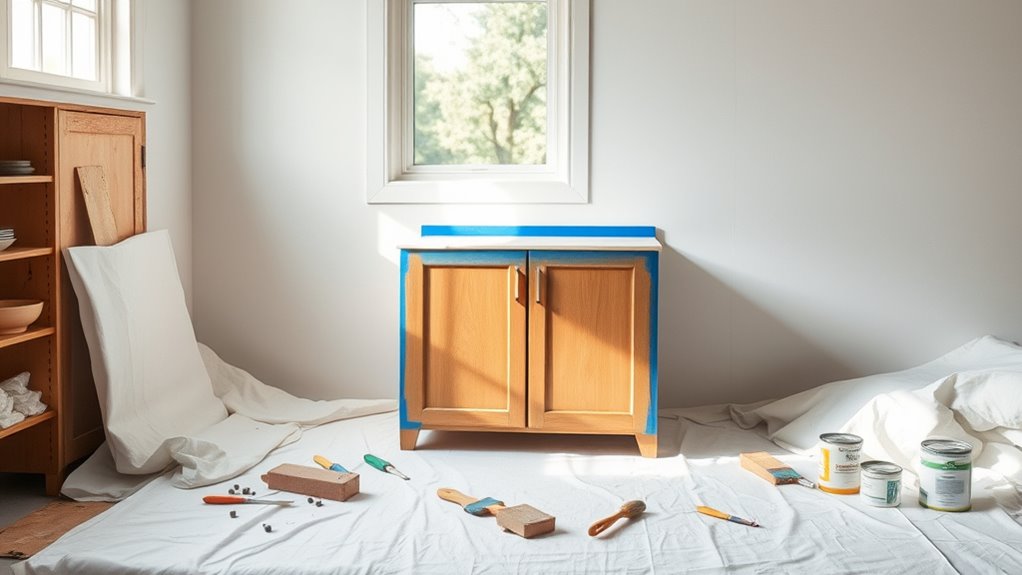
Preparing the Workspace and Protecting Surroundings
Start by clearing the area where you’ll work to prevent accidents and save time. Cover nearby surfaces with protective sheets to keep dust and paint splatters from causing damage. Don’t forget to gather your safety gear, like gloves and masks, to stay safe throughout the project. Creating a comfortable and organized workspace can also boost your productivity and make the refurbishing process more enjoyable. Additionally, understanding your privacy preferences and managing cookies can help ensure a focused and secure environment while working on your project. Considering the use of electric tools can further increase efficiency and ease during the refurbishing process. Incorporating proper ventilation can also improve air quality and safety during sanding and painting tasks. Being aware of grocery savings strategies might inspire you to budget wisely for any necessary supplies or tools for your project.
Clear the Area
Clearing the area is an essential first step to guarantee a smooth and safe refurbishing process. You want a clutter-free space to work efficiently and avoid accidents. Remove all items from around the spa cabinet, including tools, decor, and personal belongings. This creates room for movement and helps prevent damage. Use the table below to identify key areas to clear:
| Area to Clear | Items to Remove | Protective Measures |
|---|---|---|
| Top Surface | Towels, bottles | Cover with drop cloth |
| Surrounding Floor | Rugs, chairs | Pad with cardboard |
| Nearby Walls | Artwork, switches | Tape off edges |
| Inside Cabinet | Stored products | Empty contents |
Taking these steps ensures your workspace stays organized and protected throughout your project. Proper preparation helps maintain a clean environment, similar to the fresh and organized approach needed for gelato, or other DIY activities. Additionally, implementing protective measures can help prevent damage to surrounding surfaces, which is a key aspect of effective workspace management. Incorporating water-resistant materials in your workspace setup can further safeguard against accidental spills and moisture damage. Using proper ventilation and humidity control can also help maintain a safe environment during refurbishing.
Cover Adjacent Surfaces
Once you’ve cleared the immediate workspace, it’s important to safeguard surrounding surfaces from dust, paint splatters, or spills. Cover nearby furniture, countertops, and floors with drop cloths or old sheets. Use painter’s tape to secure protective coverings to edges, especially around trim and adjacent walls. This not only shields surfaces but also makes cleanup easier. If you’re working near delicate finishes or appliances, consider covering them with plastic sheeting. Keep in mind that dust and debris can spread quickly, so ensure all nearby items are adequately protected. Taking these precautions minimizes mess and prevents damage, saving you time during cleanup. Proper coverage creates a safer, cleaner environment, allowing you to focus on refurbishing your spa cabinet effectively. Additionally, understanding proper ventilation techniques can improve drying times and reduce airborne dust during your project. Engaging in space organization practices can also help maintain a tidy workspace, making your project more efficient. Being aware of cybersecurity vulnerabilities, even in home projects, reinforces the importance of safeguarding your digital information during ongoing online research or communications. Incorporating dust control measures can further reduce the spread of debris and keep your workspace cleaner.
Gather Safety Gear
Before you begin refurbishing your spa cabinet, it’s essential to gather the appropriate safety gear to protect yourself and your surroundings. Wear safety glasses to shield your eyes from dust, debris, or splashes of paint or chemicals. Put on a dust mask or respirator to avoid inhaling harmful fumes or particles, especially if sanding or using strong cleaners. Use gloves to protect your skin from harsh chemicals and splinters. Consider wearing long sleeves and pants to minimize skin exposure. Keep a fire extinguisher nearby if you’re working with flammable materials. Finally, make certain your workspace is well-ventilated to prevent inhaling fumes. Proper safety gear helps prevent injuries and keeps your project safe and efficient.
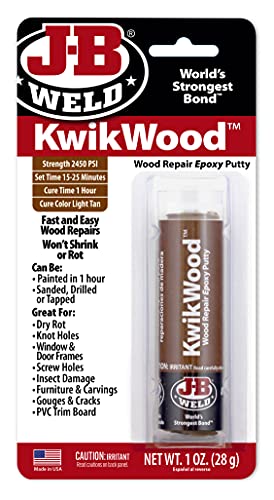
J-B Weld Tan KwikWood Wood Repair Epoxy Putty, 1 oz. Stick
J-B WELD KWIKWOOD: A hand mixable two part epoxy putty stick that is formulated to repair and rebuild…
As an affiliate, we earn on qualifying purchases.
As an affiliate, we earn on qualifying purchases.
Removing Old Finishes and Cleaning the Surface
To effectively refurbish your spa cabinet, you need to start by removing the old finishes and thoroughly cleaning the surface. First, use a chemical stripper or a scraper to carefully eliminate peeling paint or varnish. Follow the manufacturer’s instructions for safety and effectiveness. Once the old finish is removed, clean the surface with a mild detergent or a degreaser to eliminate dirt, grease, and residue. Rinse well with water and let it dry completely before moving on. Here’s a quick overview:
| Step | Details |
|---|---|
| Remove old finish | Use chemical stripper or scraper |
| Clean the surface | Apply mild detergent and rinse thoroughly |
| Dry completely | Ensure no moisture remains |
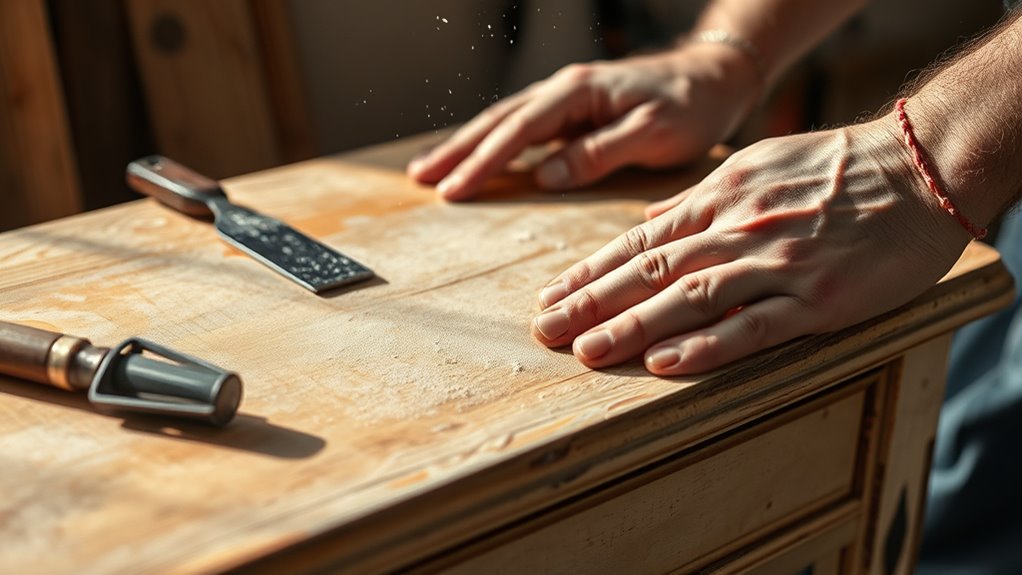
Sanding and Smoothing the Cabinet Surface

To get a smooth finish, you need to select the right sandpaper for your cabinet’s surface. Using proper techniques guarantees you remove imperfections without damaging the wood. When you master these steps, achieving a professional-looking result becomes much easier.
Choosing the Right Sandpaper
Choosing the right sandpaper is essential for achieving a smooth, professional finish on your cabinet. Start with a medium grit, like 120, to remove old paint or finish and smooth rough areas. If the surface has deep scratches or flaws, switch to a coarser grit, such as 80, to level the surface quickly. For a final smooth touch before finishing, use a fine grit like 220 or higher. Always match the grit to the task; coarser papers remove material faster, while finer grits provide a smoother surface. Keep in mind that using the wrong grit can either damage the wood or result in an uneven finish. Selecting the correct sandpaper guarantees your cabinet is properly prepared for staining or painting, delivering a polished look.
Proper Sanding Techniques
Proper sanding techniques are essential for achieving a smooth, even surface on your cabinet. Start by sanding with light, consistent pressure to avoid gouging the wood. Always move the sander in the direction of the grain to prevent scratches. Keep the sander flat against the surface and avoid tilting it, which can create uneven spots. Regularly check your progress and wipe away dust to see if you’ve removed all imperfections. Use finer grit sandpaper as you progress to refine the surface. Take your time, focusing on areas with rough patches or edges. Proper technique guarantees the surface is prepared for finishing, helping you achieve a professional-looking result. Remember, patience and steady hands are key to smooth, even sanding.
Achieving a Smooth Finish
Once you’ve completed sanding with the appropriate techniques, focus on achieving a flawless surface by smoothing out any remaining imperfections. Inspect the cabinet carefully, feeling for rough spots or bumps. If you notice imperfections, lightly sand those areas with fine-grit sandpaper (220 grit or higher). Use gentle, even strokes to avoid creating new scratches or uneven spots. Afterward, wipe down the surface with a damp cloth or tack cloth to remove dust and debris. This step is vital because any leftover dust can ruin your finish. Ensure the surface feels consistently smooth and clean before moving on to priming or painting. Taking your time here guarantees a sleek, professional-looking finish that enhances your cabinet’s overall appearance.
Applying Primer and Choosing Your Paint or Stain
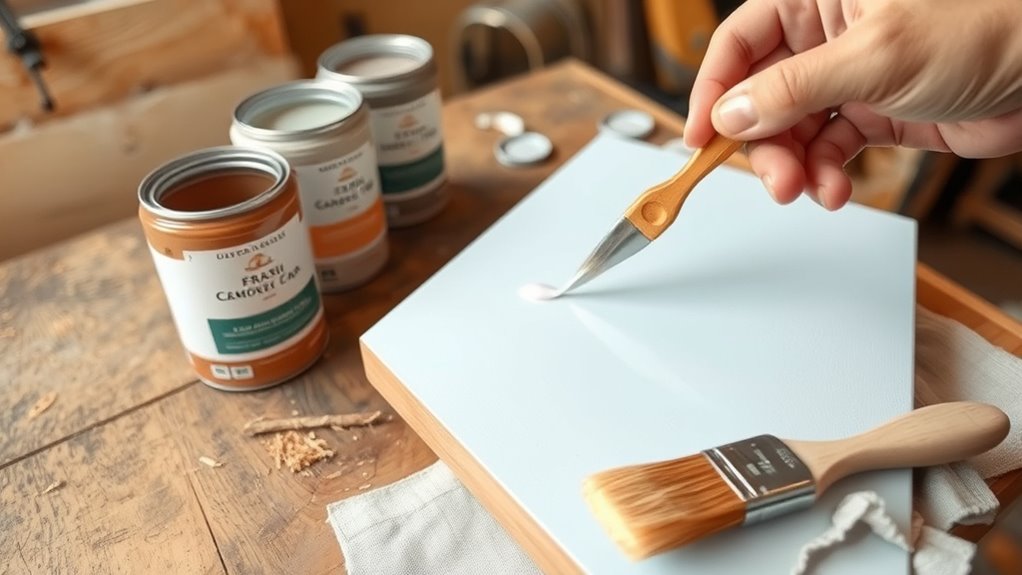
Before applying paint or stain, using a quality primer is essential. It helps the finish adhere better, reduces the number of coats needed, and prevents stains from bleeding through. Choose a primer suited for your cabinet material—wood or MDF. When selecting paint or stain, consider the desired look and durability. For a sleek, modern finish, opt for water-based paints. If you prefer a rich, natural appearance, stain is your best choice.
Here’s a quick guide:
| Finish Type | Best for |
|---|---|
| Primer | Base coat for better adhesion |
| Paint | Vibrant color, easy cleaning |
| Stain | Enhances natural wood grain |
| Sealant/Topcoat | Protects and prolongs durability |
Painting, Staining, and Adding Decorative Touches
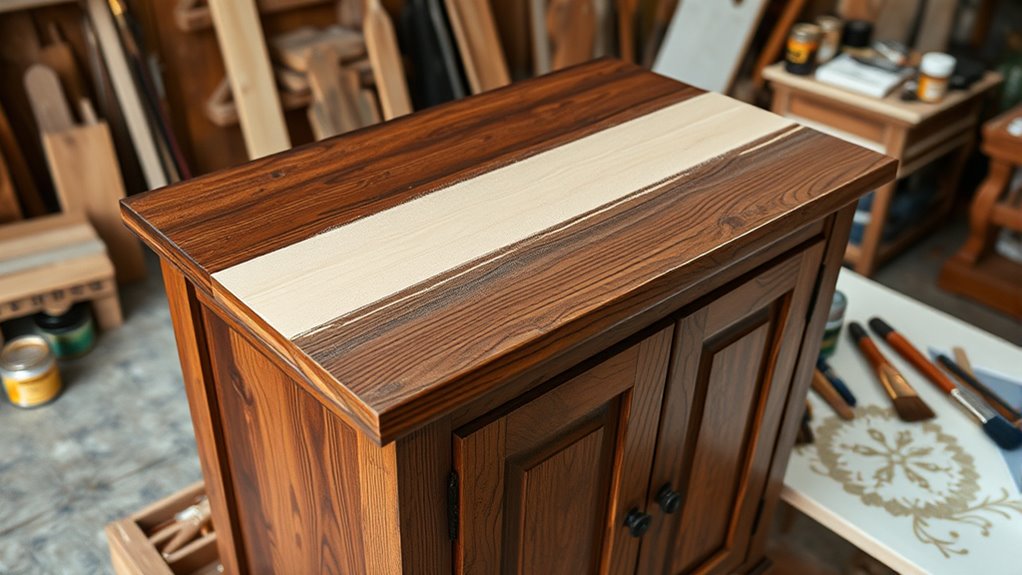
With the primer in place, you’re ready to bring your cabinet’s personality to life through painting, staining, or adding decorative touches. If you choose paint, pick a color that complements your spa’s relaxing vibe, and use smooth, even strokes to avoid streaks. For staining, select a shade that highlights the wood’s natural beauty, applying it with a cloth or brush and wiping off excess for a rich finish. Want to add decorative flair? Consider stenciling, decals, or metallic accents to enhance your cabinet’s look. Take your time, and don’t rush the process—this is your chance to infuse personality into your project. Let each layer dry thoroughly before moving on to the next step, ensuring a professional, polished result.
Sealing and Protecting Your Refurbished Cabinet
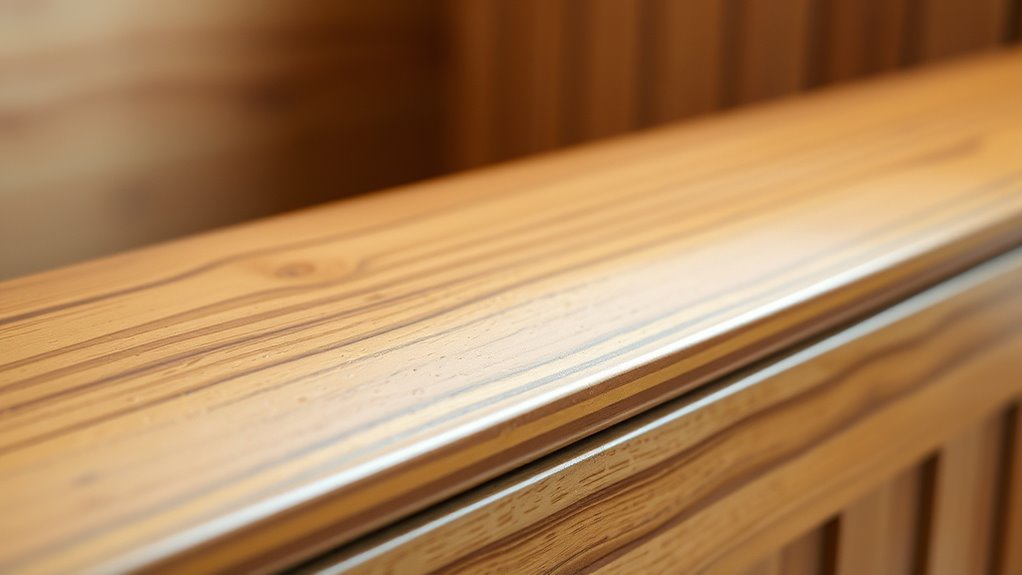
Have you considered how to keep your cabinet looking pristine and protected after your hard work? Sealing and safeguarding your finish is essential to maintain its beauty and durability. First, choose a high-quality clear sealant or polyurethane to create a protective barrier against moisture, scratches, and stains. Second, apply the sealant evenly using a brush or cloth, making sure to cover every surface thoroughly. Imagine the smooth, glossy finish that reflects light and emphasizes your craftsmanship. Ultimately, allow sufficient drying time and avoid heavy use for at least 24 hours. Visualize your cabinet standing strong, resisting water splashes and daily wear. Proper sealing transforms your refurbishing project into a resilient piece that stays stunning for years to come.
Final Touches and Maintaining Your Spa Cabinet’s Look
Once your cabinet is sealed and protected, adding final touches can really elevate its appearance. Consider installing new hardware or updating existing handles for a fresh look. You might also add decorative accents like trim or stenciled designs to personalize your space. Regular maintenance is key to keeping your spa cabinet looking its best. Wipe down surfaces weekly with a damp cloth to remove dust and moisture. Avoid harsh chemicals that could damage the finish. If you notice any scratches or chips, touch them up with matching paint or stain promptly. Keep the surrounding area dry and well-ventilated to prevent warping or mold. With consistent care and thoughtful details, your spa cabinet will stay beautiful and inviting for years to come.
Frequently Asked Questions
How Long Does a Typical Spa Cabinet Refurbishment Process Take?
You’re probably wondering how long a typical refurbishment takes. It usually depends on the project’s complexity, but you can expect it to take anywhere from a weekend to a few days. You’ll need time for cleaning, sanding, repairs, painting or sealing, and drying between coats. Planning ahead and gathering your supplies can help speed up the process, so you get a refreshed, beautiful cabinet without unnecessary delays.
What Are the Best Eco-Friendly Paint Options for Spa Cabinets?
Back in the day, choosing eco-friendly paint meant sacrificing quality, but now, you’ve got options. You should look for water-based, low-VOC, or zero-VOC paints, which are safe for your home and the environment. Brands like Benjamin Moore Natura or Sherwin-Williams Harmony are excellent choices. These paints dry quickly, have low odor, and provide a durable finish—perfect for giving your spa cabinet a fresh, eco-friendly makeover.
Can I Refurbish a Spa Cabinet Without Professional Tools?
Refurbishing a spa cabinet without professional tools is definitely possible, especially if you’re patient and resourceful. You can use basic supplies like sandpaper, paintbrushes, and eco-friendly paint. While you might not achieve a perfect finish with just household tools, you can still give your cabinet a fresh look. Just take your time, follow proper prep steps, and work carefully to guarantee a smooth, lasting result.
How Do I Prevent Mold and Mildew After Refinishing?
To prevent mold and mildew, you need to keep your spa cabinet dry and well-ventilated. After refinishing, make sure to wipe down surfaces regularly and fix any leaks quickly. Use a mold-resistant sealant during your refurbishing process, and consider placing a dehumidifier nearby. Also, clean the area with a mixture of water and vinegar monthly to inhibit mold growth. Staying proactive keeps your spa cabinet fresh and mold-free.
What Maintenance Is Needed to Keep the Refurbishment Looking New?
To keep your refurbishment looking new, you need regular maintenance. Wipe down surfaces with a damp cloth to remove dust and moisture, preventing mold and mildew. Avoid harsh chemicals that can damage finishes. Check for signs of wear or damage and address them promptly. Keep the area well-ventilated to reduce humidity. By staying consistent with these simple steps, your cabinet stays fresh, vibrant, and well-preserved over time.
Conclusion
With your hands, you’ve transformed your spa cabinet from tired to tantalizing, turning a simple project into a personal masterpiece. Like a painter’s brush strokes on a canvas, every step has added beauty and protection, making your space shine brighter. Keep your new creation well-loved and maintained, and it’ll continue to be a soothing centerpiece in your sanctuary. Remember, with a little effort, you’ve crafted not just a cabinet, but a reflection of your style and care.