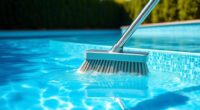
To vacuum your pool manually, gather your tools like a telescopic pole, vacuum head, and hose. Prepare the pool by removing large debris and checking the chemical balance. Attach the vacuum head to the pole and connect the hose securely to the skimmer or pump. Prime the hose by filling it with water to eliminate air. Submerge the vacuum head and start cleaning from one end, moving steadily across the pool bottom. For more detailed steps, keep going.
Key Takeaways
- Gather and inspect all vacuuming equipment, including the vacuum head, hose, and telescopic pole, ensuring proper assembly and cleanliness.
- Connect the vacuum hose securely to the skimmer or pump inlet, then prime the hose with water to eliminate air pockets.
- Submerge the vacuum head and position it flat on the pool floor, maintaining a tight seal to prevent air leaks.
- Move the vacuum head in systematic straight lines, overlapping passes, and adjust flow if suction weakens.
- After cleaning, turn off the pump, disconnect equipment, rinse thoroughly, and recheck pool chemistry for optimal water quality.

POOLAZA Manual Pool Vacuum for Above Ground Pool Upgrade with Fine Mesh Bag& 56" Pole, Handheld Pool Vacuum Jet Underwater Cleaner, Spa Pool Vacuum Cleaner Attach to Garden Hose
- Double Mesh Bag Design: Captures both standard and fine debris
- Twist Lock Seal: Ensures secure and durable bag attachment
- Efficient Water Pressure Suction: Removes debris using garden hose pressure
As an affiliate, we earn on qualifying purchases.
As an affiliate, we earn on qualifying purchases.
Gather Your Pool Vacuuming Tools
Before you begin vacuuming your pool, gather all the necessary tools. Having the right equipment makes removing pool debris easier and assures smooth vacuum maintenance. Start with a manual or automatic pool vacuum, depending on your preference. A telescopic pole helps you reach all areas of the pool comfortably. A garden hose helps in priming the vacuum and clearing air bubbles. Don’t forget a leaf net or skimmer for larger debris before vacuuming. Make sure your vacuum’s hose is intact and free of leaks. Checking these tools beforehand saves time and prevents interruptions. Properly assembled equipment guarantees effective cleaning and keeps your pool looking its best. Additionally, understanding the importance of pool maintenance ensures you select the right tools for efficient cleaning. Once everything’s ready, you’re set for a thorough and efficient pool vacuuming session.
Prepare Your Pool and Equipment
To guarantee your pool is ready for vacuuming, start by removing any large debris with a leaf net or skimmer. Next, check your pool’s chemical balance; proper pH and chlorine levels help prevent algae growth and keep the water clear. Adjust chemicals if needed before you begin. Also, inspect your equipment to ensure everything is functioning correctly—clean filters, check hoses for leaks, and confirm your pump is operating efficiently. Properly balanced water chemistry reduces algae prevention issues and makes vacuuming more effective. Clearing debris and stabilizing chemical levels create ideal conditions for removing dirt and algae, ensuring your pool stays clean longer after vacuuming. Regular maintenance, including fuel injection cleaning, can also help keep your pool equipment running smoothly. Additionally, using a robust filtration system enhances debris removal and water clarity, making your vacuuming efforts more efficient. Preparing your pool and equipment now saves time and effort during the actual cleaning process.
Attach the Vacuum Head to Your Telescopic Pole
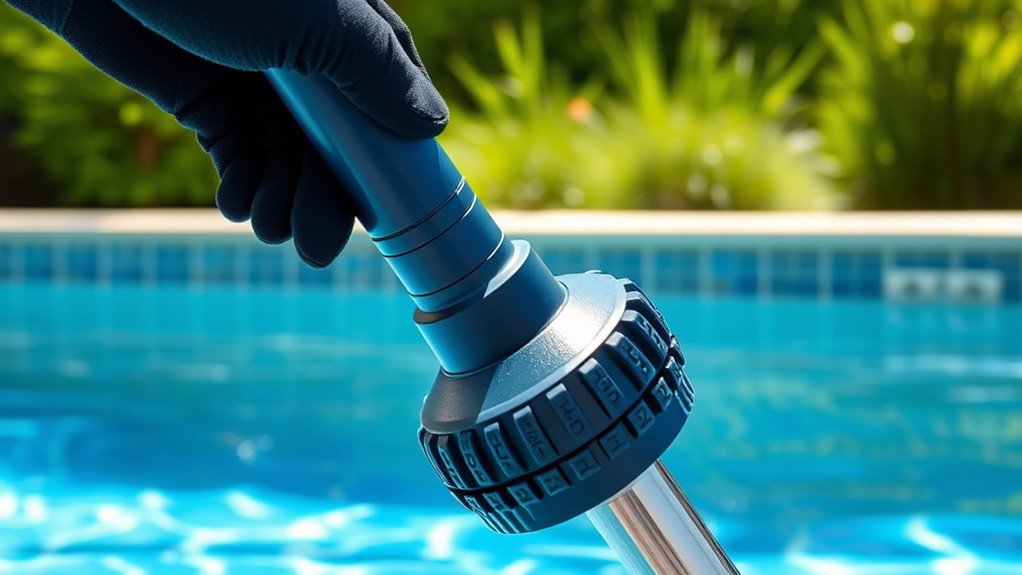
Start by choosing a vacuum head that’s compatible with your pool and equipment. Then, securely attach it to the telescopic pole, making sure the connection is tight. Double-check that everything is properly connected before moving on to vacuuming. Ensuring the vacuum head has the appropriate adjustable settings can help optimize the cleaning process. Additionally, verify that your equipment has the correct headphone jack type for any electronic accessories you might need to use during maintenance.
Select Compatible Vacuum Head
Choosing the right vacuum head is essential for effective pool cleaning, and attaching it properly to your telescopic pole guarantees smooth operation. Selecting a compatible vacuum head depends on the types of vacuum heads suited for your pool surface. Different heads work better on specific surfaces like vinyl, fiberglass, or concrete. For example, a wide-headed vacuum is ideal for large areas, while a bristle head cleans textured surfaces more thoroughly. Here’s a quick comparison:
| Vacuum Head Type | Best For |
|---|---|
| Flat | Smooth surfaces |
| Curved | Uneven or textured surfaces |
| Wide | Large, open areas |
| Adjustable | Versatile surfaces |
| Carpet | Carpeted pools |
Matching the vacuum head to your pool surface guarantees efficient debris removal and prevents damage during cleaning. Additionally, understanding surface compatibility helps prevent unnecessary wear on your equipment. Ensuring you select the correct vacuum head type for your pool’s surface will optimize cleaning performance and prolong the lifespan of your cleaning tools.
Securely Attach to Pole
Ever wondered how to guarantee your vacuum head stays securely attached to your telescopic pole? Properly attaching it is key to effective pool cleaning and smooth equipment maintenance. To secure the connection:
- Slide the vacuum head onto the pole’s end until it clicks or feels tight.
- Check that the locking mechanism or collar is engaged fully.
- Test the connection by gently tugging to ensure it’s secure.
- Adjust the pole length if needed for better reach and balance.
- Regularly inspect the connection points for signs of wear or looseness to maintain a secure fit.
- Using the correct attachment method can prevent accidental detachment during use.
A firm attachment prevents the vacuum head from detaching during cleaning, saving time and effort. Ensuring a secure fit also prolongs your equipment’s lifespan and maintains peak performance. Follow these steps for trouble-free pool cleaning sessions every time.
Ensure Proper Connection
How do you guarantee your vacuum head is properly connected to your telescopic pole? First, check that you’re using the right vacuum head type for your pool and ensure it fits securely onto the pole. Attach the vacuum head firmly, avoiding any wobbling or looseness. Proper hose maintenance is also crucial; inspect the hose for cracks or blockages and connect it tightly to both the vacuum head and the skimmer or pump. If using a swivel or adjustable head, make sure it’s locked in place. A secure connection ensures optimal suction and prevents water leaks or detachment during cleaning. Verifying that the proper tools are used can also improve the efficiency and longevity of your equipment. This way, your pool cleaning will be efficient, and your equipment stays in good condition.
Connect the Vacuum Hose to the Skimmer or Pump

First, choose the right fitting to match your vacuum hose and skimmer or pump. Then, attach the hose securely to prevent leaks or disconnections. A proper seal is essential to ensure the vacuum maintains strong suction throughout cleaning. Finally, make sure you get a proper seal so the vacuum works efficiently without losing suction. Ensuring a lasting connection will help maintain optimal performance during your pool cleaning.
Select Appropriate Fitting
To guarantee your vacuum hose connects securely, choose the right fitting for your pool’s setup. The correct fitting ensures effective cleaning and helps prevent leaks, which can affect pool filter maintenance. Start by identifying your pool’s skimmer or pump inlet size. Then, follow these steps:
- Select a fitting compatible with your vacuum hose diameter.
- Use adapters if your hose and inlet sizes differ.
- Check that the fitting creates a tight seal to prevent air leaks.
- Confirm the fitting is suitable for your pool type and equipment.
- Ensuring proper digital literacy can help you better understand your pool’s equipment requirements and troubleshoot issues effectively. Additionally, understanding pool filter maintenance can improve your overall cleaning efficiency and prolong equipment lifespan.
Choosing the proper fitting makes vacuuming safer and more efficient. It reduces the risk of disconnections, minimizes potential damage, and keeps your pool cleaner. Always follow vacuuming safety tips to avoid accidents or equipment issues.
Attach Hose Securely
Make sure the vacuum hose is securely connected to the skimmer or pump inlet by firmly attaching the fitting. Check that the hose length is appropriate so it reaches the bottom of your pool comfortably without excessive slack or tension. Use a hose made from durable material, such as reinforced vinyl, to prevent leaks or splits during use. Ensure the connection is tight to avoid air leaks, which can hinder proper suction. If your hose is too long, coil the excess carefully to prevent tangling or kinking. Conversely, if it’s too short, you may need an extension. Securing the hose properly guarantees steady flow and effective cleaning, so double-check all fittings before starting your vacuum process. Additionally, implementing powerful persuasive words in your routine can motivate consistent maintenance to keep your pool pristine. Remember, proper tuning techniques can improve the overall effectiveness of your pool cleaning setup and ensure optimal performance.
Ensure Proper Seal
Are you guaranteeing the vacuum hose is properly sealed to prevent air leaks? A secure connection is vital for effective vacuuming. Start with a seal inspection: check the gasket for cracks or damage and replace it if needed. To confirm a proper seal:
- Confirm the gasket fits tightly around the skimmer or pump port.
- Tighten hose connections securely without over-tightening.
- Look for any gaps or visible leaks in the connection.
- Test for air leaks by submerging the hose connection and listening for escaping air.
- Remember that celebrity transformations often involve changing appearances, similar to how a secure seal can dramatically improve your pool cleaning results.
- Regularly inspecting and maintaining pool equipment ensures optimal performance and prevents issues caused by leaks or faulty parts.
If you notice persistent leaks, replace the gasket to restore a tight seal. Proper sealing keeps the vacuum functioning efficiently and prevents air from disrupting suction, making your pool cleaning easier and more effective.
Prime the Vacuum Hose to Remove Air

Before attaching the vacuum hose to your pool’s suction port, it is essential to prime it to remove any trapped air. Priming ensures proper water flow and prevents air locks that can hinder pool vacuum maintenance. To do this, submerge the hose completely in the pool, filling it with water to displace air. You can also hold the hose’s end underwater or use a garden hose to fill it if needed. Once filled, connect the hose to the vacuum head and the skimmer or suction port. Proper priming minimizes troubleshooting vacuum issues later, guaranteeing smooth operation. Skipping this step often leads to loss of suction, making it harder to clean effectively. Taking the time to prime the hose saves you time and effort during your pool cleaning routine. Additionally, understanding the automation in business can help you select more efficient pool cleaning equipment in the future. Recognizing the importance of security in payment processing can also guide you in choosing safer, more reliable pool cleaning tools and technology.
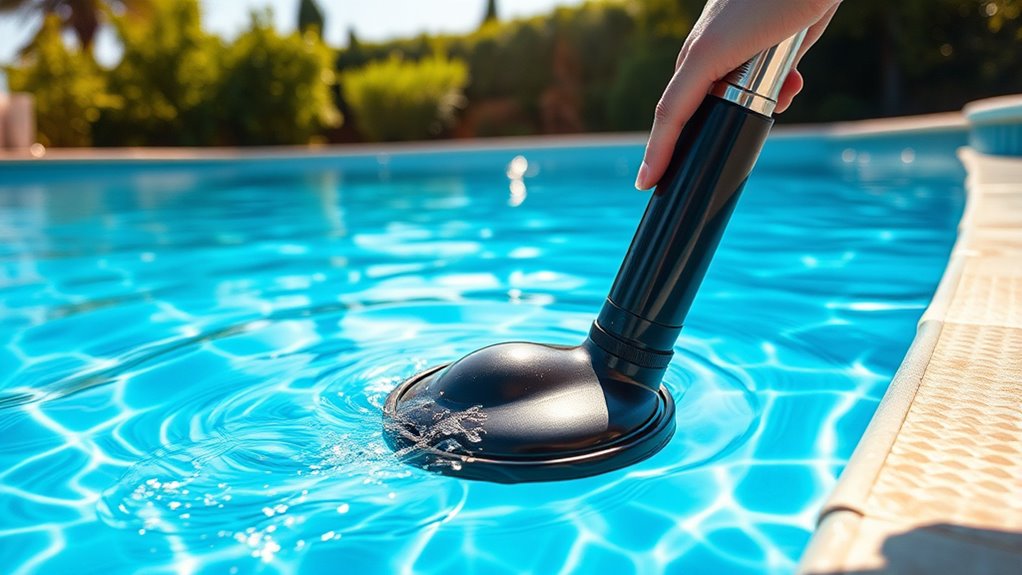
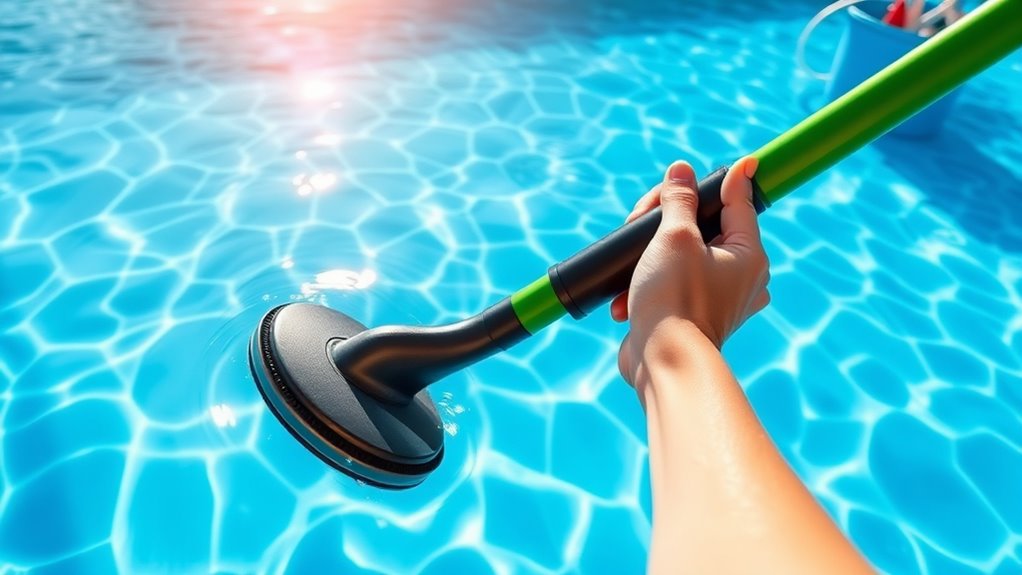
Submerge and Position the Vacuum Head
To start, fully submerge the vacuum head to prevent air from causing suction issues. Once underwater, adjust the head so it glides smoothly over the pool surface. Proper positioning makes sure you cover the entire area efficiently.
Properly Submerge Vacuum Head
When beginning to vacuum your pool, you need to properly submerge and position the vacuum head to guarantee effective cleaning. First, use the correct submerging techniques to avoid air leaks and ensure good vacuum head placement. Follow these steps:
- Hold the vacuum head under water with one hand, keeping the hose in the other.
- Slowly lower the vacuum head, allowing water to fill it completely.
- Maintain a slight tilt to help air escape and prevent air pockets.
- Once submerged, gently position the vacuum head flat on the pool floor, ready for cleaning.
This ensures the vacuum head remains submerged and properly positioned, optimizing suction and cleaning efficiency during your pool maintenance.
Adjust Position for Coverage
After fully submerging the vacuum head, you should adjust its position to guarantee maximum coverage of the pool surface. Move the head smoothly across the area, ensuring it covers all sections without missing spots. Pay attention to obstacle navigation; steer around steps, ladders, or other obstructions to avoid getting stuck or causing damage. Keep the vacuum head aligned so it maintains contact with the pool surface, which helps in effectively picking up debris. If you notice areas aren’t being cleaned thoroughly, reposition the head slightly and continue. Proper adjustment ensures you don’t miss dirt or algae and helps the vacuum glide seamlessly over the surface. This step maximizes your cleaning efficiency and ensures a spotless pool.
Begin Vacuuming the Pool Floor

Before you start vacuuming the pool floor, make certain the filter system is turned on to prevent debris from clogging the pump. Confirm the pool water chemistry is balanced to avoid stirring up algae or dirt, which can complicate cleaning. When vacuuming, prioritize vacuuming safety by avoiding sudden movements that could damage equipment. To begin:
- Attach the vacuum head securely to the telescoping pole.
- Submerge the vacuum head to remove air bubbles and ensure proper suction.
- Connect the hose to the vacuum head and the skimmer port or dedicated vacuum port.
- Test the suction by slowly moving the vacuum across the pool floor.
Following these steps helps you efficiently clean the pool while maintaining proper pool water chemistry and safe vacuuming practices.
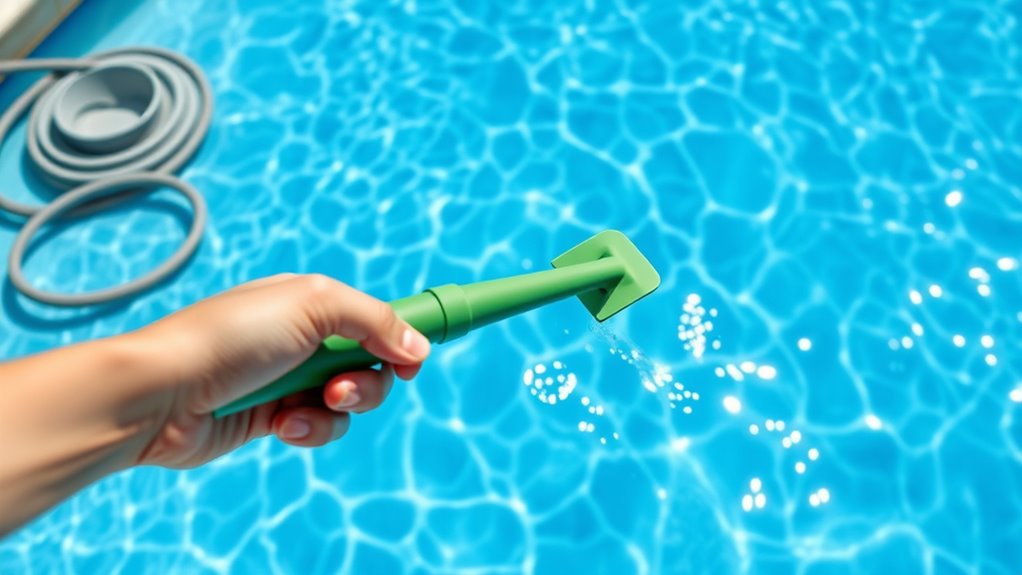
Move Systematically to Cover the Entire Pool Surface

To guarantee you clean the entire pool surface thoroughly, it’s important to move the vacuum in a systematic pattern. Start at one end of the pool and work your way across in straight lines, overlapping slightly with each pass. This method ensures every inch of the surface gets addressed, preventing missed spots. As you progress, pay attention to areas where debris tends to accumulate. Consistent movement helps with effective pool cleaning and reduces strain on your vacuum and hose, maintaining proper vacuum maintenance. Keep a steady pace to avoid skipping sections or causing unnecessary wear. Moving systematically not only speeds up the process but also ensures a more thorough clean, leaving your pool sparkling and ready for use.
Maintain Proper Water Flow and Suction

Maintaining proper water flow and suction is key to guaranteeing your vacuum operates efficiently. If the flow is weak, debris removal becomes difficult, and your filter may clog faster. To keep things running smoothly:
Proper water flow and suction are essential for efficient vacuum operation and preventing filter clogging.
- Regularly check and clean your filter to prevent blockages and improve water flow.
- Guarantee your vacuum hose isn’t kinked or blocked, which can reduce suction.
- Adjust the skimmer and pump valves for ideal suction and flow rate.
- Monitor the pool’s water level—too low, and suction drops; too high, and flow is compromised.
Finish Up and Clean Your Equipment

Once you’ve finished vacuuming your pool, it’s important to thoroughly clean and store your equipment to guarantee it stays in good condition for next time. Rinse the vacuum head, hose, and any attachments with clean water to remove debris and prevent buildup. Check your pool water chemistry, ensuring chemicals are balanced after vacuuming, as disturbed water can affect clarity and safety. Always follow vacuuming safety precautions, like unplugging equipment before cleaning and handling chemicals carefully. Store your equipment in a dry, cool place to prevent mold or damage. Proper maintenance extends the life of your vacuum and keeps your pool ready for its next use, ensuring clean water and safe swimming conditions.
Frequently Asked Questions
How Often Should I Vacuum My Pool for Optimal Cleanliness?
For ideal cleanliness, you should vacuum your pool regularly as part of your pool maintenance. Typically, a weekly cleaning schedule works well, especially during peak swimming season when debris accumulates faster. However, if your pool is surrounded by trees or gets a lot of use, you might need to vacuum more often. Staying consistent with your cleaning schedule helps keep your pool safe, clear, and inviting for swimmers.
Can I Vacuum My Pool During the Day or Only at Night?
Think of your pool like a shimmering mirror—clean and clear. You can vacuum during the day or night, but consider sunlight exposure. Vacuuming in the daylight helps you see every speck, while nighttime reduces evaporation and chemical loss. The time of day doesn’t hurt the process; choose when it’s most convenient. Just guarantee your equipment is ready and the pool is calm, so your cleaning shines as brightly as your reflection.
What Should I Do if the Vacuum Hose Keeps Losing Suction?
If your vacuum hose keeps losing suction, first check for any leaks or holes along the hose. Make sure all connections are secure and tightly attached. Inspect the skimmer and pump basket for blockages that could cause suction loss. Clear out debris and reattach the hose firmly. If the problem persists, replace the damaged hose or fittings to restore proper suction and guarantee effective vacuuming.
Is It Necessary to Backwash or Clean the Filter After Vacuuming?
Think of your pool’s filter as its heart, crucial for keeping the water clear. After vacuuming, it’s necessary to backwash or clean the filter to maintain filter maintenance and guarantee peak vacuum efficiency. Dirty filters can restrict water flow, reducing cleaning power. Regular filter checks prevent debris buildup, helping your pool stay sparkling and clean. So, yes, cleaning or backwashing afterward keeps your pool’s heart healthy and your vacuum working at its best.
Can I Vacuum a Pool With a Lot of Debris or Algae?
You can vacuum a pool with lots of debris or algae, but it’s best to first do debris removal with a skimmer or net to prevent clogging. For algae, treat the water with an algaecide before vacuuming to make the process easier. Vacuum slowly and methodically, ensuring you cover all areas. This approach helps remove debris efficiently and prepares your pool for proper algae treatment afterward.
Conclusion
Regularly vacuuming your pool keeps it sparkling and safe for swimming. Did you know that neglecting routine cleaning can lead to algae growth and costly repairs? By following these simple steps, you can maintain crystal-clear water and extend your pool’s lifespan. Just 15 minutes of vacuuming weekly can markedly reduce debris buildup. Stay consistent, and your pool will stay inviting all season long, saving you time and money in the long run.