
To patch a vinyl pool liner, first gather your materials and prepare a clean, dry work area. Drain the pool to expose the damaged spot and carefully inspect it. Clean and dry the area thoroughly, then cut a patch to size with at least a one-inch overlap. Apply an adhesive recommended for vinyl, press the patch firmly to remove air bubbles, and secure the edges. Let it cure fully before refilling your pool—if you continue, you’ll learn detailed steps for a lasting fix.
Key Takeaways
- Drain the pool until the damaged area is fully exposed and dry for proper patching.
- Clean and dry the damaged vinyl surface thoroughly before applying the patch.
- Cut a vinyl patch with at least 1-inch overlap, shaping it to fit the damage precisely.
- Use a compatible adhesive to secure the patch, smoothing out air bubbles and pressing edges firmly.
- Allow the patch to cure completely before refilling the pool, then inspect for leaks to ensure a secure repair.

Pool Liner Repair 408517Boxer – 4 oz Vinyl Swimming Kit
- Country of Origin: Made in the United States
- Package Height: 15.24 cm
- Package Length: 5.588 cm
As an affiliate, we earn on qualifying purchases.
As an affiliate, we earn on qualifying purchases.
Gather Your Materials and Prepare the Work Area

Before you begin patching your vinyl pool liner, it is vital to gather all the necessary materials and prepare your work area. Start by collecting a vinyl patch kit, which includes patches, adhesive, and cleaning supplies. Make sure to have scissors, a clean cloth, and a sponge or brush for cleaning the spot. Choose a well-lit, clutter-free space where you can work comfortably. Clear the area around the pool to prevent tripping hazards and guarantee you have enough space to move freely. If possible, work during a dry day to avoid moisture interfering with the adhesive. Organizing your tools beforehand helps streamline the repair process and reduces frustration, so double-check that everything is within reach before you start. Additionally, understanding the importance of contrast ratio can help you assess the quality of your repair, ensuring a clear and durable seal. Being aware of vinyl material properties can also guide you in selecting the right adhesive and patch for a long-lasting fix.
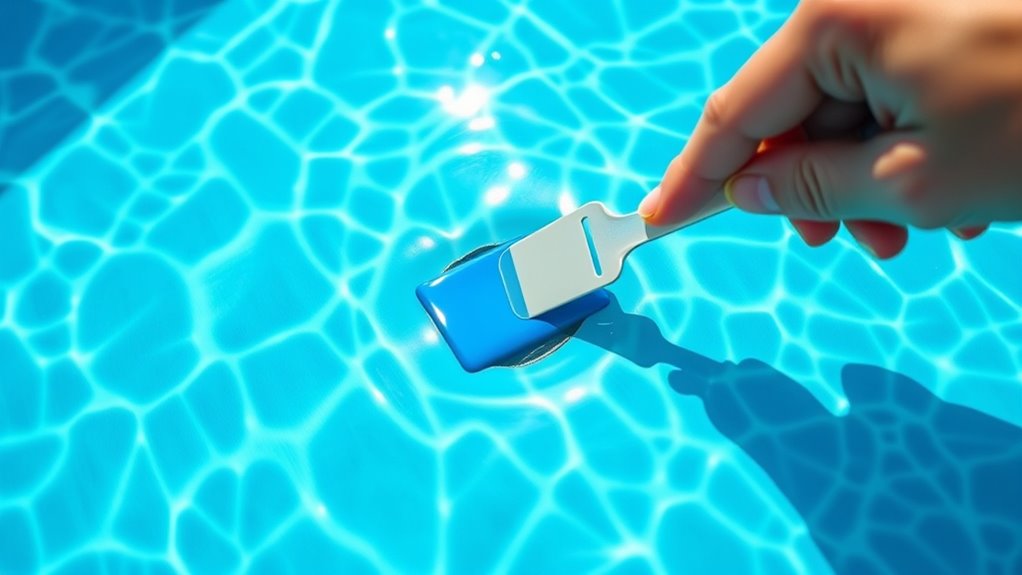
Drain the Pool to the Repair Spot

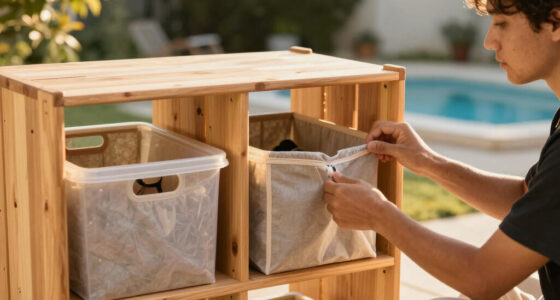
To guarantee a clean and accessible area for patching, you need to drain the pool to the repair spot. Start by turning off the pump and filtration system. Use a submersible pump or siphon to carefully remove water from the pool. Focus on draining only enough water so the damaged area is exposed and dry. Keep in mind:
Drain the pool gradually to expose the repair area and ensure a proper, long-lasting patch.
- Maintain control of the water flow to avoid splashing or spills
- Drain gradually to prevent stress on the liner
- Use a bucket or container to manage water removal in tight spots
- Be aware of essential oils for pool maintenance, as their antimicrobial properties can help in cleaning the surface before patching
- Additionally, understanding AI security can inform better decision-making for long-term asset management in various contexts.
Once the water level is low enough, the repair area will be dry and easily accessible. This step ensures a proper, long-lasting patch and makes the repair process smoother.
Locate and Assess the Damage

Start by thoroughly inspecting the damaged area for tears, punctures, or holes. Carefully examine the liner’s surface, using a flashlight if needed, to spot even small punctures or thin spots. Check both the interior and exterior sides of the liner for any signs of damage. Look for irregularities like rough edges, tears, or punctures that may have been caused by sharp objects or wear over time. Note the size, shape, and location of each damage. This assessment helps determine if a simple patch will suffice or if more extensive repairs are necessary. Be gentle to avoid causing further damage. Once you’ve identified the damage, take detailed notes or photos for reference during the repair process. Accurate assessment assures a proper, long-lasting patch. Incorporating proper inspection techniques can help identify hidden issues that might otherwise be overlooked, especially considering the dog breeds or other factors that could contribute to liner damage. Utilizing data-driven strategies can also optimize your repair approach, ensuring durability and effectiveness.
Clean and Dry the Damaged Area
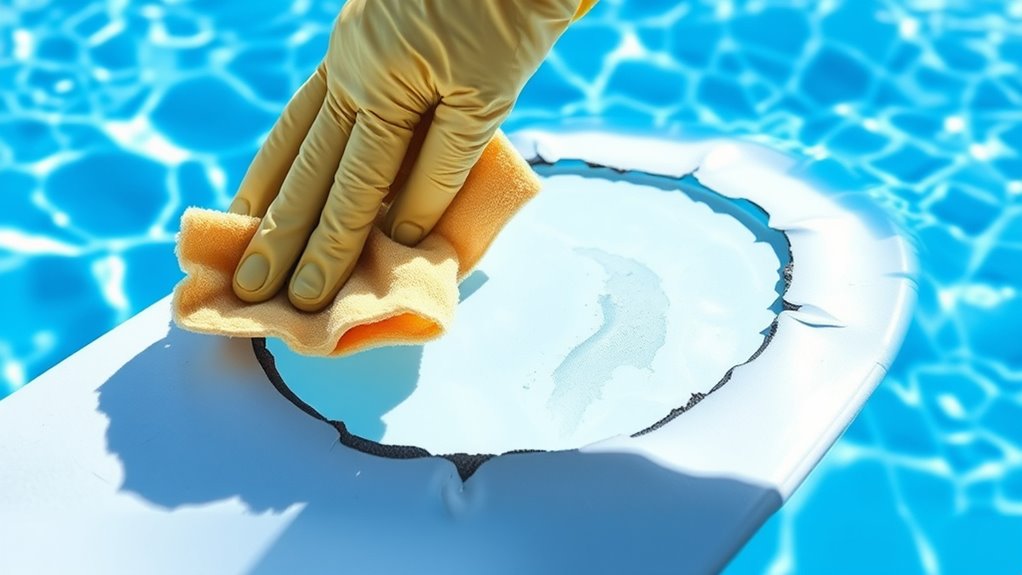
Ensuring the damaged area is thoroughly cleaned and dried is essential for a successful patch. Dirt, debris, or moisture can prevent the patch from adhering properly, risking further leaks. First, use a soft cloth or sponge to remove any dirt or algae around the damaged area. Next, wipe the surface with a mild, non-abrasive cleaner to eliminate oils or residues. Finally, dry the area completely with a clean towel or let it air dry, ensuring no moisture remains. Proper surface preparation is crucial for optimal adhesion and durability of the repair adhesion and durability. For best results, consider using a high-quality adhesive designed specifically for vinyl surfaces.
Cut the Patch to the Correct Size and Shape

Start by measuring the damaged area carefully to guarantee the patch fits perfectly. Use sharp scissors to trim the patch smoothly, avoiding jagged edges that can cause leaks. Accurate measurement and clean cuts are essential for a secure, long-lasting repair. Additionally, ensuring the patch is compatible with the liner material can improve adhesion and durability, especially if the patching process involves specific material considerations. Checking the vinyl liner’s thickness can also help select the most appropriate patch size and adhesive for a reliable repair. Being aware of material compatibility can prevent future issues with the patch’s effectiveness and longevity.
Measure Precisely
To guarantee a proper repair, you need to cut the patch to the correct size and shape before applying it. Accurate measurement ensures the patch covers the damaged area completely without excess. First, clean the damaged area thoroughly so measurements are precise. Use a ruler or tape measure to determine the exact dimensions of the tear or hole. When marking the patch, keep these tips in mind:
- Add at least an inch of overlap around the damage for a secure seal
- Use a marker or chalk to trace the shape, ensuring clear lines
- Cut slightly inside the marked lines to prevent overhangs that could weaken the bond
Taking your time with measurements now guarantees a smooth, effective patch later. Proper sizing creates a tight, durable repair that lasts.
Trim Smoothly
After measuring and marking the patch, it’s time to cut it to the correct size and shape. Use sharp scissors or a utility knife for a clean cut. Follow the marked lines carefully, avoiding jagged edges that could cause leaks. Keep your hand steady and cut slowly, ensuring the patch stays aligned with your markings. If the patch has a rounded or irregular shape, take your time to trace smooth curves for a better fit. Trim just outside the marked lines to allow for adjustments if needed. A precise cut ensures the patch will sit flush against the liner, creating a strong seal. Remember, neat trimming minimizes gaps and maximizes the effectiveness of your repair.
Apply the Adhesive or Patch Material

Once you’ve prepared the damaged area and the patch, it’s time to apply the adhesive or patch material. Make sure your work area is clean and dry. Carefully spread the adhesive evenly over the patch and the surrounding liner, avoiding air bubbles. Use a brush or roller for a smooth, consistent layer. If you’re using a pre-made patch with adhesive backing, peel off the backing and carefully position it over the damaged spot. Press firmly to guarantee good contact. Keep these tips in mind:
- Work in a well-ventilated area to avoid fumes
- Apply the adhesive in thin, even coats for better adhesion
- Avoid stretching or wrinkling the patch during placement
- Proper surface preparation can significantly improve the effectiveness of the repair to ensure a strong bond.
This ensures a secure, durable repair.
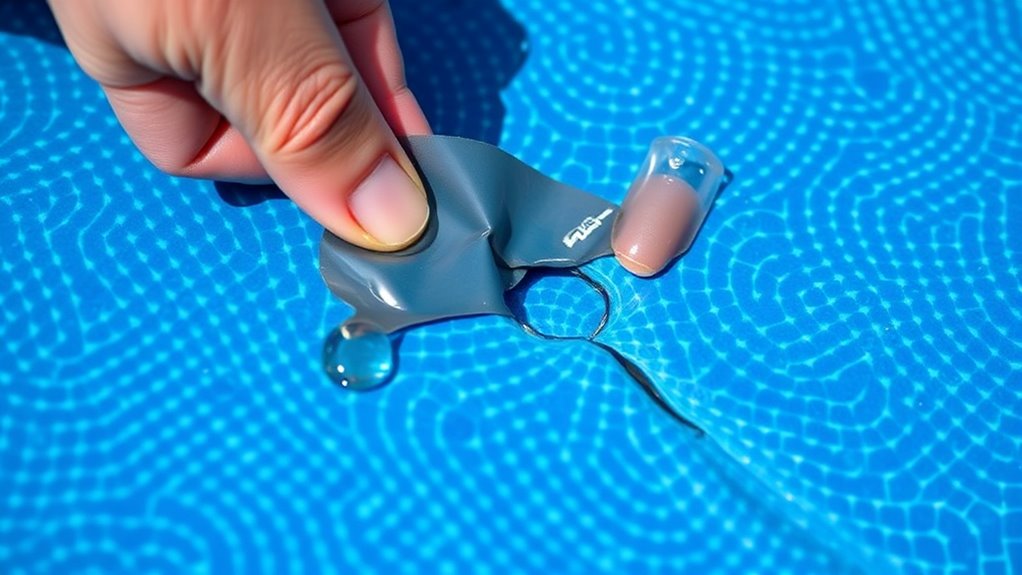
Secure the Patch and Eliminate Air Bubbles

Once the patch is in place, you’ll need to smooth out any air bubbles to guarantee a tight seal. Press firmly around the edges to secure them properly and prevent leaks. Take your time to eliminate all bubbles for the best, long-lasting repair. Using tools or your hands, carefully remove any remaining air pockets to ensure a secure seal and optimal adhesion.
Smooth Out Air Bubbles
To guarantee your patch stays secure and the liner remains smooth, you should carefully press out any air bubbles. Start from the center of the patch and work outward, applying firm, even pressure. This helps ensure the patch adheres fully and prevents future leaks. As you press, keep an eye on the edges to avoid trapping air underneath.
To effectively smooth out air bubbles, you can:
- Use a squeegee or a flat tool to press down firmly
- Work slowly to push air toward the edges of the patch
- Check for any remaining bubbles and press them out as needed
Taking your time during this process helps create a tight seal, reducing the risk of leaks and ensuring your patch holds firmly over time.
Secure Edges Properly
After pressing out air bubbles, it’s essential to secure the edges of the patch firmly to prevent future leaks. Use a roller or squeegee to press down the entire patch, focusing on the edges. Make sure the adhesive extends fully under the patch and adheres tightly to the liner surface. Pay special attention to corners and edges; these are common leak points. Apply consistent pressure to eliminate any remaining air pockets and ensure a strong bond. If needed, use a weighted object or heavy object to hold the patch in place while the adhesive cures. Properly securing the edges creates a seamless barrier, preventing water from seeping through and ensuring the longevity of your repair.
Allow the Repair to Cure Properly
It’s crucial to let the repair cure completely before filling the pool with water. This ensures the patch bonds properly and prevents leaks or further damage. During curing, avoid disturbing the area or exposing it to excessive moisture or sunlight. This helps the adhesive or sealant set as intended, creating a strong, waterproof bond.
To ensure proper curing, keep these tips in mind:
- Allow the recommended curing time specified by the patch or adhesive manufacturer
- Keep the area dry and undisturbed during this period
- Avoid using the pool or applying chemicals until the repair is fully cured
Patience here guarantees your repair lasts and prevents costly future fixes. Once cured, you’ll be ready to safely refill your pool.
Refill the Pool and Check for Leaks

Have you confirmed the patch has fully cured and the area is dry? Now, it’s time to refill your pool and check for leaks. Carefully add water to bring the level back up, monitoring closely for any signs of water loss. Once filled, inspect the patched area and surrounding liner for leaks or drips. Use the table below to guide your inspection:
| Step | What to Look For |
|---|---|
| Refill the pool | Water level stabilizes or drops |
| Visual inspection | Cracks, tears, or wet spots |
| Listen for leaks | Hissing or dripping sounds |
If you notice leaks or water loss, double-check your patch and consider additional sealing or patching. Ensuring your liner is sealed prevents future problems. It’s also beneficial to understand the impact of leaks on your pool’s efficiency and longevity, which can be affected by water loss over time. Additionally, understanding how to detect early signs of leaks can save you time and money in maintenance. Regularly inspecting your liner and understanding the signs of spoilage can help prevent larger issues down the line.
Frequently Asked Questions
Can I Repair a Vinyl Pool Liner Without Draining the Entire Pool?
You can repair a vinyl pool liner without draining the entire pool, but it depends on the size and location of the damage. Small tears or holes near the waterline are often fixable with a patch while the pool is partially filled. Make sure to drain just enough water to access the damaged area, clean it thoroughly, and follow proper patching procedures. Always check manufacturer instructions for specific guidance.
What Types of Adhesives Are Safest for Vinyl Pool Liner Repairs?
Imagine a tiny tear in your vinyl liner, threatening to spill your pool’s serenity. For repairs, choose adhesives like vinyl cement or PVC welds, specifically designed for pool liners. These safe, waterproof options bond tightly without harmful fumes. Always make certain the area is clean and dry. With the right adhesive, you can patch up the tear securely, restoring your pool’s calm and inviting surface effortlessly.
How Long Should I Wait Before Refilling the Pool After Patching?
After you patch your vinyl pool liner, you should wait at least 24 hours before refilling the pool. This allows the adhesive or patch to cure fully, ensuring a secure seal. Rushing the process can cause the patch to fail or leak. Make sure to follow the specific drying time recommended by the patch or adhesive manufacturer for the best results and a long-lasting repair.
Is It Necessary to Replace the Entire Liner if It’S Damaged?
If your vinyl pool liner is damaged, you might wonder if replacing the entire liner is necessary. Often, small tears or holes can be repaired with a patch, saving you time and money. However, if the damage is extensive or the liner is old and worn, replacing the whole liner is a better choice to guarantee your pool stays safe and in good condition. Assess the damage carefully to decide the best course.
How Can I Prevent Future Tears or Punctures in the Liner?
You might think preventing tears is impossible, but regular maintenance makes a difference. Keep your pool free of sharp objects and avoid dragging rough items across the liner. Trim any overhanging branches or debris that could cause punctures. Use a pool cover when not in use to protect against accidental damage. By staying vigilant and inspecting your liner frequently, you considerably reduce the chances of future tears or punctures.
Conclusion
By following these steps, you can effectively patch your vinyl pool liner and save money. For example, imagine spotting a small tear after a weekend swim; with patience and the right materials, you repair it yourself instead of costly professional help. Just like that homeowner, you can restore your pool’s integrity quickly and confidently. Remember, proper preparation and patience guarantee a successful repair, keeping your pool enjoyable all season long.