To replace a worn-out vinyl liner bottom pad, first turn off your pool equipment and drain the water below the pad level. Carefully remove the old liner and pad, then thoroughly inspect and clean the pool surface. Measure and cut the new pad to size, applying pool-safe adhesive, and secure it in place. Position the new liner smoothly over the pad, ensuring a snug fit. For detailed steps and tips, continue exploring the full process.
Key Takeaways
- Drain the pool completely, remove the old vinyl liner, and clear debris for safe access to the bottom pad.
- Inspect the pool surface for cracks, mold, or damage, and clean thoroughly before installing the new pad.
- Measure the interior dimensions accurately, then cut the new bottom pad slightly larger for easy fitting.
- Apply adhesive evenly on the surface and the new pad, then carefully position and press the pad to eliminate air bubbles.
- Reinstall the liner, smooth out wrinkles, and fill the pool gradually, checking for proper fit and leaks.
Recognizing Signs of a Damaged Bottom Pad

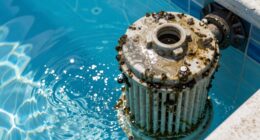
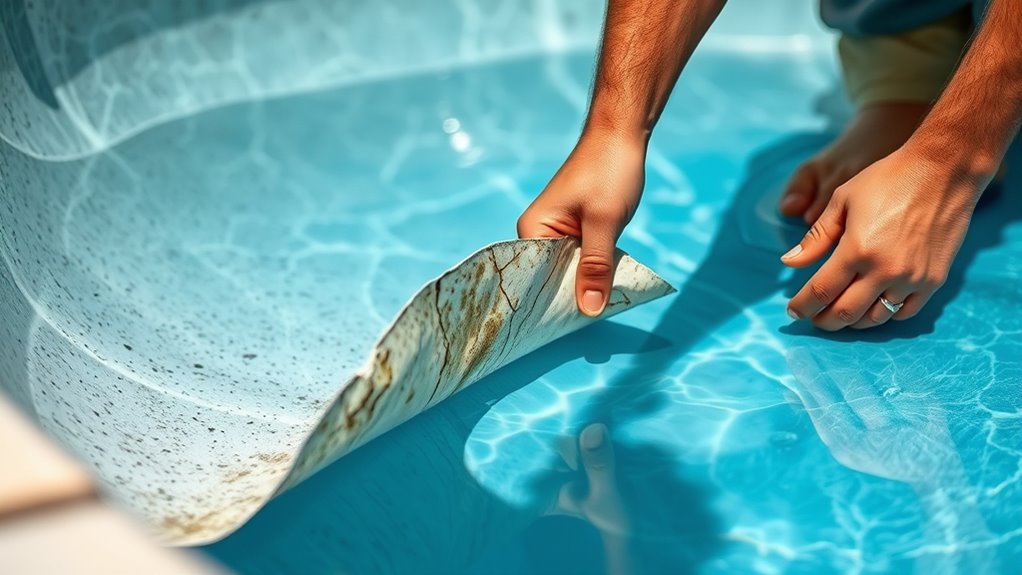
A worn-out or damaged vinyl liner bottom pad can often be identified by visible signs that indicate it’s no longer functioning properly. You might notice uneven or sagging areas, which suggest the pad has lost its support. Cracks, tears, or holes are clear indicators of damage, exposing the underlying surface and risking further deterioration. If the pad feels unusually soft or spongy when pressed, it’s likely degraded and needs replacement. Discoloration or staining can also signal mold or mildew growth, which compromises durability. Additionally, persistent odors may point to trapped moisture or mold beneath the pad. Regular inspection helps catch these signs early, preventing more extensive damage and ensuring your pool remains safe and comfortable for swimming. Understanding material degradation can help you determine when it’s time for a replacement. Moreover, advancements in pool liner technology can offer more durable and longer-lasting options for repairs. Being aware of moisture infiltration is also crucial, as it can accelerate deterioration and cause further issues.
Gathering Essential Tools and Materials
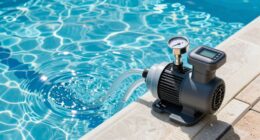
Before replacing the worn-out vinyl liner bottom pad, gather all the necessary tools and materials to guarantee a smooth process. You’ll need a screwdriver or wrench to remove any fasteners, a utility knife for trimming the new pad, and a measuring tape to ensure proper fit. Have a clean cloth or sponge on hand to remove debris and smooth out the surface. You’ll also need the replacement bottom pad, which should match your pool’s size and shape. Adhesive or bonding agents may be required to secure the new pad, so check your product instructions. Don’t forget safety gloves and goggles to protect yourself during the process. Having everything ready beforehand minimizes delays and ensures you can complete the replacement efficiently and effectively. Additionally, understanding the proper installation techniques can help prevent future issues and extend the lifespan of your new liner. Being aware of vinyl liner maintenance can also contribute to the longevity of your pool’s components. Regular checks and preventative care can help identify early signs of wear and avoid costly repairs later on. To further ensure a successful replacement, consider consulting professional guidance for complex installations or unique pool shapes. Moreover, maintaining proper Glycolic Acid levels in your pool can help protect your vinyl liner from deterioration caused by chemical imbalances.
Draining and Preparing the Pool for Replacement
To guarantee a safe and effective replacement, you need to drain and prepare your pool properly. Begin by turning off the pool’s pump and filtration system. Attach a garden hose or sump pump to remove the water efficiently. Once drained, remove any debris or remaining water from the bottom using a pump or wet-dry vacuum. Inspect the pool’s interior for cracks or damage that might need fixing before installing the new bottom pad. Clean the surface thoroughly with a pool-safe cleaner to ensure proper adhesion of the new liner and pad. Dry the area completely to prevent mold or mildew buildup. Properly draining and preparing your pool ensures a smooth liner replacement process and helps extend the lifespan of your pool components. Additionally, being aware of digital literacy programs can encourage safe and playful communication during the process. Developing digital skills can also assist in troubleshooting any issues that might arise during the replacement, such as identifying pool equipment problems early on. Incorporating safety precautions into your process can further prevent potential accidents or damage during the replacement. Learning about protective styling options, such as crochet styles for locs, can also be beneficial if you choose to style your hair during the project.
Removing the Old Vinyl Liner and Bottom Pad
Start by draining and emptying your pool completely to make removal easier. Carefully detach the old vinyl liner, avoiding tears or damage, so you can reuse or dispose of it properly. Once the liner is removed, take out the old bottom pad to prepare for the new one. Incorporate rustic decor elements during the process to enhance the overall aesthetic of your workspace. Exploring remote hackathons can also provide innovative ideas for DIY pool projects and upgrades.
Drain and Empty Pool
Ever wondered how to efficiently remove the old vinyl liner and bottom pad from your pool? Start by turning off the pump and disconnecting all equipment. Drain the pool completely using a sump pump or garden hose connected to a drain outlet or skimmer. Ensure the water level drops below the bottom of the liner. Once drained, remove any remaining water with a wet/dry vacuum. Clear the area around the pool to prevent accidents. If your pool has a drain plug, open it to facilitate drainage. Be cautious to avoid damaging the pool walls or structure during this process. Proper drainage guarantees a safe, clean workspace for the next steps. Additionally, understanding the pool structure helps in avoiding potential damage during removal. With the pool empty, you’re ready to move on to removing the old liner and bottom pad. Proper draining guarantees a safe, clean workspace for the next steps. Drainage is a crucial aspect of effective pool maintenance to prevent issues during liner replacement. To ensure a smooth removal process, it’s helpful to be familiar with the underlying pool components that support the liner and bottom pad. Knowing the material composition of your pool can also assist in choosing the correct tools and techniques for removal.
Detach Vinyl Liner Carefully
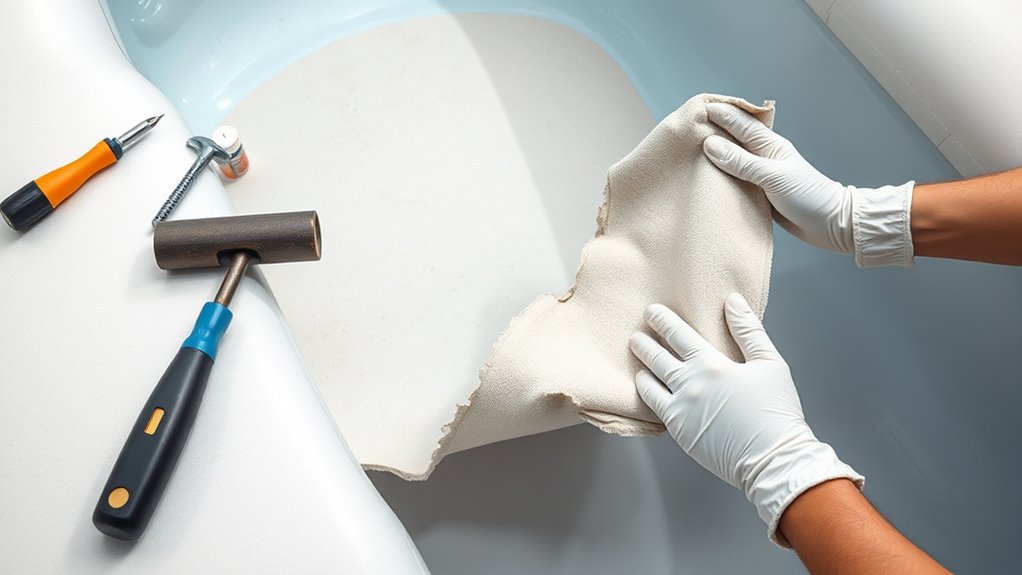
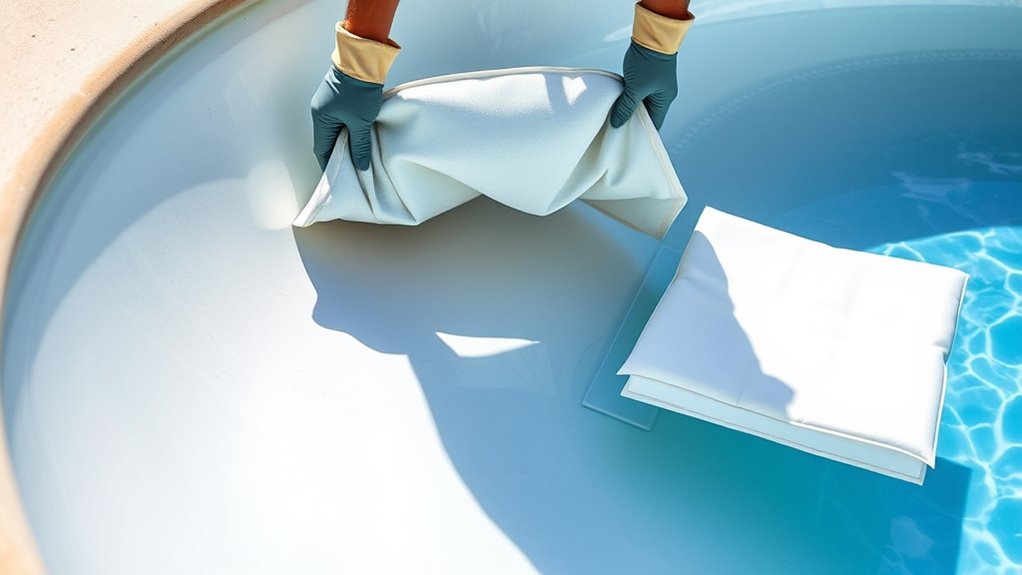
Careful removal of the vinyl liner is essential to prevent damage and make the replacement process smoother. Start by gently loosening any clips, hooks, or fasteners holding the liner in place. Work slowly around the pool’s edges, pulling evenly to avoid tearing. Avoid yanking or using excessive force, which can cause rips or stretch marks. If the liner is stuck, carefully loosen any debris or algae buildup that may be gripping it. Use a soft tool or your hands to lift the liner gradually, keeping tension even. Once free, fold the liner carefully to prevent creases or tears. Handling it gently now will save you time and effort during installation and ensure a clean, damage-free removal. Being aware of toilet maintenance and repairs can also help prevent issues that might complicate your project. Additionally, understanding lifestyle tips for workspace organization can make the process more efficient and less stressful. Incorporating automation techniques can further streamline the removal and replacement process by reducing manual effort. Moreover, handling the liner with proper storage methods can help maintain its integrity for future use. Proper protective equipment can also safeguard you against potential injuries during removal.
Remove Old Bottom Pad
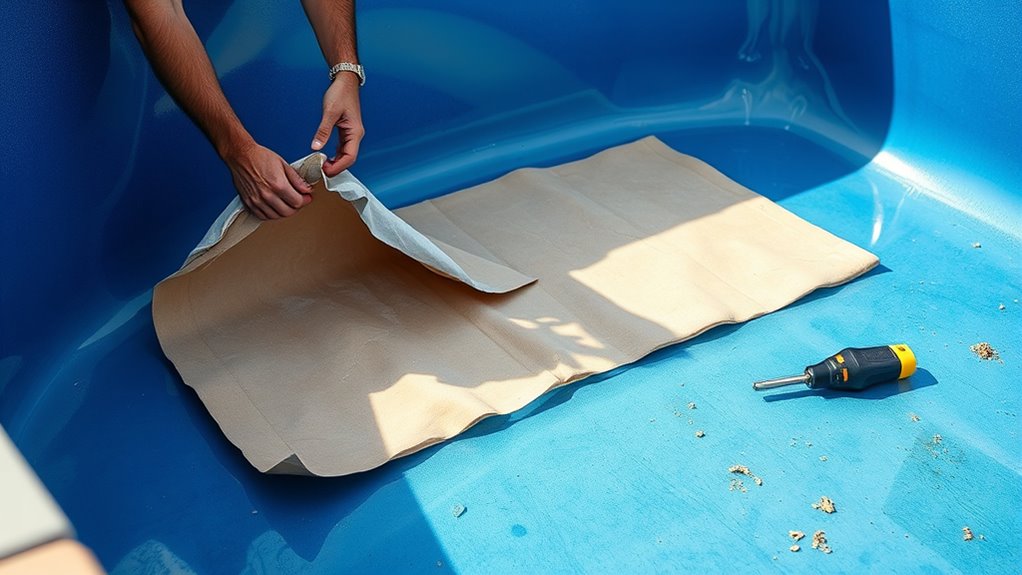
Before installing a new bottom pad, you need to remove the old vinyl liner and its existing padding. Start by draining the pool completely and removing any loose debris. Carefully detach the vinyl liner from the pool walls, pulling it out slowly to avoid tears. Once the liner is out, locate the old bottom pad. Most pads are glued or taped in place, so gently peel it away, working from one corner to the next. Use a utility knife or scraper if necessary to loosen stubborn spots. Be cautious not to damage the pool’s surface. Dispose of the old liner and padding properly. Removing the old padding ensures a clean, smooth surface, ready for the new bottom pad to be installed securely and evenly.
Inspecting the Pool Surface for Damage or Debris

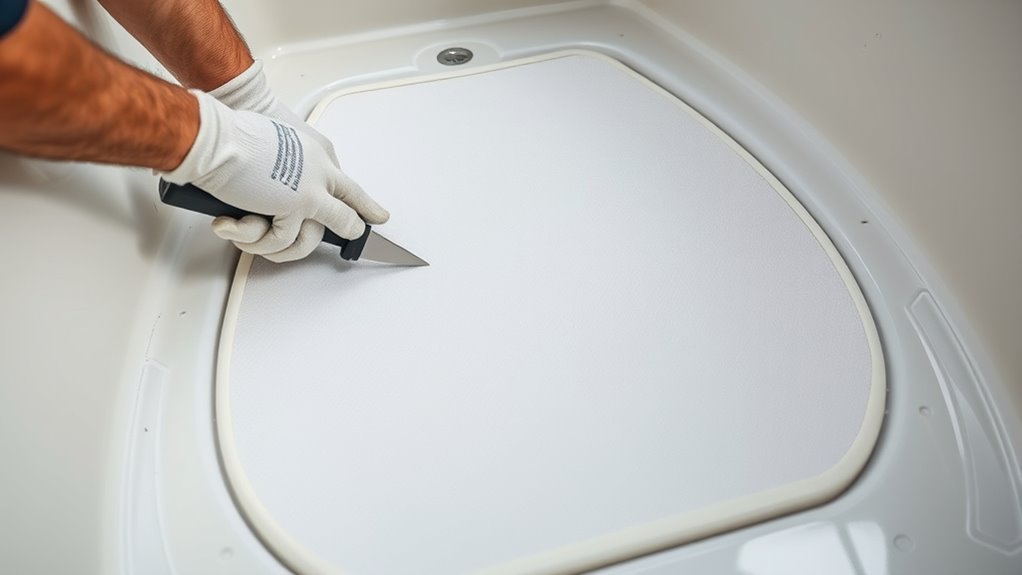
Inspecting the pool surface thoroughly is essential before replacing the vinyl liner bottom pad. You want to look for cracks, sharp edges, or rough spots that could damage the new pad. Remove any debris, such as leaves, dirt, or algae, to prevent punctures or uneven surfaces. Check for signs of mold, algae buildup, or mineral deposits that might indicate underlying problems. Run your hand carefully over the surface to feel for rough patches or protrusions. Ensure the surface is smooth and even before proceeding. Address any small cracks or chips to prevent future issues. Taking the time to inspect and clean the surface guarantees the new bottom pad will sit properly, offering better protection and extending the lifespan of your liner.
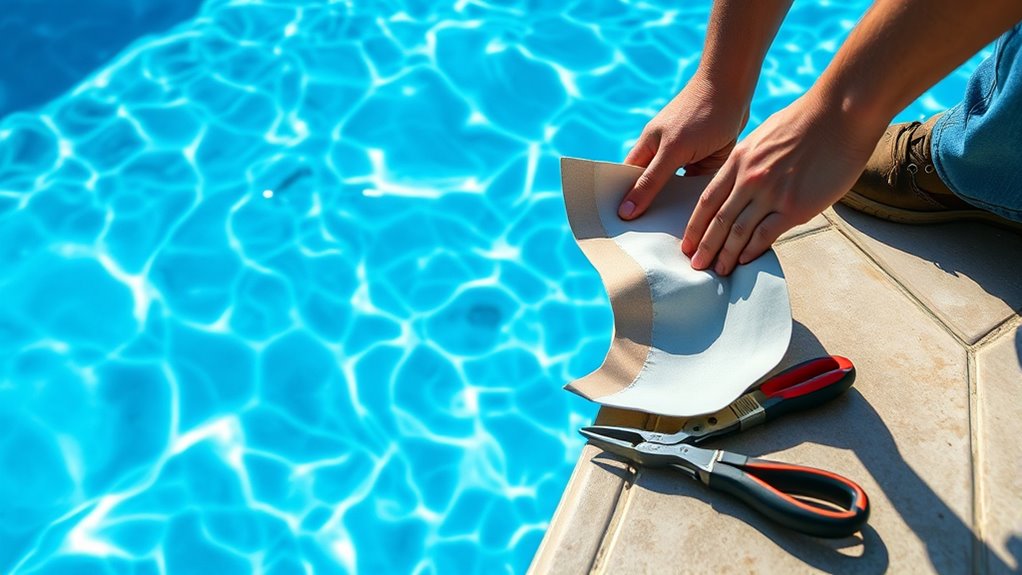
Cutting and Fitting the New Bottom Pad
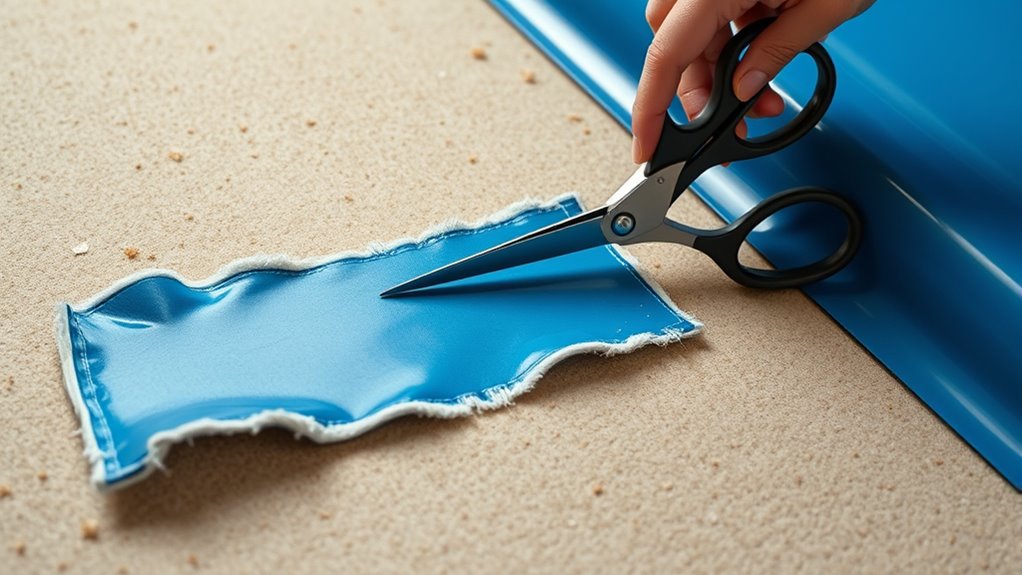
To guarantee the new bottom pad fits perfectly, start by measuring the pool’s interior dimensions carefully. Use a tape measure to record the length, width, and any curves or irregularities. Transfer these measurements onto the new pad with a marker, ensuring accuracy. When cutting, use sharp scissors or a utility knife for clean, straight edges. Cut slowly and follow your markings precisely, avoiding rough or jagged cuts that could cause gaps or bunching. Remember, it’s better to cut slightly larger than needed—you can always trim excess later. Before final fitting, double-check your measurements to prevent mistakes. Properly fitting the pad ensures a smooth, even surface and sets the stage for secure attachment in the next step.
Securing the New Pad in Place
To keep your new pad secure, you need to apply the right adhesive carefully across the surface. Make sure the fit is snug and the pad sits evenly without gaps or overlaps. Properly securing the pad guarantees it stays in place and performs well over time.
Proper Adhesive Application
Applying adhesive correctly is essential to guarantee the new vinyl liner bottom pad stays securely in place. Start by cleaning both the surface and the pad thoroughly to remove dirt and oils. Use a high-quality, pool-safe adhesive and apply it evenly with a roller or brush, avoiding drips or gaps. Work in sections to prevent the adhesive from drying before you position the pad. Clamp or weigh down the pad while the glue sets to ensure full contact. To help you stay organized, here’s a quick guide:
| Step | Tool Needed | Key Tip |
|---|---|---|
| Clean surfaces | Cloth, cleaner | Remove all debris |
| Apply adhesive | Roller or brush | Spread evenly |
| Position pad | Hands, clamps | Align carefully |
| Secure in place | Weights, clamps | Keep steady during drying |
| Let dry | Time, patience | Follow adhesive instructions |
Ensuring Secure Fit
Once you’ve applied the adhesive and positioned the new vinyl liner bottom pad, guaranteeing it stays securely in place is key. Press down firmly along the entire surface to eliminate air bubbles and create a strong bond. Use a roller or your hands to smooth out the pad, working from the center outward. Clamp or weigh down the edges if necessary, especially if the adhesive needs extra time to set. Double-check that the pad remains aligned with the surrounding area and hasn’t shifted during pressing. Proper pressure ensures good adhesion and prevents future lifting or bubbling. Allow the adhesive to cure fully according to the manufacturer’s instructions before filling the pool again. This step guarantees your new liner stays secure, providing a long-lasting, leak-free fit.
Reinstalling the Vinyl Liner and Ensuring Proper Fit
After removing the old liner and preparing the surface, carefully position the new vinyl liner so it lays flat and aligns with the pool’s contours. Gently unroll the liner, working from the center outward to prevent wrinkles. Make sure the liner’s edges match the pool’s shape and that the seams are correctly aligned. Tuck the excess liner over the pool’s top rails or coping, depending on your pool’s design. Check that the liner fits snugly, without any loose areas or folds. Smooth out any wrinkles as you go, ensuring even distribution. Take your time to position the liner properly—this step is vital for a secure, long-lasting fit. Once aligned, you’re ready to proceed with securing and finishing the installation.
Refilling the Pool and Checking for Issues
As you begin refilling the pool, keep a close eye on the water level and make certain the liner remains properly aligned. Watch for uneven water distribution that could indicate shifting or wrinkles. Check the liner edges as they settle to ensure they stay tucked under the coping or edging. Listen for any unusual sounds, like water splashing or gurgling, which might signal leaks or improper sealing. Examine the entire liner surface for wrinkles, bulges, or loose spots. Use a level if necessary to confirm the pool’s bottom stays flat. If you notice water loss beyond normal evaporation, inspect seams and fittings for leaks. Taking these steps helps catch issues early, ensuring your pool remains properly sealed and safe to use.
Tips for Maintaining Your New Bottom Pad

To keep your new bottom pad in top condition, regular maintenance is essential. Start by cleaning it weekly with a gentle brush and mild soap to remove dirt and debris that can cause wear. Check for signs of damage or uneven spots that could affect your pool’s comfort and safety. Properly draining and drying the area after use prevents mold and mildew buildup. Avoid sharp objects that might puncture or tear the pad. Store the pad in a cool, dry place during the off-season to prolong its lifespan.
| Tip | Benefit |
|---|---|
| Clean regularly | Extends pad’s durability |
| Inspect for damage | Prevents costly repairs |
| Keep dry after use | Avoids mold and mildew |
| Store properly | Maintains quality over time |
| Handle gently | Preserves the pad’s integrity |
Frequently Asked Questions
How Often Should I Replace My Pool’S Bottom Pad?
You might wonder how often to replace your pool’s bottom pad, and it depends on factors like usage, water chemistry, and installation quality. Generally, you should check it annually for signs of wear, tears, or unevenness. If you notice any issues, replace it promptly to prevent liner damage. Regular inspections help extend your liner’s life, ensuring a smooth, comfortable pool experience. Replace the pad when it shows significant deterioration or damage.
Can I Use a Different Material for the Bottom Pad?
Using a different material for your pool’s bottom pad is like choosing a different kind of foundation for a house. You can, but it’s vital to make sure it’s compatible and provides proper support. Foam or rubber pads might work, but always check with your liner manufacturer’s recommendations. Using the wrong material could lead to leaks or damage. Stick to approved options for safety and longevity.
What Are Common Mistakes During Bottom Pad Replacement?
When you replace a bottom pad, you might make mistakes like not measuring correctly, which leads to an ill-fitting pad, or ignoring the manufacturer’s instructions. You could also damage the liner by using sharp tools or rushing the installation. To avoid these errors, take your time, double-check measurements, and follow the instructions carefully. Proper preparation guarantees a secure fit and prevents future leaks or damage.
Is Professional Help Necessary for Replacing the Bottom Pad?
Think of replacing your pool’s bottom pad as steering through a tricky maze—you might stumble without guidance. While you can tackle it yourself, professional help acts like a seasoned guide, ensuring you avoid costly errors and uneven surfaces. If you’re confident in your skills and have the right tools, you might manage it solo. But if you’re unsure or want peace of mind, hiring a pro keeps the process smooth and stress-free.
How Long Does a Typical Bottom Pad Replacement Take?
Replacing a bottom pad usually takes about 1 to 3 hours, depending on your experience and the pool’s size. You’ll need to drain the pool, remove the old pad, and install the new one carefully to guarantee proper fit. If you’re comfortable with DIY projects, you might finish faster. However, if you’re new to this, it’s wise to set aside extra time or consider professional help for a smooth, efficient replacement.
Conclusion
Think of your pool’s bottom pad as its sturdy heartbeat—supporting and protecting every splash and swim. When you replace it, you’re renewing its foundation, allowing the fun to flow smoothly. Just like tending to a garden, caring for this crucial layer ensures your oasis stays vibrant and inviting. With a little effort, you’re not just fixing a pad; you’re nurturing a place where memories will ripple for years to come.