To replace pump O-rings and gaskets, start by shutting off the pump and relieving pressure. Carefully disassemble components, noting gasket placement and cleaning surfaces thoroughly. Select new gaskets and O-rings that match your pump specifications and are suitable for your fluid and pressure conditions, like Viton or PTFE. Install the new seals, ensuring proper alignment and torque, then reassemble. Double-check for leaks and proper sealing, and continue with detailed steps to guarantee a secure, long-lasting repair.
Key Takeaways
- Shut down the pump, relieve pressure, and carefully disassemble components, noting gasket placement and condition.
- Inspect existing seals for wear or damage, and select matching replacement gaskets and O-rings compatible with operating conditions.
- Clean all mating surfaces thoroughly to remove debris, old gasket residue, and corrosion for proper sealing.
- Install new gaskets and O-rings carefully, ensuring correct alignment, seating, and adherence to manufacturer’s torque specifications.
- Reassemble the pump, perform leak checks, and conduct operational tests to confirm proper sealing and functionality.
Replacing pump O-rings and gaskets is a straightforward process that can prevent leaks and guarantee your pump operates efficiently. The first step is to carefully inspect the existing seals to determine if they’re worn, cracked, or damaged. When selecting replacement parts, it’s essential to consider seal compatibility, ensuring the new O-rings and gaskets match the specifications of your pump. Compatibility isn’t just about size; it also involves understanding the gasket material’s properties to withstand the specific fluids and pressures your pump handles. For instance, if you’re working with aggressive chemicals, you’ll need gaskets made from chemical-resistant materials like Viton or PTFE, whereas standard applications might only require rubber or silicone gaskets.
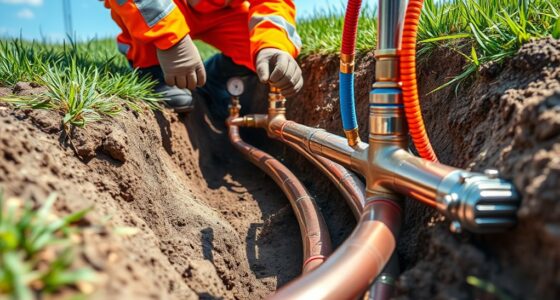
Before removing the old seals, shut off the pump and relieve any pressure to prevent accidents. Carefully disassemble the pump components, taking note of how the gaskets and O-rings fit into place. When removing worn seals, be gentle to avoid damaging the mating surfaces, which can cause future leaks if not properly cleaned. As you prepare to install the new gasket, ensure that the mating surfaces are clean, free of dirt, old gasket residue, and corrosion. A clean surface guarantees a proper seal and prevents leaks down the line. It’s also important to consider proper toilet maintenance and repairs practices to ensure the longevity of your pump and prevent recurring issues.
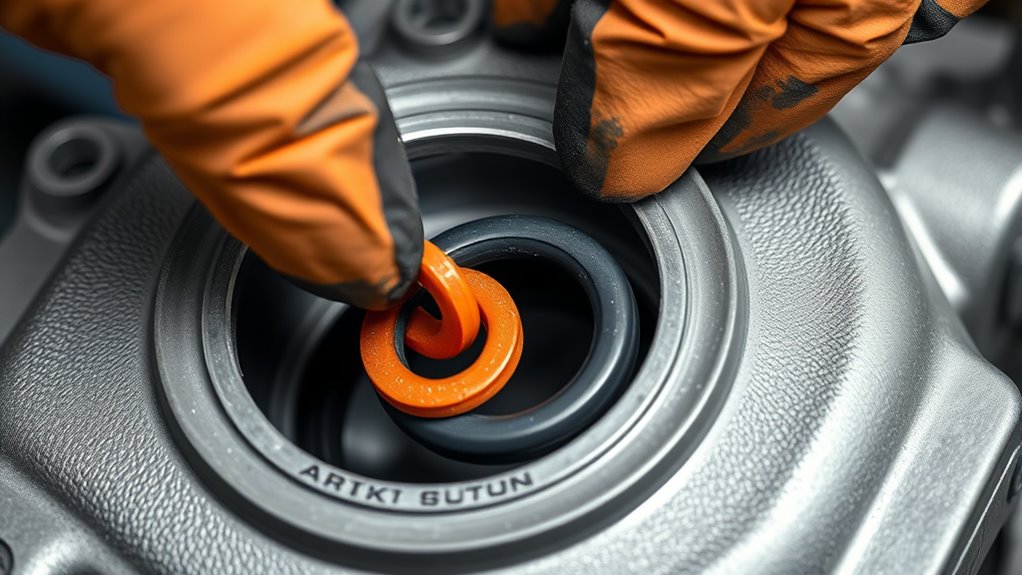
Choosing the right gasket material is vital for long-term durability. For high-temperature or high-pressure applications, materials like graphite or metal may be necessary. In contrast, for standard use, rubber or silicone gaskets often suffice. Always verify that the gasket material’s properties align with the operating conditions of your pump. Once you’ve confirmed the gasket material and its compatibility, position the gasket carefully, making sure it’s aligned correctly and seated firmly in place. Follow the manufacturer’s torque specifications when tightening bolts to avoid deforming the gasket or compromising seal integrity.
After reassembling the pump, double-check that all connections are tight and properly sealed. Turn the pump back on slowly, observing for any signs of leaks. If leaks persist, double-check the gasket placement, material suitability, and seal compatibility. Regular inspection of the seals over time helps catch issues early before they cause significant damage or operational downtime. With proper attention to gasket material and seal compatibility, you’ll extend your pump’s lifespan and maintain top performance, preventing costly repairs and downtime.
Frequently Asked Questions
How Do I Identify the Correct Replacement O-Rings and Gaskets?
To identify the correct replacement o-rings and gaskets, you need to focus on material compatibility and sizing accuracy. Check the pump’s manual or existing parts for specific material types, like rubber or silicone, that suit your application. Measure the original parts precisely to guarantee proper fit. Using the right material and size guarantees a proper seal, preventing leaks and ensuring ideal pump performance.
Can I Reuse Old Pump O-Rings and Gaskets?
You shouldn’t reuse old pump O rings and gaskets because their O ring compatibility and gasket material may have degraded, causing leaks or failure. Over time, these parts lose their elasticity and sealing ability. Always replace them with new, compatible O rings and gaskets made from suitable gasket material. This guarantees a proper seal, preventing leaks and prolonging your pump’s lifespan. Trust fresh parts for peak performance.
What Tools Are Essential for Replacing Pump Seals?
Did you know that using the right tools can extend pump seal lifespan by up to 30%? To replace pump seals effectively, you need a tools checklist that includes screwdrivers, a seal puller, pliers, and a torque wrench. Make sure to identify the seal correctly, as seal identification guarantees you choose the right replacement. Having these tools on hand simplifies the process and guarantees a proper, leak-free fit.
How Often Should Pump O-Rings and Gaskets Be Replaced?
You should replace pump o-rings and gaskets during regular seal maintenance, typically every 1 to 3 years, depending on usage and operating conditions. Keep an eye out for signs of wear, such as leaks or cracks, which indicate the need for immediate replacement. Following proper replacement intervals helps prevent failures, extends equipment life, and guarantees peak pump performance. Always consult your manufacturer’s recommendations for specific maintenance schedules.
Are There Specific Lubricants Recommended for Installation?
You should use lubricants that are compatible with your pump’s materials, ensuring smooth installation and sealing. Opt for silicone-based or glycerin lubricants, which work well with rubber o-rings and gaskets. Follow installation tips by applying a thin, even coat, avoiding excess, and ensuring the lubricant doesn’t compromise the seal. Always check manufacturer recommendations for lubricant compatibility to prevent damage and maintain pump efficiency.
Conclusion
Now that you’ve learned how to replace your pump’s o-rings and gaskets, you’re better equipped to keep things running smoothly. Think of this maintenance as a gentle touch, ensuring your system’s longevity without the fuss. With a bit of care and attention, you’ll prevent small issues from blossoming into larger problems. Remember, a little effort now can save you from bigger headaches later—so keep your pump humming quietly in the background.