To seal leaks around pool lights and returns without draining, first turn off your pump and electricity for safety. Inspect the fixtures for cracks or moisture, then clean and dry the area thoroughly. Apply a waterproof, pool-specific sealant around the edges using a precise tool like a putty knife, guaranteeing complete coverage. Let it cure fully before turning the system back on. For more detailed tips, you’ll discover how to ensure your seals last longer and prevent future leaks.
Key Takeaways
- Turn off the pool pump and electrical power before inspecting or sealing fixtures for safety.
- Clean and dry the area thoroughly, removing old sealant and debris for optimal adhesion.
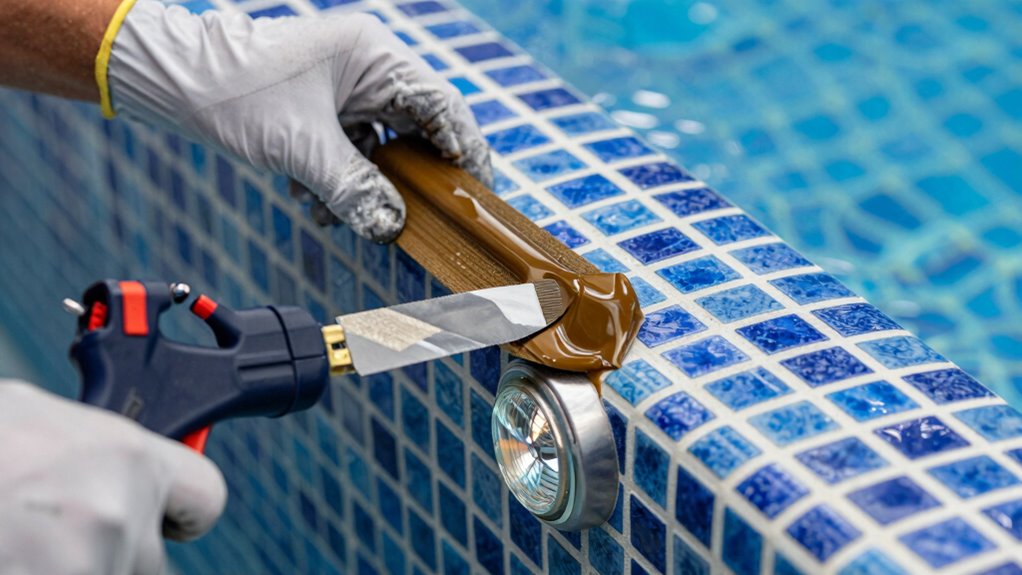
- Apply a waterproof, pool-specific sealant evenly around the light or return fittings with proper tools.
- Ensure the sealant cures fully according to manufacturer instructions before refilling or restarting the pool.
- Regularly inspect and maintain seals to prevent future leaks and extend fixture lifespan.
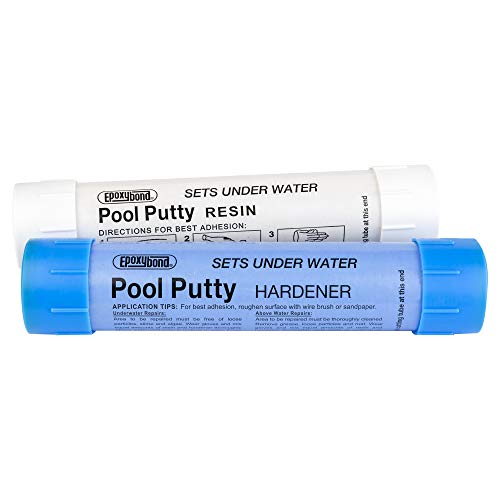
Epoxybond Pool Putty 2-Part Set | Swimming Pool & Spa Repair | Easy DIY | Fix Cracks Leaks Underwater or Above | Concrete, Fiberglass & Variety of Other Surfaces | by Atlas Minerals
- Safe, Hand-Moldable Putty: Apply easily to fix leaks underwater
- Effective Leak and Crack Sealing: Hardens underwater, prevents shrinking or sagging
- Easy Application Without Draining: Use above or below water without draining pool
As an affiliate, we earn on qualifying purchases.
As an affiliate, we earn on qualifying purchases.
How to Detect Leaks Around Pool Lights and Returns
Detecting leaks around pool lights and returns is vital to prevent water loss and structural damage. First, check for visible signs like water pooling around the light fixtures or a sudden drop in water level. You can also perform a simple test: turn off your pool pump and observe if the water level drops over a few hours. Maintaining proper pool chemistry is essential during this process; imbalanced chemicals can cause damage or mislead leak detection. Always follow safety precautions, such as turning off power and wearing protective gear, before inspecting inside the skimmer or around electrical components. Regularly monitoring these areas helps you catch leaks early, ensuring your pool stays safe, efficient, and in top condition. Proper gear maintenance can also help prevent leaks caused by equipment wear or damage. Additionally, understanding indoor air quality principles can help you recognize signs of moisture intrusion or hidden leaks that may affect surrounding structures. Being aware of moisture intrusion can assist in early leak detection and prevent long-term damage. Incorporating advanced leak detection methods such as electronic listening devices can further improve accuracy and identify hidden leaks more effectively.
Preparing Your Pool for Leak Repair Without Draining
Once you’ve identified a leak around your pool light or return, preparing for repairs without draining the water can save time and effort. Start by testing your pool chemistry to ensure proper balance, as this minimizes stress on the pool structure during repairs. Maintain correct pH, alkalinity, and chlorine levels to prevent further damage and promote a safe environment. Next, double-check that your pool’s filtration system is functioning properly to avoid additional leaks or issues during the repair process. Prioritize pool safety by turning off electrical equipment and securing any loose fixtures. Clear the area around the leak and gather your tools and sealants. Proper preparation reduces risks and makes the leak repair process smoother and more efficient. Additionally, consulting with smart pool monitoring devices can provide real-time insights into your pool’s condition during repairs.
Choosing the Best Sealant and Materials for Pool Fixtures
Choosing the right sealant and materials is essential to guarantee a durable and watertight repair around your pool fixtures. First, ensure sealant compatibility with your pool’s materials to prevent chemical reactions or deterioration. Second, prioritize material durability to withstand constant water exposure and temperature fluctuations. Third, select sealants designed specifically for underwater or wet environments for excellent sealing performance. Polyurethane, silicone, and epoxy sealants are common options; each offers unique benefits. Silicone sealants excel for flexibility and longevity, while epoxy provides strong adhesion for permanent fixes. Always check manufacturer specifications to match the sealant with your pool’s fixtures. Additionally, understanding the chemical resistance of your chosen sealant helps prevent breakdown over time. Considering the UV resistance of the sealant can help maintain sealing integrity under sun exposure. To further ensure long-term effectiveness, evaluate the application process recommended by the manufacturer, as proper application can significantly influence durability. Choosing a sealant with easy application features can simplify the repair process and improve results. Moreover, selecting high-quality materials can also help resist biological growth that may develop in submerged environments, ensuring a cleaner and more durable seal. By choosing high-quality, compatible materials, you ensure your repair lasts long-term without compromising safety or water integrity.
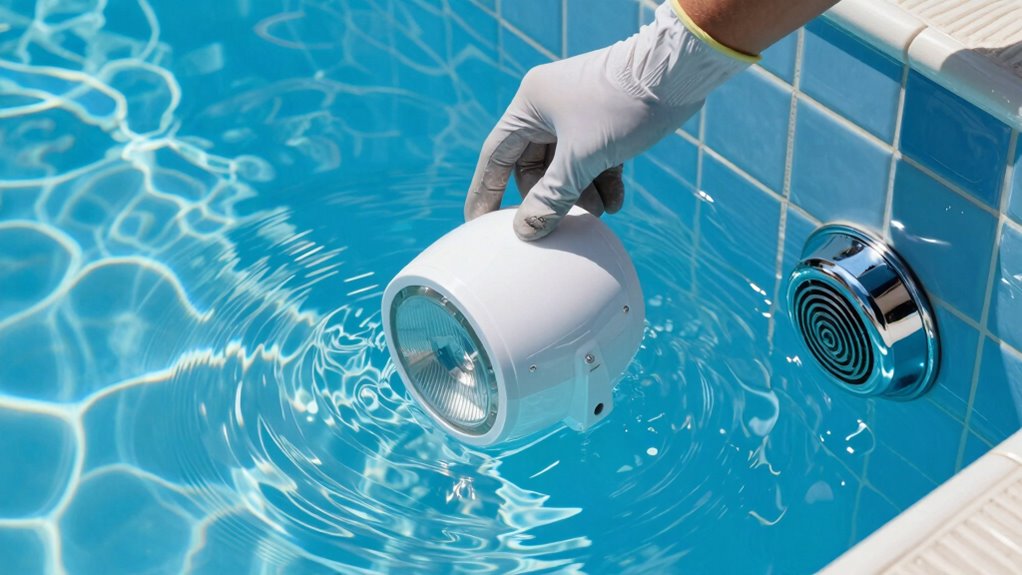
Step-by-Step: Sealing Pool Lights and Returns Without Draining
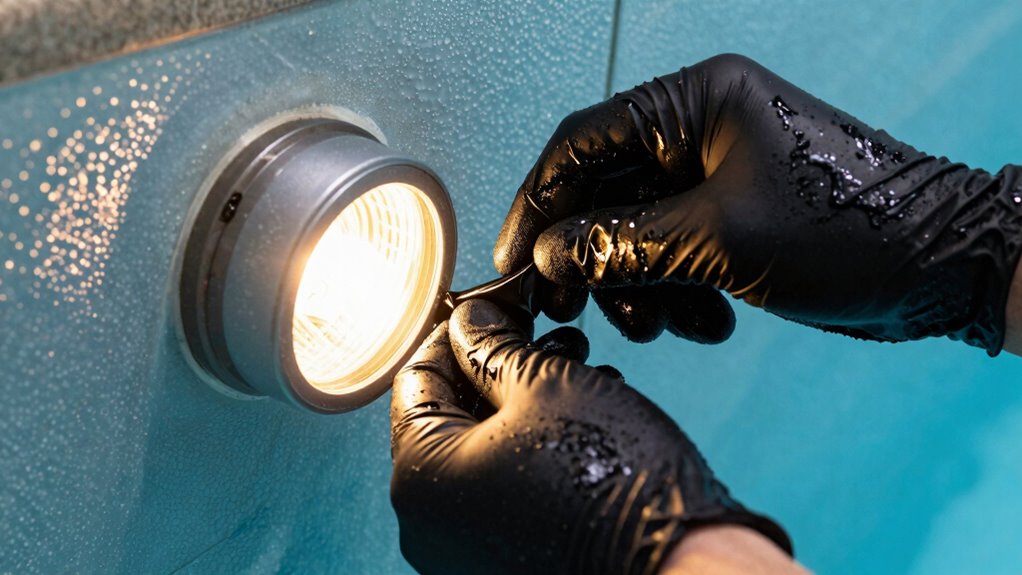
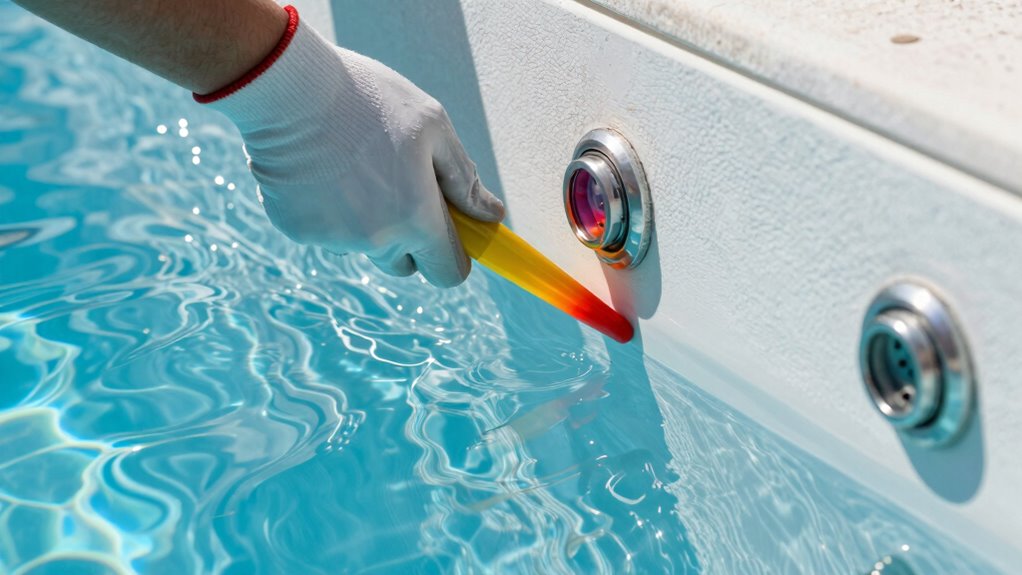
Sealing pool lights and returns without draining the pool is achievable with careful preparation and proper techniques. Begin by turning off the pool pump and electricity to ensure safety. Remove the pool light from the niche or loosen the return fittings slightly, depending on the setup. Apply a high-quality, waterproof sealant specifically designed for pool fixtures around the edges of the pool lighting or return fittings. Use a putty knife or brush for precise application, ensuring the sealant fully covers gaps. Once sealed, tighten the fittings carefully to avoid damaging the seal. It is also important to verify that the sealant you choose is compatible with Free Floating pool environments to ensure durability. Proper sealant application ensures a long-lasting, watertight seal. Allow the sealant to cure as per manufacturer instructions before refilling the pool or turning the pump back on. This method prevents leaks while keeping your pool operational.
Troubleshooting Sealant Problems and Fixing Common Issues

Even with careful application, sealant problems can still occur, leading to persistent leaks or compromised repairs. Common issues include improper sealant compatibility with pool materials, insufficient curing time, and surface preparation mistakes. To troubleshoot effectively: 1. Verify that the sealant used is compatible with your pool’s materials and environment. 2. Allow adequate curing time before exposing the seal to water or pressure, as rushing curing can weaken the bond. 3. Ensure the surface was properly cleaned and dry before application, preventing adhesion failures. Recognizing these factors helps you pinpoint the root of sealant problems. If leaks persist, reapply the correct sealant, giving it enough time to cure fully. Proper attention to material compatibility and curing time guarantees long-lasting, effective seals. Additionally, understanding the sealant’s chemical properties can help you select the best product for your specific pool setup. Paying close attention to surface preparation ensures optimal adhesion and durability of the sealant over time. For best results, consider consulting manufacturer instructions to follow specific application guidelines tailored to your sealant type.
How to Ensure Your Seals Last and Prevent Future Leaks
To guarantee your pool seals last and prevent future leaks, it’s essential to follow proper maintenance and inspection routines regularly. Start by checking seal quality frequently, ensuring there are no cracks or signs of deterioration. Proper cleaning before resealing helps the sealant adhere better and extends its longevity. Use high-quality sealant designed for pool environments, as this directly impacts sealant longevity and overall performance. Avoid rushing the curing process; give the sealant adequate time to set completely before exposing it to water. Regularly inspecting the seals after installation allows you to catch early signs of wear or damage. Additionally, understanding the importance of indoor air quality can help you maintain a healthier environment around your pool area. Incorporating proper ventilation practices can reduce the buildup of moisture and improve overall indoor air conditions. Maintaining good water chemistry also plays a role in preventing seal deterioration by reducing corrosive elements. Being aware of moisture control techniques can further protect your seals from future damage. Regularly monitoring humidity levels can help prevent mold growth and material degradation. By maintaining these practices, you maximize the durability of your seals and markedly reduce the risk of future leaks around your pool lights and returns.
Maintenance Tips to Keep Your Pool Leak-Free

To keep your pool leak-free, you should regularly inspect your lights and seals for any signs of wear or damage. Make sure to apply sealants properly, following the manufacturer’s instructions for the best results. Consistent maintenance helps prevent leaks and extends the lifespan of your pool’s lighting system. Additionally, understanding the importance of routine checkups can help identify potential issues early before they lead to leaks.
Regular Inspection Practices
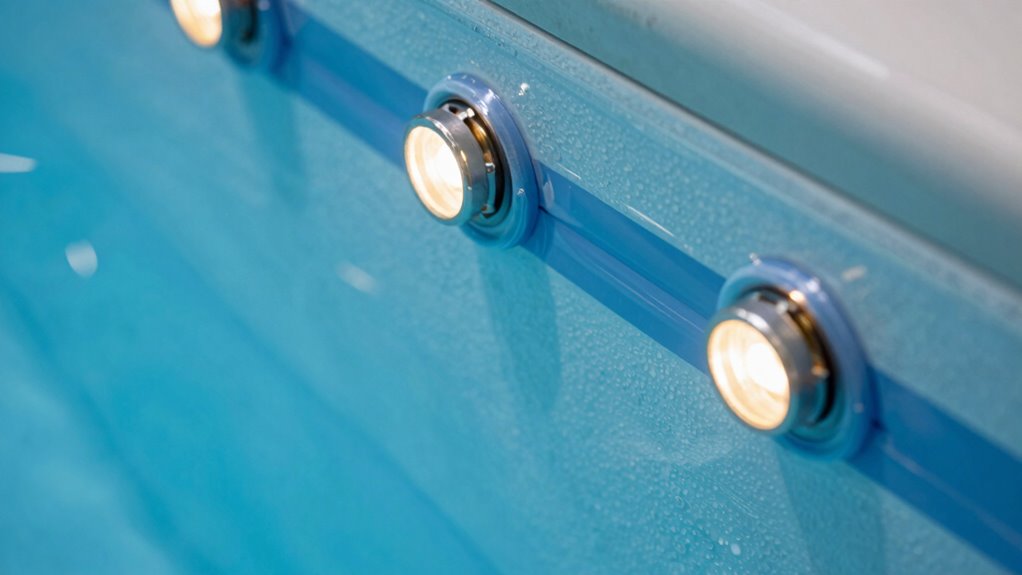
Regularly inspecting your pool light guarantees early detection of leaks before they become costly problems. Consistent checks help you spot issues quickly, saving you time and money. When performing inspections, keep these key practices in mind:
- Monitor pool chemistry – Unbalanced chemicals can cause corrosion or damage, leading to leaks.
- Use safety precautions – Always turn off electricity and wear protective gear to prevent accidents.
- Inspect seals and fittings – Look for cracks, discoloration, or moisture around light fixtures and returns, indicating potential leaks.
Proper Sealant Application
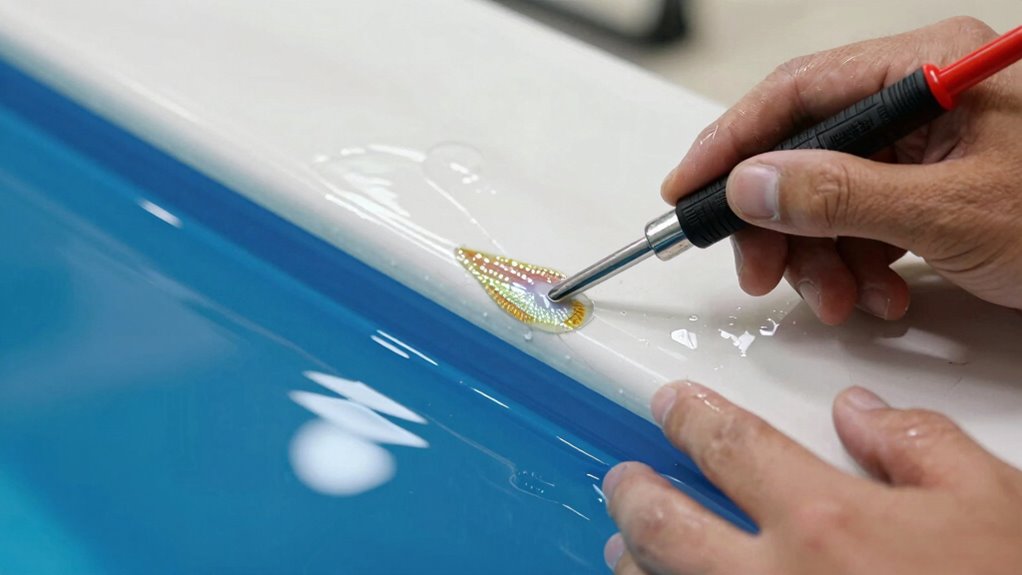
Applying sealant correctly is essential for preventing leaks around your pool light. To ensure a proper seal, start with thorough surface preparation. Clean the area of any dirt, algae, or old sealant, and dry it completely. This helps the sealant adhere firmly and prevents future leaks. Use the right sealant for your pool’s material and follow the manufacturer’s instructions carefully. When applying the sealant, use consistent, even sealant application techniques, avoiding gaps or air bubbles. Apply a sufficient bead of sealant around the light or return fitting, smoothing it out with a suitable tool if needed. Proper surface preparation combined with precise sealant application techniques guarantees a long-lasting, leak-proof seal around your pool light.
Frequently Asked Questions
Can I Seal Leaks Around Pool Fixtures During the Swimming Season?
Yes, you can seal leaks around pool fixtures during the swimming season with temporary fixes like waterproof sealant or epoxy putty. These options provide a quick patch, but for a lasting solution, consider professional repairs or re-sealing during off-season. Temporary fixes help you enjoy your pool now, but don’t forget that permanent solutions ensure the leak stays sealed long-term and prevents further water loss or damage.
What Are Signs of a Leak That Aren’t Visible Externally?
You might notice signs of a leak that aren’t visible externally, like subtle dampness around the pool area or changes in water levels over time. Groundwater intrusion can cause unexplained wet spots or increased humidity, even if no visible cracks are present. Keep an eye on the pool’s water level, and if it drops consistently, it could indicate a hidden leak caused by groundwater intrusion or other unseen issues.
Is It Safe to Use DIY Sealants on Pool Fixtures?
Using DIY adhesives on pool fixtures can be safe if you choose the right products designed for pool safety. Always read labels to make sure they’re compatible with pool materials and won’t damage your equipment. Avoid overly strong or household adhesives that might fail over time. Proper sealing helps prevent leaks, but if you’re unsure, consulting a professional ensures your pool remains safe and secure for swimming.
How Long Does a Sealant Typically Last Without Draining the Pool?
Think of your pool’s sealant as a ticking clock—its durability varies. Usually, a good sealant lasts 3 to 5 years without draining, but this depends on water chemistry and exposure. To keep it in top shape, regularly check for cracks or leaks, and perform maintenance tips like cleaning the area and applying sealant properly. Staying proactive guarantees your pool stays sealed and leak-free longer.
Are There Professional Services for Leak Repairs Without Draining?
Yes, you can find specialized leak detection and professional repair services that address leaks without draining your pool. These experts use advanced methods like acoustic or electronic leak detection to pinpoint issues precisely. They then perform repairs, such as sealing around lights and returns, without the need for draining your entire pool. This approach saves time, reduces costs, and minimizes disruption to your swimming season.
Conclusion
Sealing leaks around your pool lights and returns without draining might feel like patching a boat while it’s still afloat, but with the right steps, you can keep your pool watertight. Remember, regular maintenance is your best defense—think of it as tuning a musical instrument to keep everything sounding perfect. Stay vigilant, and you’ll enjoy a leak-free pool season, just like a well-tuned instrument that plays beautiful music all year round.