To install an automatic water-leveler, start by gathering your tools and selecting a stable, accessible location near your water source. Connect the water supply line securely, installing filters and shut-off valves to control flow. Attach the float valve or sensor to the tank, ensuring proper position and calibration for accurate detection. Test the system to verify it stops at the correct water level, then make final adjustments to ensure safe, reliable operation. If you’re interested, there’s more to learn about each step.
Key Takeaways
- Select a stable, accessible location near the water source and ensure proper drainage and environmental protection.
- Prepare the water supply line with filters, shut-off valves, and verify water pressure before connection.
- Install the float valve or sensor at the correct water level, ensuring free movement and proper calibration.
- Test the system by manually filling the tank, adjusting the sensor for accurate shut-off, and observing system response.
- Perform safety checks on wiring, power supply, and safety features, making final adjustments for reliable, secure operation.
Gathering the Necessary Tools and Materials
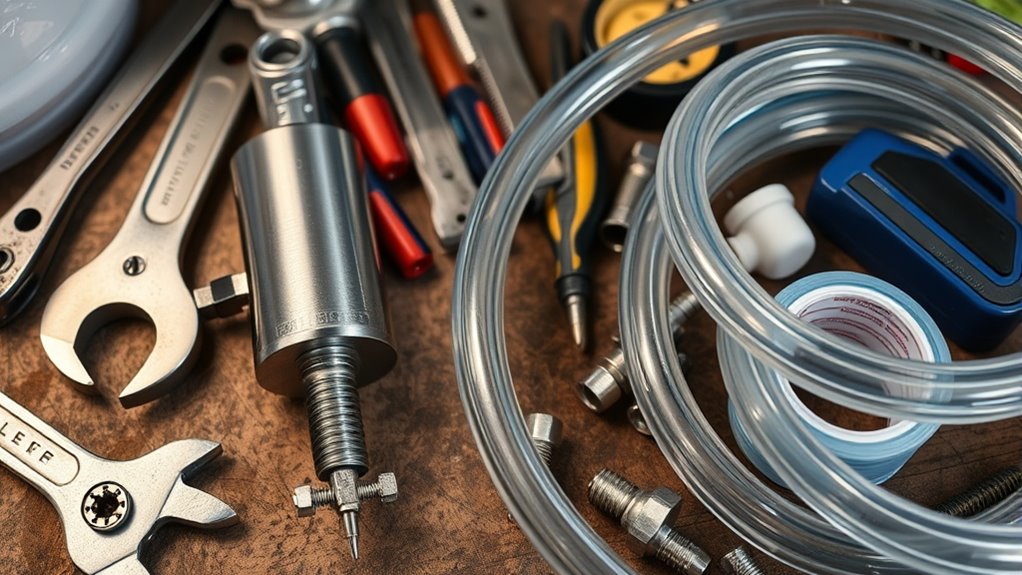
Before you begin installing an automatic water-leveler, it’s important to gather all the necessary tools and materials. Start by checking the water quality, as impurities can affect the system’s performance; you may need filters or water treatment options. You’ll also want to have a drill, screwdrivers, pliers, and pipe cutters on hand. Confirm you have the correct fittings and hoses compatible with your water tank. Pay attention to the power requirements of the water-leveler, verifying that your electrical supply matches the device’s voltage and amperage needs. Having a multimeter can help verify power connections. Organizing these tools and materials beforehand will streamline the installation process, prevent interruptions, and ensure your water-leveler functions reliably from the start. Additionally, reviewing privacy and cookie usage guidelines can help you understand how online tools might assist in planning your project effectively. Incorporating advanced data processing speeds can also aid in troubleshooting and optimizing your setup during installation. Properly understanding water filtration can further improve the longevity and efficiency of your water-leveler system. Conducting a system calibration before final setup ensures accurate water level detection and proper operation. To ensure safe and effective installation, consulting the user manual of your specific water-leveler model is recommended.
Choosing the Right Location for Installation

Selecting the essential location for your automatic water-leveler is important to guarantee reliable operation and easy access for maintenance. You should consider landscape considerations, ensuring the spot is level and protected from environmental elements like strong sunlight or flooding. Additionally, selecting a location with good drainage can prevent water accumulation that might damage the unit. Accessibility factors are also critical; place the unit where it’s easy to reach for inspections and adjustments without hassle. Furthermore, considering the potential impact of environmental factors such as weather conditions can help extend the lifespan of your installation. Here are three key points to keep in mind: 1. Choose a level, stable surface away from debris or vegetation. 2. Guarantee the location is near the water source but free from obstructions. 3. Position the water-leveler where maintenance can be performed comfortably, avoiding tight or hard-to-reach spots. This careful selection will promote durability and ease of use.
Preparing the Water Supply Line
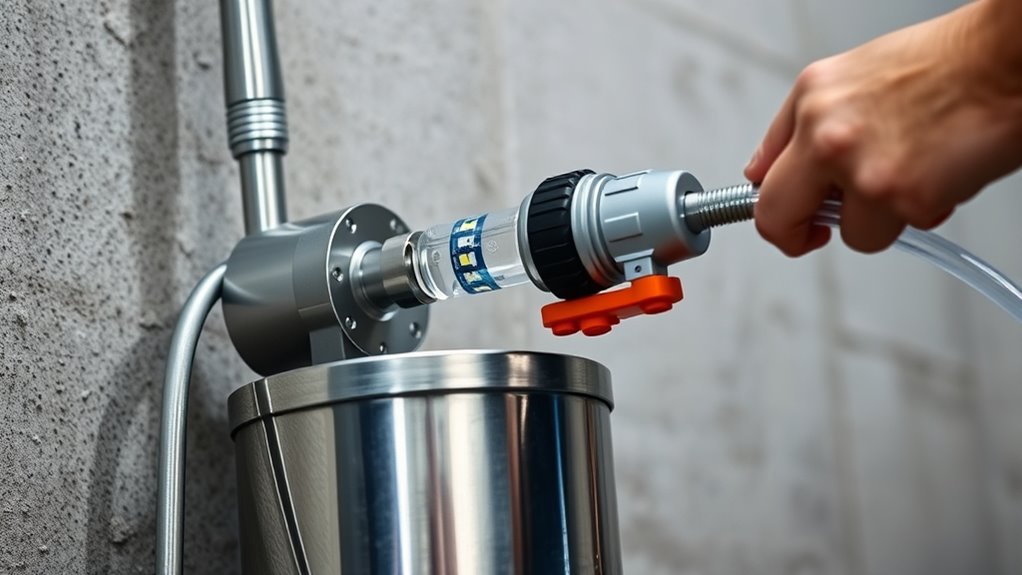
To guarantee your automatic water-leveler functions properly, you need to prepare the water supply line thoroughly. Start by inspecting the line for any leaks or damage, ensuring it connects securely to your drainage system. Use clean, high-quality water to avoid sediment buildup that could impair operation. Install a shut-off valve to control water flow during setup. Filter out debris to maintain water quality and prevent clogs. Be mindful of the water pressure; too high or low can affect performance. The table below highlights key components to check:
| Component | Purpose |
|---|---|
| Shut-off valve | Regulate water flow |
| Filter | Maintain water quality |
| Connection fittings | Secure connection to drainage system |
Additionally, understanding the importance of water pressure can help optimize the system’s efficiency and longevity. Properly managing automation technology ensures reliable operation and reduces the risk of malfunctions, especially when considering protective features that help safeguard the system. Regular maintenance and monitoring of system components are essential for long-term reliability and performance. Conducting periodic inspections can also prevent potential issues caused by sediment buildup and other common contaminants.
Connecting the Water-Leveler to the Tank

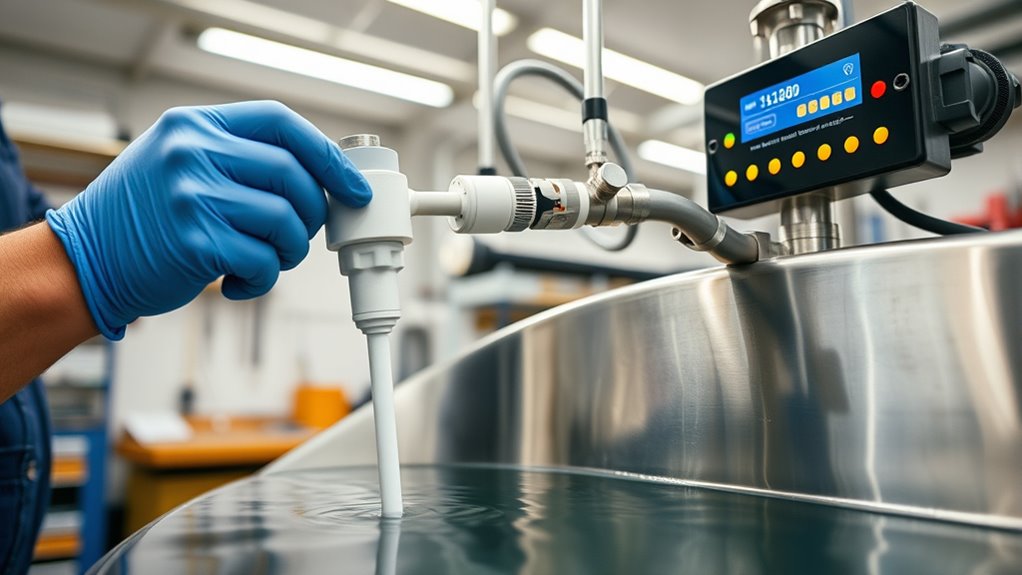
Once you’ve prepared the water supply line, the next step is to connect the water-leveler to your tank. First, position the float valve or sensor in the appropriate spot to guarantee accurate water level detection. Second, securely attach the water-leveler outlet to the tank’s opening, making sure all connections are tight to prevent leaks. Third, double-check that the sensor placement allows for unobstructed movement and proper functioning of the float valve. Proper placement is vital for the system to monitor water levels effectively. Remember, a correctly installed float valve or sensor ensures the water-leveler operates smoothly, maintaining consistent water levels without manual intervention. Additionally, understanding hydrocolloid technology can help you select patches that are most effective for stubborn cystic acne. Recognizing angel number soulmate signs can foster a deeper understanding of meaningful connections that may develop as you maintain your water system. Ensuring proper installation techniques will also help prolong the lifespan of your water-leveler and improve its reliability over time. Moreover, practicing correct calibration can optimize the water level accuracy of your system. Also, paying attention to manufacturer instructions can help prevent common installation errors and improve overall performance.
Installing the Float Valve or Sensor

When installing the float valve or sensor, choosing the right type is vital for reliable operation. You also need to position the sensor correctly to guarantee accurate water level detection. Taking these steps carefully will help your automatic water-leveler work smoothly and efficiently.
Choosing the Right Valve
Choosing the right valve is vital for guaranteeing your water-leveler functions reliably. The valve types vary, so selecting one suited to your setup is essential. Here are some tips to help you choose:
- Material Compatibility: Opt for corrosion-resistant materials like brass or stainless steel to ensure longevity.
- Flow Rate: Match the valve’s flow rate with your water supply to prevent overfilling or underfilling.
- Ease of Installation: Pick valves with straightforward installation tips, such as clear threading and accessible connections, to simplify setup.
Additionally, considering the Dad – Amazing Life Together principles of support and quality can help you select a durable and dependable valve.
Being aware of self watering plant pots and their mechanisms can also guide you in choosing a valve that integrates seamlessly with your watering system.
Positioning the Sensor Properly
Properly positioning the float valve or sensor is key to guaranteeing your water-leveler works accurately. You want the sensor at the right height to avoid false readings and ensure reliable sensor calibration. Mount it so it moves freely without obstruction, and confirm wiring connections are secure. An improperly placed sensor can cause it to trigger too early or too late, disrupting water levels.
| Positioning Tip | Description |
|---|---|
| Correct Height | Set sensor at desired water level |
| Obstruction Free | Ensure no debris blocks movement |
| Secure Mounting | Use proper brackets and tools |
| Wiring Check | Confirm wiring connections are tight |
| Calibration | Test sensor response before final setup |
Testing the System for Proper Functionality
You should now check that the water levels are maintaining correctly with the system in use. Watch how the float valve or sensor responds when the tank reaches the desired level. If everything works smoothly, the system will automatically add water without you needing to intervene.
Verify Water Levels
How can you guarantee the automatic water-leveler is working correctly? First, check the water level accuracy by observing the tank as it fills and drains. Next, ensure the sensor calibration is precise; a miscalibrated sensor can cause incorrect water levels. Finally, verify that the system stops filling at the desired level without overflows or shortfalls.
To do this:
- Manually fill the tank to the specified level and confirm the sensor triggers the shutoff.
- Observe the system as it refills, noting if it stops at the correct water level.
- Adjust the sensor calibration if necessary, following the manufacturer’s instructions, to maintain accuracy.
These steps confirm the system functions properly, providing reliable water levels.
Observe System Response
Once you’ve verified the water levels and calibrated the sensor, it’s important to observe how the system responds during operation. Watch for any signs of system malfunction, such as delays in filling or inconsistent water levels. Ensure the sensor calibration is accurate by confirming the system turns on and off at the correct points. If you notice irregular behavior, check connections and recalibrate the sensor if needed. Use the table below to track system responses:
| Test Step | Expected Result | Actual Result |
|---|---|---|
| Water level reaches set point | System activates water flow | [Your observation] |
| Water reaches full level | System stops filling | [Your observation] |
| No response during test | Possible system malfunction or sensor issues | [Your observation] |
This step helps guarantee your water-leveler operates reliably.
Final Adjustments and Safety Checks
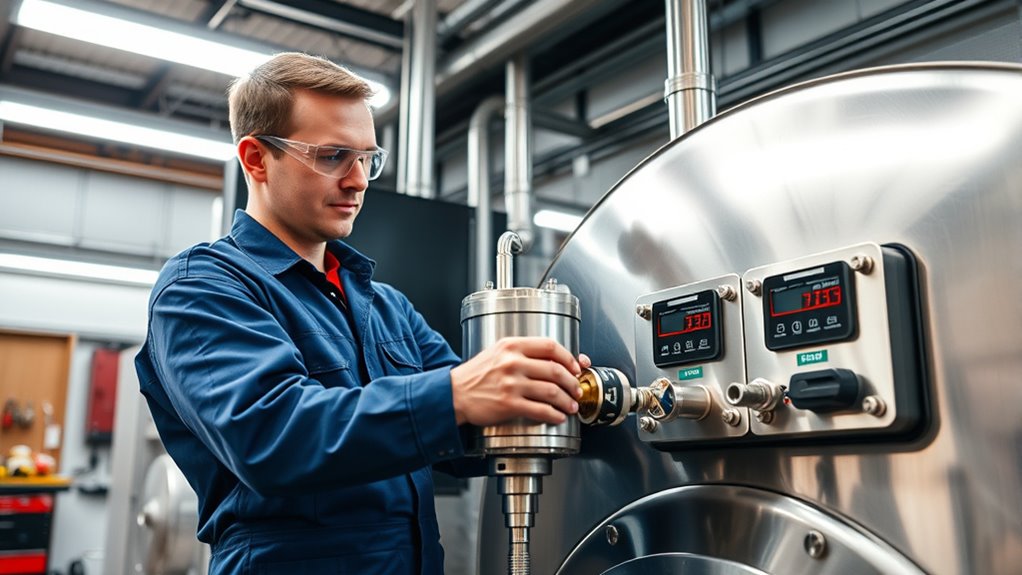
Before finalizing the installation, it’s essential to perform thorough safety checks and make precise adjustments to guarantee the water-leveler operates correctly. First, ensure the sensor calibration is accurate; test the sensor’s response by manually lowering and raising the water level. Second, verify the power source is stable and correctly connected—inspect wiring and secure connections to prevent shorts. Third, check all safety features, such as float switches and emergency shut-offs, to ensure they function properly. These steps help prevent malfunctions and ensure safe operation. By confirming sensor calibration, securing the power source, and testing safety devices, you’ll ensure your automatic water-leveler works reliably and safely for years to come.
Frequently Asked Questions
How Often Should I Perform Maintenance on the Water-Leveler?
You should follow a regular maintenance schedule for your water-leveler to guarantee it functions properly. Typically, inspecting it once a month is recommended, but check the manufacturer’s guidelines for specific instructions. During inspections, look for leaks, buildup, or damage. Performing routine maintenance helps prevent malfunctions and extends the device’s lifespan, so staying consistent with your inspection frequency is key to keeping your water-leveler in ideal condition.
Can I Install the System Outdoors or in Humid Environments?
You can install your water-leveler outdoors or in humid environments, but you should take precautions. Make certain the system is weatherproof and protected from rain, snow, and excessive humidity, which can damage sensitive components. Use waterproof enclosures and proper sealing to prevent moisture intrusion. Regular maintenance is essential to keep the system functioning correctly in outdoor or humid settings, helping to avoid corrosion and electrical issues over time.
What Are Common Signs of a Malfunctioning Water-Leveler?
A malfunctioning water-leveler is like a watch with a broken gear. You might notice the water level fluctuating unexpectedly, or the system not responding when needed. Common signs include sensor failure, where the sensor doesn’t detect water levels properly, and a leaking valve, which can cause water wastage or damage. If these issues appear, it’s time to check and repair or replace the system to keep everything running smoothly.
Is Professional Installation Recommended for Certain Water Tanks?
When considering installing a water tank, you might wonder if DIY installation is suitable. For larger or complex tanks, professional installation is recommended to guarantee safety precautions are properly followed. Experts have the experience to handle the setup correctly, reducing risks like leaks or malfunctions. While DIY can work for small, simple tanks, always prioritize safety precautions and consult professionals if you’re unsure about the process or the tank’s requirements.
How Do I Troubleshoot if the System Fails to Turn Off?
You might find it amusing that your water system refuses to turn off, almost as if it’s got a mind of its own. First, check the sensor calibration—maybe it’s sending false signals. Then, inspect the electrical wiring for loose connections or shorts. Sometimes, a simple reset or cleaning the sensor can do the trick. If it still won’t turn off, it’s time to dig deeper into the wiring and calibration settings.
Conclusion
Now that you’ve installed your water-leveler, sit back and enjoy the thrill of never having to lift a finger again—except maybe to refill that sneaky toilet tank. Watch as your bathroom transforms into a modern marvel, all thanks to your genius handiwork. Just remember, if your new system starts talking back or floods your bathroom, you might want to pretend you’re surprised. Congratulations on becoming the proud owner of a “smart” water system—kind of.