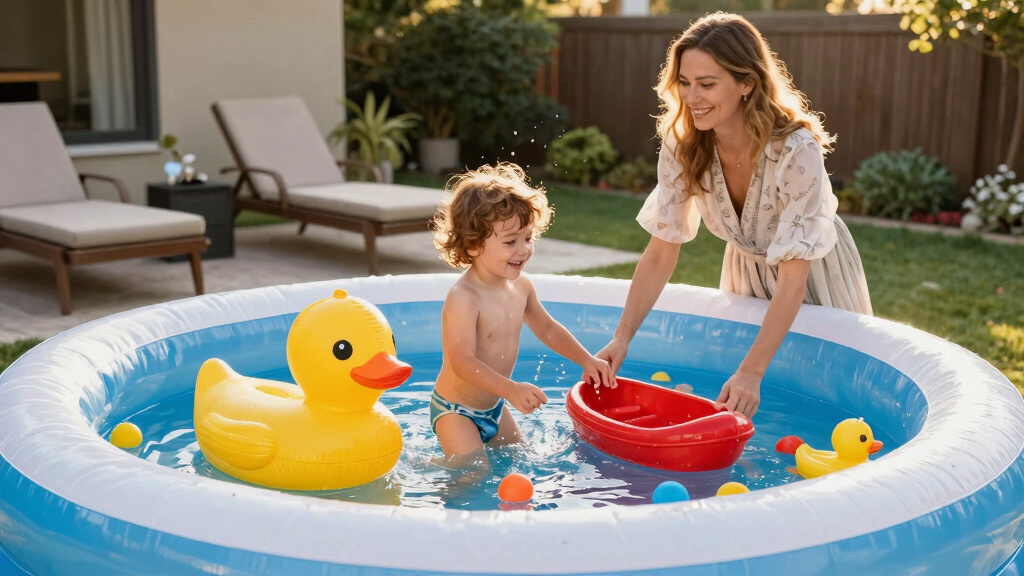

This guide shows how to choose, inflate, and use inflatable pool toys for kids safely. It is suitable for parents or caregivers with little to no experience. By following these steps, you will ensure the toys are properly prepared for fun and safe water play.
Difficulty: Beginner | Time: 30-45 minutes
What You’ll Need
Tools & Materials:
- Air pump (manual or electric)
- Repair kit (usually included with toys)
- Water-safe surface or pool side area
Knowledge:
- Basic understanding of safety around water
- Ability to operate an air pump
Check that the inflatable toy is designed for children’s use and appropriate for the pool size. Have a flat, clean surface ready for inflation.
As an affiliate, we earn on qualifying purchases.
Before You Start
Inspect the inflatable toy for any damage or defects before inflating. Ensure the pump is compatible with the valve type of the toy. Keep children supervised at all times, especially around water.
Step-by-Step Instructions
Step 1: Select the right inflatable toy
Choose a toy appropriate for your child’s age, weight, and swimming ability. Verify the toy’s size and safety labels on the packaging.
Tip:
Look for toys with safety features like rounded edges, non-toxic materials, and proper weight capacity.
Check:
The toy is suitable for your child and ready for inflation.
Step 2: Prepare the inflation area
Place the inflatable toy on a flat, clean surface away from sharp objects. Clear the surrounding area to prevent damage during inflation.
Tip:
Lay down a towel or cloth if the surface is rough to protect the toy’s material.
Check:
The area is clear, flat, and suitable for inflation without risk of punctures.
Step 3: Connect the air pump to the valve
Locate the valve on the inflatable toy. Attach the appropriate nozzle of the air pump securely to the valve.
Tip:
Ensure the nozzle fits snugly to prevent air leaks during inflation.
Check:
The pump nozzle is firmly attached and ready to inflate without air escaping.
Step 4: Inflate the toy gradually
Begin pumping air slowly, monitoring the toy for proper expansion. Stop periodically to check for over-inflation.
Tip:
Avoid over-inflating, which can cause seams to burst or damage the material. Follow manufacturer’s recommended pressure if available.
Check:
The toy is firm but not overly tight, with no bulging seams or signs of stress.
Step 5: Seal the valve securely
Remove the pump nozzle quickly once the toy reaches proper firmness. Close the valve tightly to prevent air loss.
Tip:
Double-check that the valve cap or plug is fully sealed and flat against the toy surface.
Check:
The toy maintains firmness after a few minutes without air escaping.
Step 6: Inspect the inflated toy
Check for any leaks, bulges, or weak spots. Ensure all seams are sealed properly.
Tip:
If you find leaks, use a repair kit to patch the area before use.
Check:
The toy holds air steadily without signs of deflation or damage.
Step 7: Test the toy in shallow water
Place the inflated toy in shallow water under supervision to check stability and buoyancy.
Tip:
Observe how the toy floats and if it remains stable when children interact with it.
Check:
The toy floats steadily, is stable, and shows no signs of leaking or instability.
Common Mistakes to Avoid
- Over-inflating the toy, causing seams to burst or material stress. — Inflate gradually, stopping when the toy is firm but not tight. Follow manufacturer pressure recommendations.
- Using a damaged or defective toy without inspecting first. — Always check for leaks, tears, or weak seams before inflating. Repair any damage prior to use.
- Not securing the valve properly, leading to air loss. — Ensure the valve cap or plug is fully closed and sealed tightly after inflation.
- Inflating on rough or sharp surfaces. — Inflate only on smooth, flat surfaces away from objects that could puncture the toy.
Troubleshooting
Problem: The toy deflates quickly after inflation.
Solution: Check for leaks or punctures, use a repair kit, and re-inflate after patching.
Problem: The toy is difficult to inflate or the pump won’t fit.
Solution: Verify the valve type and nozzle compatibility. Use an adapter or different pump if necessary.
Problem: The toy is unstable or tilts excessively.
Solution: Ensure proper inflation pressure. Slightly deflate if over-inflated, or adjust child’s position during play.
What Success Looks Like
The inflatable toy is fully inflated, holds air steadily, is free of leaks or damage, and floats stably in water. It is safe for children to use with supervision.
Next Steps
Deflate and store the toy properly after use to prevent damage. Regularly inspect for wear or leaks before each use. Always supervise children during water play with inflatable toys. Replace damaged toys promptly.
Frequently Asked Questions
Can I leave the inflatable toy inflated overnight?
It is best to deflate the toy after use to prevent stress on seams and material. If left inflated, check periodically for leaks or damage.
What type of pump is best for inflating pool toys?
An electric pump with a nozzle compatible with the toy’s valve is usually fastest and easiest. Manual pumps work well for small or occasional inflation.
How do I repair a leak in the inflatable toy?
Locate the leak, clean and dry the area, then apply a repair patch from the included kit or a compatible adhesive. Follow the patch instructions carefully.
Are inflatable toys safe for all children?
Use only toys rated for your child’s age and weight. Always supervise children during water play, especially with inflatable toys.