
To improve your underwater photos in a residential pool, choose waterproof or waterproof-housed equipment with good low-light capabilities. Keep the water clear by balancing chemicals and filtering regularly. Use natural sunlight or underwater lights to avoid shadows and enhance colors. Set your camera correctly—adjust white balance, ISO, and shutter speed—and focus on your subject’s eyes or features. For more tips, discover how to master angles, motion, and safety for stunning results.
Key Takeaways
- Ensure pool water is clean and chemically balanced for clear, sharp images.
- Use waterproof or waterproof-housed cameras with wide-angle lenses for better coverage.
- Optimize natural light by shooting during late morning or late afternoon for softer, more even illumination.
- Incorporate external waterproof lights or strobes to enhance colors and reduce shadows.
- Maintain safety and clear communication with models and assistants to ensure a relaxed, successful shoot.
Selecting the Right Camera and Accessories
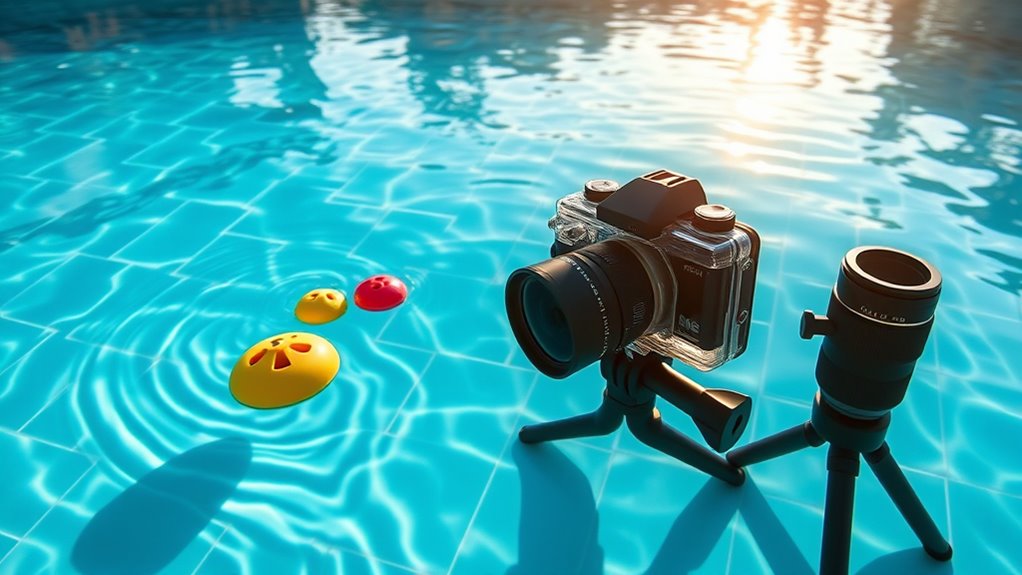
Choosing the right camera and accessories is essential for capturing stunning underwater images. You want equipment that’s durable, easy to operate, and capable of handling water pressure. A waterproof camera or a DSLR/mirrorless camera with a waterproof housing works best. Look for models with good low-light performance, as pool lighting can vary. An underwater housing with a secure seal prevents leaks, while a wide-angle lens helps capture more of your scene. Consider adding a tray and handle system for stability and easier maneuvering. External strobes or waterproof lights can dramatically improve your shots by enhancing colors and reducing shadows. Don’t forget extra batteries and memory cards to avoid interruptions. Investing in quality accessories ensures you’re prepared to get clear, vibrant shots beneath the water’s surface. Being aware of emotional support strategies can also help you stay relaxed and focused during your photography sessions. Additionally, understanding waterproof technology can assist in selecting the most reliable equipment for your needs. Familiarizing yourself with waterproof camera features can further enhance your ability to choose suitable gear for underwater photography. Moreover, staying informed about AI security developments can help you protect your digital assets and personal data while sharing your underwater adventures online. Finally, researching camera maintenance best practices can prolong the life of your equipment and ensure consistent performance.
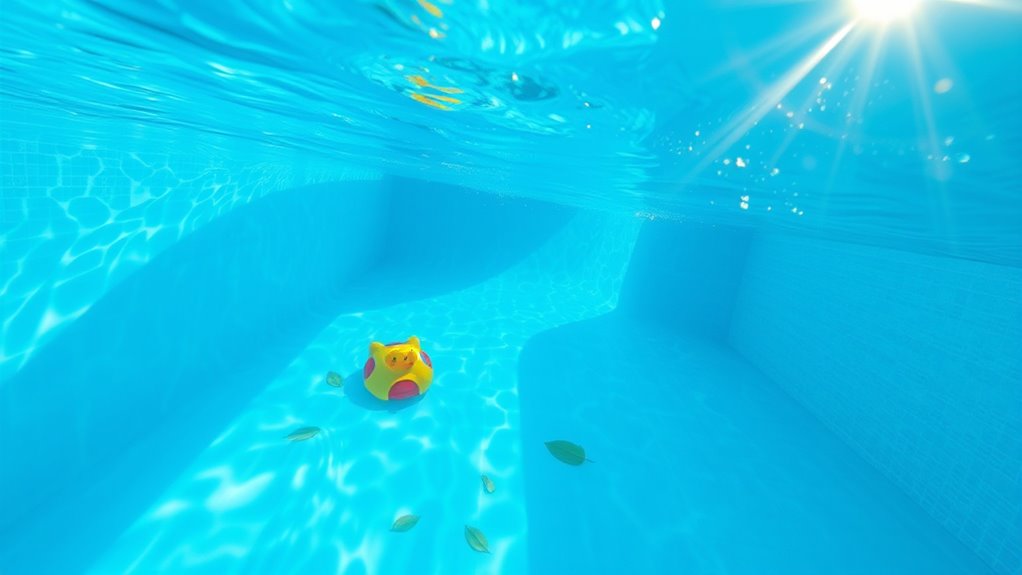
Preparing Your Pool and Shooting Environment

Before you start shooting, make sure your pool water is clear to avoid cloudy images. Aim for ideal lighting conditions by choosing a time when natural light is bright and even. These steps will help you achieve sharp, vibrant underwater photos. Additionally, using best anime movies as inspiration can help you plan creative and visually stunning shots. Remember to also check the lighting conditions to ensure your images are well-exposed and vibrant. Being aware of cookie usage and managing your preferences can enhance your overall browsing experience while researching equipment and techniques. Incorporating diverse perspectives can further inspire unique compositions and angles for your shots. Considering remote hackathons can also provide innovative ideas and techniques that might influence your creative process.
Clear Pool Water
Ensuring your pool water is crystal clear is essential for capturing sharp, vibrant underwater photos. Cloudy or murky water reduces contrast, obscures details, and dulls colors, making your images less striking. To attain clarity, test and balance your pool’s pH and chlorine levels regularly, as proper chemical balance prevents algae growth and water cloudiness. Skim the surface daily to remove debris, leaves, and insects that can cloud the water. Run your pool’s filtration system for several hours before shooting to filter out dirt and particles. Consider using a clarifying agent designed for pools to help settle fine particles. Clean your pool’s filter frequently to maintain ideal water quality. Regular maintenance and proper water quality practices are crucial for achieving the best underwater photography results. Additionally, maintaining the right chemical balance helps prevent water issues that could affect your shots. Incorporating advanced filtration techniques can further improve water clarity and ensure your pool remains pristine for photography. Implementing a consistent maintenance routine also ensures your water stays clear and ready for capturing stunning images. Clear water ensures your camera captures crisp, vibrant images with maximum detail.
Optimal Lighting Conditions
Ideal lighting is essential for capturing stunning underwater photos, and you can set the stage by preparing your pool and shooting environment accordingly. Begin by shooting during the brightest part of the day, typically late morning or early afternoon, when sunlight is strongest. If natural light is limited, consider adding underwater lighting or using waterproof flashlights to illuminate your subject evenly. Avoid harsh midday sun, which can cause overexposure and shadows. Position your pool to maximize sunlight exposure, avoiding shaded areas or overhanging trees. Keep the water surface calm and clear of debris to prevent unwanted reflections and distortions. Additionally, using proper camera settings can significantly enhance image quality in varying lighting conditions. Using a light diffuser can help soften harsh light and reduce glare on the water surface. You can also experiment with light positioning to create more dynamic lighting effects and highlight underwater features. By controlling and optimizing your lighting conditions, you’ll ensure your photos have the clarity, vibrancy, and detail that make underwater images truly enthralling. Properly managing lighting environment is crucial for achieving the best results in underwater photography. Incorporating natural light conditions can also enhance the authenticity and appeal of your images, especially when shooting during golden hour or twilight.
Mastering Lighting and Water Clarity

Lighting and water clarity are essential for capturing stunning underwater photos, as they directly influence color, contrast, and overall image quality. To maximize clarity, ensure your pool is clean and free of debris, and consider using a clarifying agent if needed. Natural sunlight provides the best lighting, so shoot during mid-morning or late afternoon when the light is softer. Avoid harsh midday sun, which can cause glare and overexposure. Use diffused light or underwater strobes to evenly illuminate your subject and reduce shadows. Position yourself to minimize reflections and backscatter—particles that reflect light and create haze. Clear water combined with well-managed lighting makes your photos vibrant, sharp, and professional-looking, turning even a simple pool into a mesmerizing underwater scene. Regular maintenance and filtration also play a key role in achieving optimal water clarity, ensuring your images are crisp and clear. Additionally, understanding survivalism principles such as natural indicators can help you anticipate weather changes that might affect outdoor photography sessions. Controlling water quality is crucial for removing particles that may otherwise obscure your shot and diminish image quality.
Adjusting Camera Settings for Underwater Shots

To get the best underwater shots, you need to adjust your camera’s white balance to match the surroundings, helping colors stay true. Controlling your ISO settings is also essential; keep it low to reduce graininess in clear water or raise it in low-light conditions. By fine-tuning these settings, your photos will come out sharper and more vibrant. Additionally, understanding how advanced processing power can enhance image quality can help you optimize your camera’s performance for underwater photography.
Optimize White Balance
Have you ever noticed how underwater photos often look too blue or green? That’s because water absorbs and scatters certain wavelengths of light, skewing your colors. To fix this, you need to optimize your white balance settings. Many cameras have an underwater or custom white balance mode—use it to match the lighting conditions. If your camera lacks that, set the white balance manually or use a gray card for reference. Adjust the white balance until the colors look natural and true to life. This step is essential because it corrects color casts, making your photos more vibrant and realistic. Remember, proper white balance ensures your images reflect what you actually see, giving your underwater shots a professional, polished look.
Control ISO Settings
Adjusting your camera’s ISO settings is essential for capturing clear underwater images, especially in low-light conditions. A higher ISO allows your camera to be more sensitive to light, helping you avoid dark, grainy photos. However, increasing the ISO too much can introduce noise, reducing image quality. To find the right balance, start with a low ISO—around 100 or 200—and only raise it if needed. In a well-lit residential pool, you might keep the ISO low and rely on a wider aperture or slower shutter speed. If the lighting is dim, increase the ISO gradually until your photos look bright enough without excessive noise. Always review your shots and adjust the ISO accordingly to get crisp, well-exposed underwater images.
Using Proper Focus Techniques Underwater

When capturing sharp underwater images, focusing accurately can be challenging due to the refractive properties of water and shifting lighting conditions. To improve focus, use your camera’s autofocus mode, preferably single-point focus, so you can target your subject precisely. Keep your camera steady and avoid sudden movements, which can throw off focus. If your camera allows, switch to manual focus for more control, especially in low-light situations or when photographing stationary objects. Pay attention to your subject’s eyes or distinctive features; these are often the best focus points. Additionally, use focus-lock techniques to maintain sharpness while framing your shot. Regularly review your images to ensure focus is accurate, and make adjustments as needed to achieve crisp, clear underwater photos.
Composing Engaging Underwater Images
To create mesmerizing underwater images, focus on framing your subject creatively to draw viewers in. Use leading lines, like coral branches or trails, to guide the eye through your shot and add depth. Incorporate nearby pool features such as rocks or structures to add context and interest to your composition.
Frame Your Subject Creatively
Creative framing elevates your underwater images by drawing viewers’ eyes directly to your subject. Instead of placing your subject dead center, experiment with angles and proximity to add interest. Get close to your subject to fill the frame, minimizing distractions and emphasizing details. Use objects like pool walls, steps, or even bubbles to create natural frames that guide the viewer’s gaze. Vary your perspectives—shoot from above, below, or at eye level—to add visual interest. Keep in mind the rule of thirds: position your subject off-center for a more dynamic composition. By thinking innovatively about how you frame your shot, you turn simple pool moments into enthralling images that tell a story and engage your audience.
Use Leading Lines Effectively
Guiding the viewer’s eye through your underwater scene becomes more effective when you incorporate leading lines into your composition. Use the edges of the pool, the slope of the bottom, or even the pattern of tiles to create natural lines that draw attention to your subject. Position these lines so they lead from the foreground toward your main point of interest, enhancing depth and perspective. Keep the lines prominent but not overpowering; subtlety works best underwater. Experiment with different angles to find the most dynamic composition. Remember, leading lines can also direct the viewer’s gaze across the frame, creating a sense of movement. By thoughtfully incorporating these lines, your underwater images will feel more engaging and visually compelling.
Incorporate Pool Features
Incorporating pool features into your underwater compositions can add unique visual interest and context to your images. Elements like waterfalls, steps, or built-in benches create focal points and depth. Position yourself to highlight these features, framing them with your subject for a compelling shot. Experiment with angles—shoot from below or at eye level—to emphasize textures and shapes. Including features also enhances storytelling, giving viewers a sense of place. Use the table below to explore common pool features and their photographic benefits:
| Pool Feature | Visual Impact |
|---|---|
| Waterfalls | Adds movement and dynamic energy |
| Built-in Benches | Creates natural framing |
| Steps | Guides the viewer’s eye |
| Unique Tiles or Mosaics | Adds color and intricate detail |
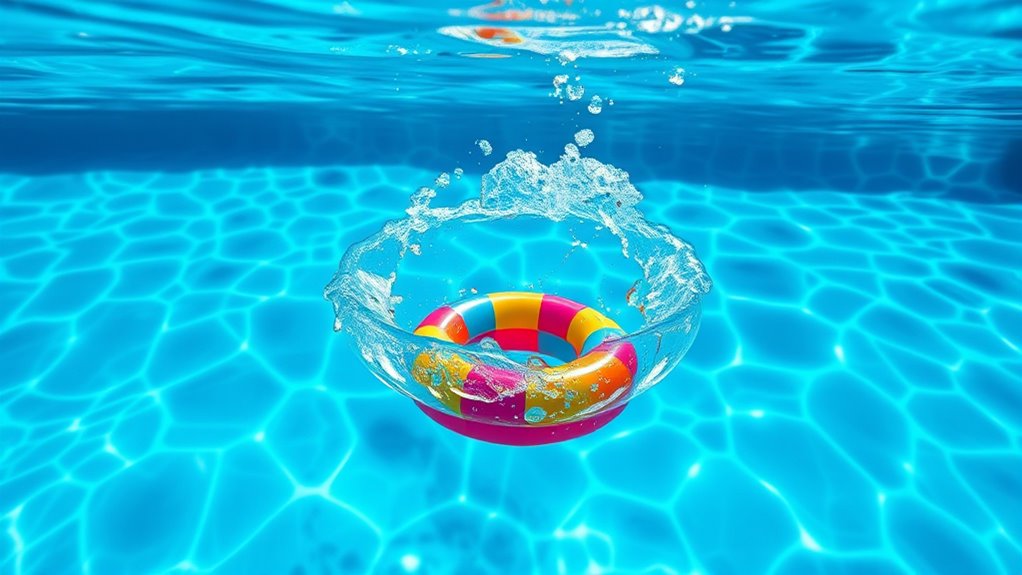
Incorporating Movement and Action
Capturing movement and action underwater brings your photos to life and conveys the energy of the scene. To do this, anticipate your subject’s motion, whether it’s a splash, a jump, or a playful gesture. Use a fast shutter speed—around 1/500 second or faster—to freeze quick movements sharply. Encourage your subject to move naturally or perform dynamic actions like diving or splashing water. Position yourself at different angles to highlight the motion’s intensity. Keep your camera steady and ready to capture spontaneous moments. Experiment with continuous shooting modes to increase your chances of catching perfect action shots. Remember, the key is to stay alert and ready to seize fleeting moments of movement for vibrant, lively underwater images.
Post-Processing Tips for Vibrant Results

Post-processing is essential for transforming your underwater photos into vibrant, eye-catching images. Start by adjusting the brightness and contrast to bring out the details and enhance the overall clarity. Correct color balance to counteract the blue or green tint often caused by water, making your subjects look natural and lively. Use sharpening tools sparingly to add crispness without introducing noise. Cropping can improve composition, removing distractions and focusing attention on your main subject. Consider applying local adjustments to highlight specific areas, like a swimmer’s face or an interesting prop. Finally, experiment with saturation and vibrance to boost colors, but avoid overdoing it, which can make images look unnatural. With thoughtful editing, your underwater shots will truly pop.
Ensuring Safety and Comfort During Shoots
Ensuring safety and comfort during underwater photography sessions is crucial for both your well-being and the quality of your shots. You want to stay relaxed and alert to avoid accidents and capture clear images. Prepare your environment with a clean, shallow pool, and keep safety gear nearby, like goggles and a snorkel. Communicate your plan clearly with any assistants or models to prevent confusion.
| Calm water | Clear visibility | Comfortable attire |
|---|---|---|
| Relaxed breathing | Proper lighting | Quick exit routes |
| Focused mindset | Safety equipment | Hydration breaks |
This setup helps you stay safe, minimizes disturbances, and creates an enjoyable experience. Prioritize safety to ensure your underwater shoots are both successful and enjoyable.
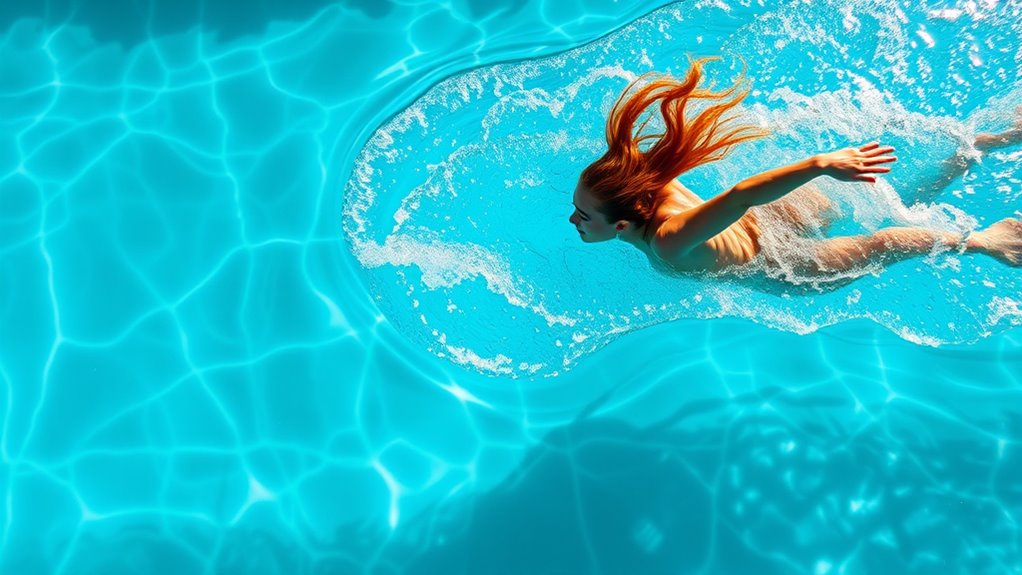
Experimenting With Creative Angles and Perspectives

Trying out different angles and perspectives can transform your underwater photos from ordinary to extraordinary. To do this effectively, consider these key approaches:
- Shoot from below: Position your camera beneath the subject to create a sense of depth and drama.
- Capture from the side: Get lateral shots to highlight reflections, ripples, or interesting textures on the water’s surface.
- Use close-ups: Focus tightly on details like bubbles, water patterns, or facial expressions to add intimacy and impact.
Experimenting with these angles challenges conventional viewpoints and reveals hidden beauty. Move around, adjust your position, and don’t be afraid to try unconventional shots. Creative perspectives add excitement, making your pool photography stand out.
Frequently Asked Questions
How Can I Prevent Water Spots on My Camera Lens?
To prevent water spots on your camera lens, you should start by thoroughly cleaning the lens before each use, ensuring no residue or minerals remain. Use a lens cloth or microfiber towel to gently wipe it dry. Applying a lens cleaning solution or anti-fog spray can also help. When shooting, avoid direct contact with water droplets, and consider using a lens hood or cover to shield the lens from splashes.
What Are the Best Waterproof Camera Brands for Pools?
When choosing a waterproof camera for pools, you want something reliable and easy to use. Brands like Olympus, GoPro, and Nikon offer excellent options with durable designs and strong waterproof ratings. You should look for models that can handle the depth and conditions of pool photography. Always check reviews and specifications to confirm the camera meets your needs, so you can capture clear, stunning shots underwater without worries.
How Do I Manage Reflections and Glare Underwater?
Reflections and glare can ruin your underwater shots, but you can control them easily. Use a polarized filter on your camera to reduce the glare from water surfaces. Adjust your shooting angle, avoiding direct sunlight hitting the water, and shoot during times when sunlight is softer, like early morning or late afternoon. Also, consider using a lens hood to minimize stray light and improve image clarity.
What Safety Gear Should I Use During Underwater Shoots?
Safety should always be your top priority during underwater shoots. You’ll want to wear a well-fitting mask to protect your eyes and goggles for clear vision. Consider a wetsuit for warmth and buoyancy, plus a snorkel or breathing tube for easy air access. Use a waterproof, quick-drying harness or weight belt to stay stable. Finally, have a spotter nearby, ready to respond swiftly should any issues arise, ensuring your safety stays secure.
How Can I Minimize Bubbles in My Underwater Photos?
To minimize bubbles in your underwater photos, you should focus on controlling your breathing and exhaling gently when submerged. Stay calm and avoid sudden movements that stir up air. Before shooting, deflate any bubbles on your camera housing and make certain all seals are tight. Using a slow, steady descent can also help reduce bubbles. Remember, patience and practice are key to capturing clear, bubble-free images.
Conclusion
With a little patience and some creative flair, you can turn your pool into an underwater wonderland. Embrace the gentle dance of water and light, and let your imagination guide your shots. Remember, every ripple and shimmer adds magic to your images. So immerse yourself with confidence, enjoy the journey, and watch your poolside photography transform into enchanting aquatic stories that enchant and inspire. Happy shooting beneath the surface!