
To guarantee small repairs hold, start by thoroughly cleaning the surface to remove dirt, dust, grease, and loose debris, using the appropriate cleaner for your material. Properly prep the area by removing dust with vacuum or brush and protecting surrounding surfaces. Choose the right repair materials for your surface, like spackle for drywall or epoxy for cracks. Taking these steps enhances adhesion and longevity. Keep going to discover more tips for a durable, professional finish.
Key Takeaways
- Thoroughly clean the surface to remove dirt, grease, and dust for optimal adhesion.
- Use appropriate cleaning methods based on surface material, such as vacuuming drywall dust or using grime-cutting cleaners.
- Ensure the surface is dry and free of loose debris before applying repair materials.
- Select the right repair product suitable for the material and damage type, following label instructions.
- Protect surrounding areas with painter’s tape or drop cloths to prevent contamination and ensure a neat finish.
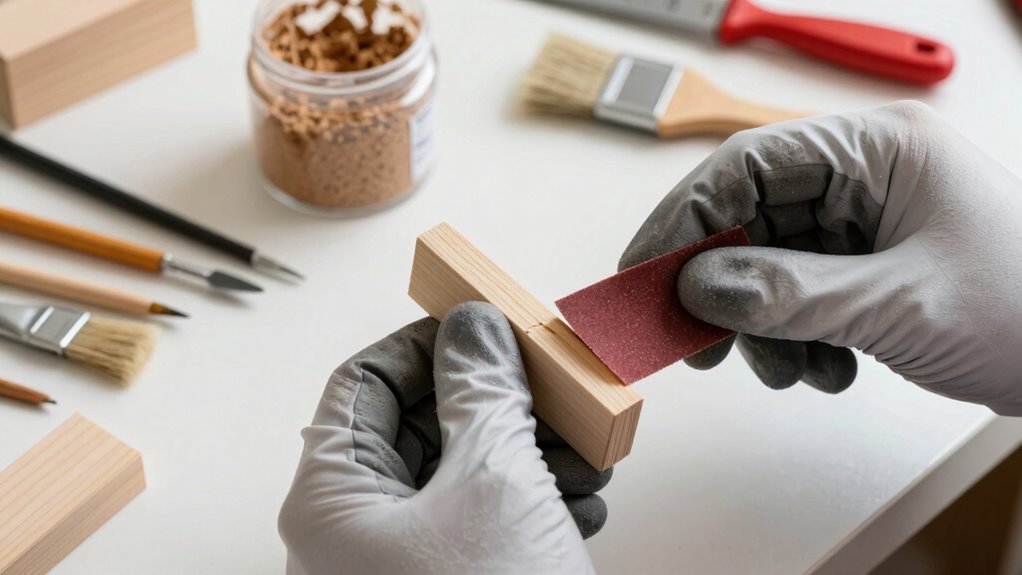
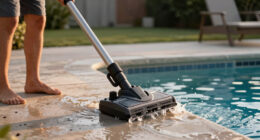
Small repairs can quickly turn into bigger issues if not properly prepared for, so taking a few simple steps before starting can save you time and effort later. One of the most important steps is surface cleaning. Before you do anything else, you need to thoroughly clean the area you’re working on. Dirt, dust, grease, or loose debris can prevent your repair materials from adhering properly, leading to cracks, peeling, or failure over time. Use a damp cloth, mild soap, or a suitable solvent depending on the surface. For example, if you’re repairing drywall, a simple vacuum or brush to remove dust works well. For metal or painted surfaces, a cleaner that cuts grime without damaging the finish is essential. Taking the time to clean guarantees a smooth, stable surface that’s ready to accept your repair products. Proper surface preparation is key to ensuring the longevity of your repair work. Ensuring the surface is free of contaminants supports better adhesion, which is crucial for a durable repair. Additionally, understanding the specific requirements for different materials can help prevent common issues like cracking or shrinking over time.
Material selection is equally critical in making sure your repair actually holds. Choosing the right materials for the job depends on the surface and the nature of the damage. For small holes in drywall, spackle or joint compound works best, but make sure you pick a product compatible with the existing wall finish. If you’re fixing a cracked tile, choose a high-quality tile adhesive or epoxy designed specifically for that material. For wood surfaces, select a wood filler that matches the grain and color to ensure a seamless look. Using inappropriate materials can lead to weak bonds, shrinking, or cracking over time. Always read labels and product descriptions carefully—what works for concrete might not be suitable for plastic or painted surfaces. When in doubt, ask a professional or consult product instructions. Proper material selection can significantly impact the durability of your repair, so taking the time to research is well worth the effort.
Once you’ve cleaned the surface and chosen your materials, prepare your workspace. This means clearing the area of obstacles and protecting nearby surfaces with painter’s tape or drop cloths. Proper surface cleaning and material selection set the foundation for a durable, long-lasting repair. Skipping these steps or rushing through them increases the risk of future damage or failure, which means more work for you down the line. By investing a little extra time upfront, you guarantee your repair holds strong and looks professional. Remember, small repairs done right are often invisible once finished, saving you money and effort in the long run. Proper prep work isn’t just about fixing what’s broken; it’s about making sure the fix lasts.
As an affiliate, we earn on qualifying purchases.
Frequently Asked Questions
How Long Should I Wait Before Painting After a Repair?
You should wait at least 24 hours before painting after a repair, especially if you’re doing furniture restoration or surface priming. This guarantees the repaired area dries completely and bonds well with the primer and paint. Rushing this step can cause peeling or uneven finishes. If you’re in a humid environment, give it extra time. Proper drying guarantees your paint job lasts longer and looks smoother.
What Tools Are Essential for Small Repair Prep?
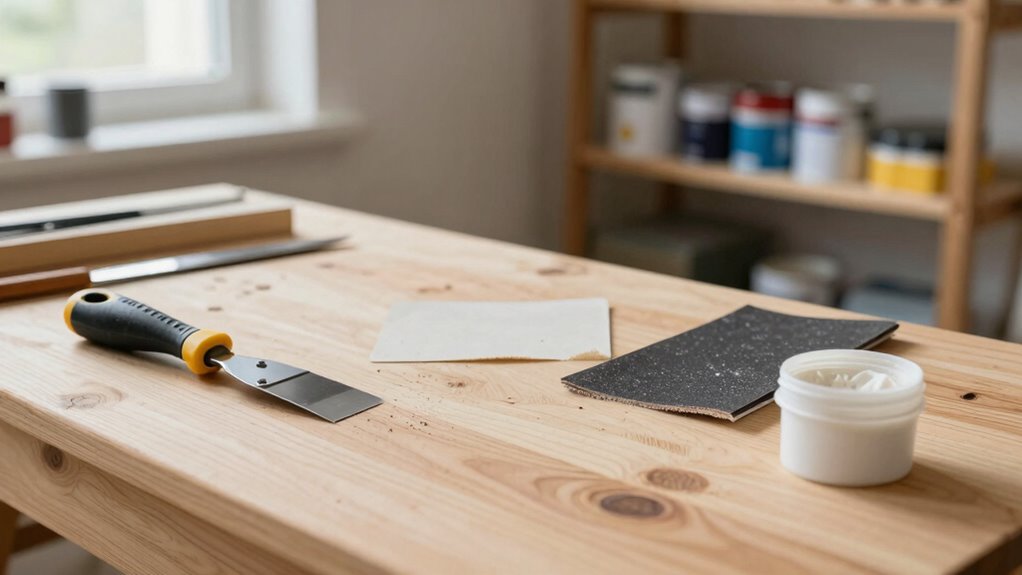
You need essential tools like a putty knife, sandpaper, and a scraper to prep small repairs effectively. Use these tools with proper painting techniques, ensuring smooth surfaces before painting. Keep your tools well-maintained by cleaning them after each use, which extends their lifespan and keeps your work quality high. Proper tool maintenance and mastering painting techniques help your small repairs hold better and look professional.
Can I Use Household Items for Repair Prep?
Sure, you can use household alternatives for repair prep, but don’t expect miracles—these DIY hacks might prevent further damage temporarily. Household items like toothpaste or cooking spray seem handy, but they often fall short in repair prevention. While they’re tempting, relying solely on them can cause more harm than good in the long run. For lasting results, proper prep materials are your best bet for small repairs to actually hold.
How Do I Prevent Future Damage After Fixing a Small Repair?
To prevent future damage after fixing a small repair, start by thoroughly cleaning the surface to remove dirt and debris. Choose material that’s compatible with the existing surface to guarantee durability. Avoid rushing the drying or curing process, and regularly inspect the repair area for signs of wear. Proper surface cleaning and careful material selection help reinforce the repair, making it last longer and resist future damage effectively.
What’s the Best Way to Remove Old Paint or Residue?
To remove old paint or residue effectively, start with paint removal techniques like sanding, scraping, or chemical paint strippers suited for your surface. Afterward, thoroughly clean the surface with a mild detergent or a specialized surface cleaner to eliminate any leftover residue. This guarantees a smooth, clean base for your new paint or repair, promoting better adhesion and long-lasting results. Always follow safety instructions when using chemical removers.
Conclusion
Proper prep is key to ensuring small repairs last. By cleaning, sanding, and using quality materials, you’ll create a strong bond that withstands time and wear. Remember, a study shows that 80% of repair failures are due to inadequate prep work. So, don’t skip these essential steps—taking a little extra time now can save you from costly fixes later. Your efforts will pay off with a durable, professional-looking finish that truly holds.