
The biggest mistake when installing an automatic chlorine feeder is skipping proper calibration and poor placement. If you don’t follow the manufacturer’s instructions and ignore calibration, your chlorine levels can become inconsistent, risking water quality and safety. Proper placement near the return line and avoiding sharp bends are vital for even distribution. Keep in mind that fixing these issues can improve your system’s efficiency—learn more to avoid common pitfalls and guarantee safe, effective operation.
Key Takeaways
- Failing to properly calibrate the feeder according to manufacturer instructions causes inconsistent chlorine levels.
- Installing the feeder too close to skimmers or in areas with uneven water flow leads to poor chlorine distribution.
- Not turning off the pump during installation can damage the feeder and affect calibration accuracy.
- Using incorrect piping or sharp bends restricts flow, resulting in uneven chlorine dispersion.
- Neglecting regular testing and calibration after installation causes unsafe chlorine levels and inefficient sanitation.

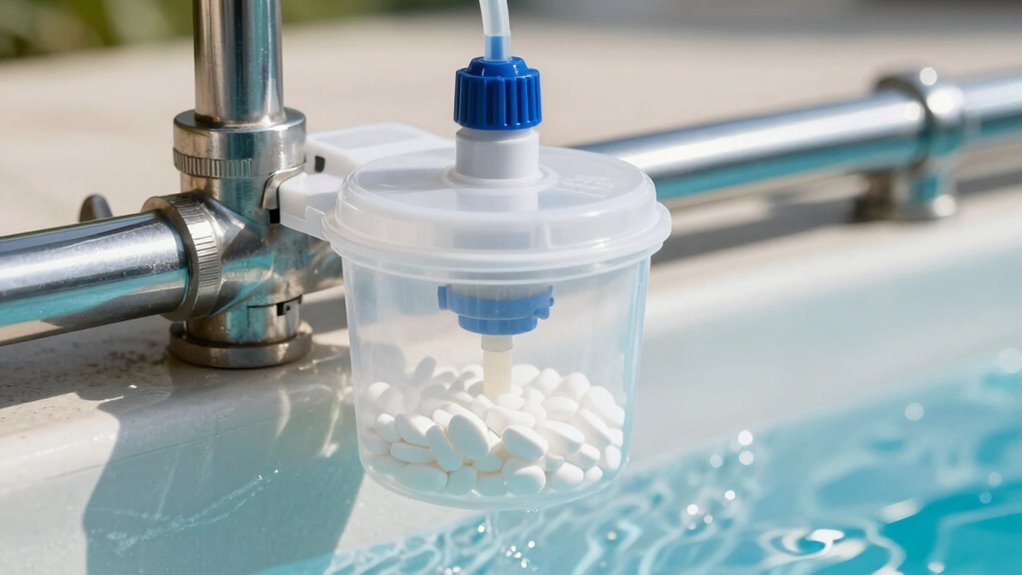
Hayward CL200EF in-Line Automatic Chlorine Feeder, Offline Pool Chlorinator and Chlorine Dispenser, Up to 9 lb Capacity, for In-Ground Swimming Pools
- Automatic Chlorine Distribution: Ensures consistent pool chlorination
- High Capacity Chlorine Holder: Holds up to 9 lbs of chlorine tablets
- Corrosion-Resistant Construction: Durable housing withstands pool chemicals
As an affiliate, we earn on qualifying purchases.
As an affiliate, we earn on qualifying purchases.
What’s the Biggest Mistake When Installing an Automatic Chlorine Feeder?
The biggest mistake you can make when installing an automatic chlorine feeder is neglecting to calibrate it properly. Without correct feeder calibration, you risk inaccurate chlorine concentration levels, which can lead to unsafe or inefficient pool maintenance. Proper calibration ensures the feeder releases the right amount of chlorine consistently, maintaining ideal water quality. If you skip this step, the chlorine levels could become too high, causing irritation and corrosion, or too low, risking bacteria growth. Before starting, check the manufacturer’s instructions for calibration procedures and test your water regularly to verify chlorine levels. Taking the time to calibrate your feeder correctly helps you avoid under- or over-chlorination, saving you money and preventing potential health issues. Additionally, recycling pots/pans and other kitchen gear can contribute to eco-friendly disposal practices that reduce waste. Ensuring proper installation guidelines are followed is also crucial for optimal performance and safety. Proper installation procedures also help prevent leaks and mechanical issues that could compromise your pool’s water quality. Furthermore, consistent maintenance plays a vital role in sustaining proper chlorine levels and overall pool health. To further enhance your pool maintenance, consider regular inspections to catch any issues early and maintain consistent chlorine levels.
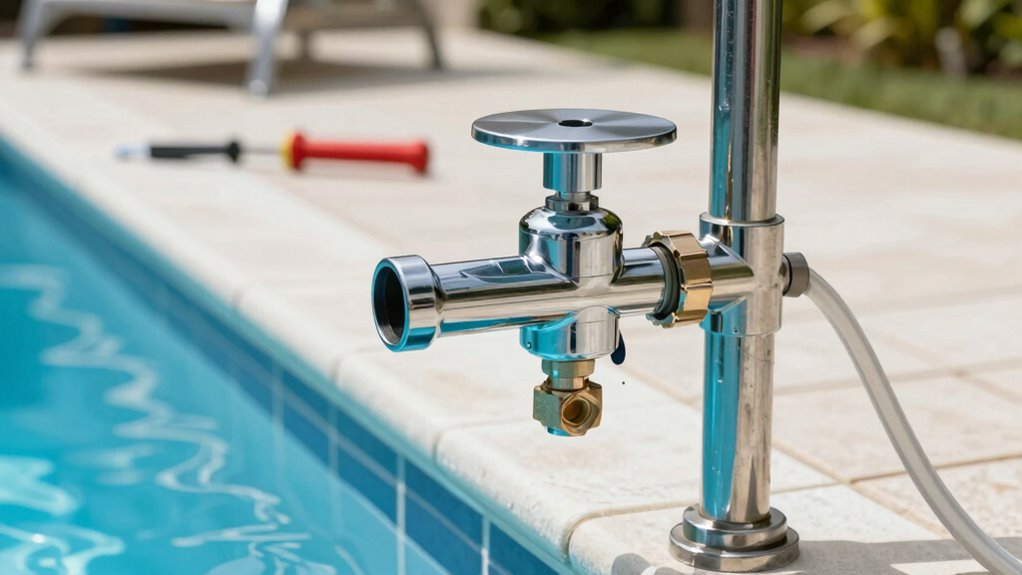
Why Proper Placement and Piping Are Essential for Effective Chlorine Distribution
Proper placement and piping of your automatic chlorine feeder are vital because they directly influence how evenly and effectively chlorine disperses throughout your pool. Correct feeder placement ensures chlorine mixes well and prevents localized concentrations. Poor piping can cause uneven chlorine dispersion, reducing sanitizer effectiveness and risking algae growth. To optimize chlorine distribution, consider these factors:
| Placement Tips | Piping Considerations |
|---|---|
| Install near the main return | Use smooth, unobstructed piping |
| Keep away from skimmers | Avoid sharp bends that slow flow |
| Position at a consistent height | Ensure proper flow rate |
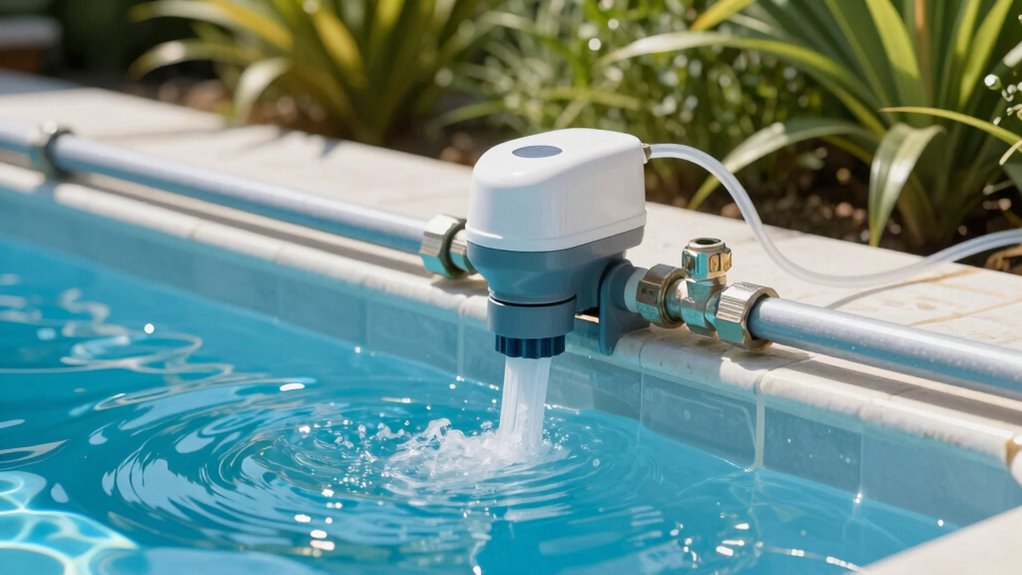
Additionally, proper flow rate is crucial to ensure the chlorine is distributed evenly across the pool. Maintaining correct chlorine levels helps prevent algae and bacteria buildup. Properly placed and piped feeders promote consistent chlorine levels, reduce maintenance, and improve water quality. Ensuring these elements are correct is essential for effective, even chlorine distribution, especially since proper installation can significantly impact overall performance. Regular inspection of the piping system helps prevent cable failures and ensures continued optimal operation.
How to Correctly Install Your Automatic Chlorine Feeder Step by Step
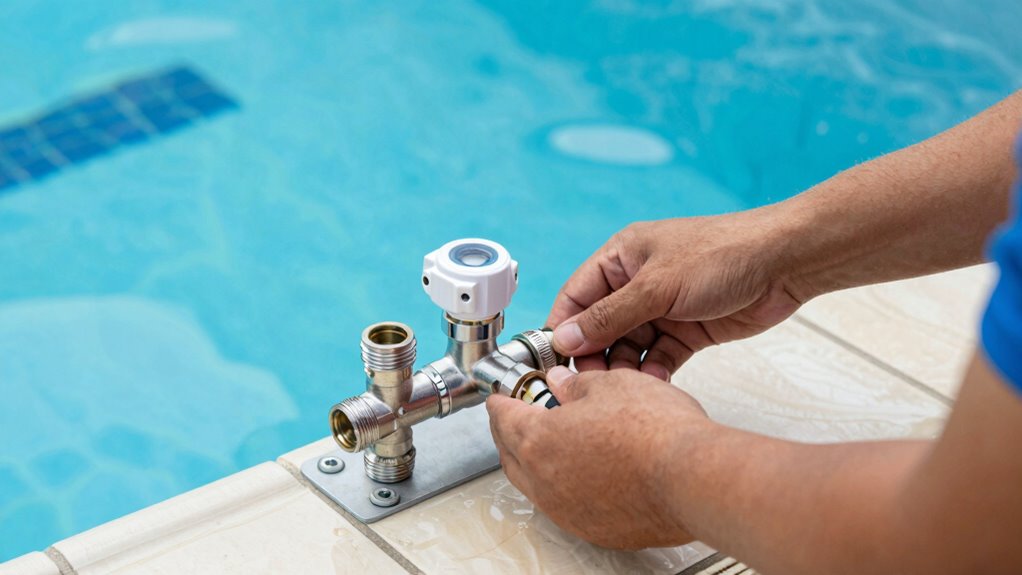
Installing your automatic chlorine feeder correctly guarantees it functions efficiently and distributes sanitizer evenly. Begin by turning off your pump and shutting off the pool’s circulation system. Connect the feeder to a stable, accessible location near the pool’s return line, ensuring proper piping to avoid leaks or blockages. Next, set the chlorine dosage according to your pool size and sanitizer needs. Carefully calibrate the feeder by adjusting the dial or settings, checking the manufacturer’s instructions for accuracy. Confirm all connections are secure before turning the system back on. Observe the chlorine output over a few hours, making fine adjustments to the feeder calibration if necessary. Proper installation and precise chlorine dosage ensure your sanitizer is evenly distributed, keeping your pool safe and well-maintained.
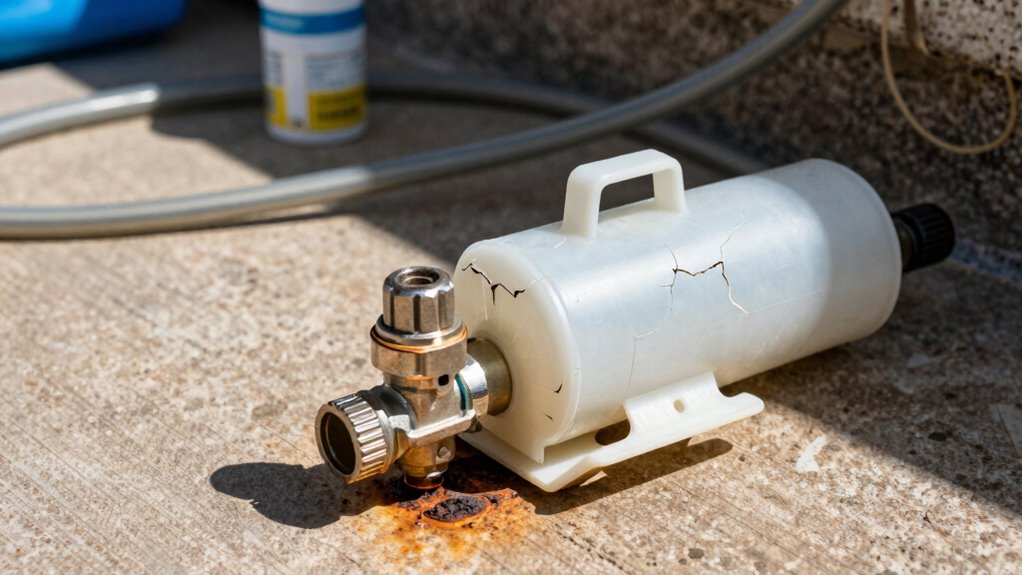
Common Problems Caused by Incorrect Installation and How to Fix Them
Incorrect installation of your automatic chlorine feeder can lead to a range of issues that compromise your pool’s sanitation and safety. One common problem is inconsistent chlorine dosage, which occurs if the feeder isn’t calibrated properly or installed at the wrong flow rate. This can cause under- or over-chlorination, risking algae growth or skin irritation. Another issue is improper placement, which may result in uneven chlorine distribution. To fix this, double-check the feeder calibration and ensure it’s set according to your pool size and flow rate. Also, verify that the feeder is installed on the correct line and secure all fittings. Regularly inspecting and adjusting the chlorine dosage helps maintain water quality and prevents problems caused by incorrect installation. Proper installation procedures and understanding your pool’s specific needs are essential for optimal performance.
Troubleshooting Tips to Keep Your Chlorine Feeder Running Safely and Efficiently
To keep your chlorine feeder running safely and efficiently, regular troubleshooting is essential. Start with a maintenance checklist: check for clogs, ensure the feeder’s calibration is correct, and verify the chlorine levels are consistent. Always prioritize chlorine safety by handling chemicals carefully and wearing protective gear. If the feeder isn’t dispensing properly, inspect the feed rate settings and clean any buildup or debris. Monitor for leaks or corrosion around connections, which could affect performance. Keep an eye on flow rates and pressure, adjusting as needed. Regularly testing your water helps catch issues early. Staying proactive in maintenance prevents problems and guarantees your chlorine feeder operates smoothly, safely, and efficiently over time. Proper installation is also crucial to prevent common mistakes and ensure optimal system performance. Incorporating accurate measurement tools into your maintenance routine can help detect subtle issues before they escalate. Additionally, maintaining a detailed maintenance log can help identify recurring problems and improve troubleshooting efficiency. Using monitoring devices can further enhance safety by providing real-time alerts for abnormal conditions, ensuring issues are addressed promptly and effectively.
Frequently Asked Questions
How Often Should I Perform Maintenance on My Automatic Chlorine Feeder?
You should check and perform maintenance on your automatic chlorine feeder at least once a month. Regularly monitor the chlorine levels to ensure proper sanitation, and calibrate the feeder as needed to maintain accurate chlorine dosing. Keep an eye on the chlorine dispenser for clogs or buildup, and clean it if necessary. Consistent maintenance helps prevent uneven chlorine distribution and guarantees your pool stays safe and clear.
Can I Install an Automatic Chlorine Feeder Myself Without Professional Help?
You can attempt a DIY installation of an automatic chlorine feeder if you’re comfortable with plumbing and electrical work. However, for a safe and proper setup, it’s best to seek professional assistance, especially if you’re unsure about connections or local regulations. A professional ensures correct installation, reducing risks and preventing costly mistakes, so weigh your skills carefully before proceeding with a DIY approach.
What Safety Precautions Are Necessary During Installation?
Sure, because handling chemicals and wiring electrical components is just a walk in the park, right? Before you start, wear gloves and eye protection to prevent chemical splashes, and always disconnect power to avoid electrical shocks. Ventilate the area well to disperse fumes, and follow manufacturer instructions carefully. Remember, safety isn’t optional—so treat chemical handling and electrical safety with the respect they deserve to keep your pool and yourself safe.
How Do Weather Conditions Affect the Chlorine Feeder’s Performance?
Weather impact considerably influences your chlorine feeder’s performance. Extreme temperatures, like heat or cold, can cause chlorine to evaporate faster or freeze, disrupting proper dosing. Climate considerations, such as high humidity or heavy rain, may lead to corrosion or dilution issues. To guarantee ideal operation, you should protect your feeder from harsh weather, insulate it if necessary, and choose a location that minimizes exposure to elements that could impair its function.
What Are the Signs Indicating My Chlorine Feeder Needs Replacement?
You’ll notice your chlorine levels fluctuate unexpectedly, your pool water turns cloudy, or you see persistent feeder malfunctions. These signs indicate your chlorine feeder needs replacement. When it struggles to dispense proper chlorine amounts, or if it shows leaks or jams, it’s time to act. Addressing these issues promptly helps maintain safe, balanced water and prevents costly repairs. Don’t ignore these cues—they’re your pool’s way of signaling a needed upgrade.
Conclusion
Think of your automatic chlorine feeder as the heart of your pool’s health—if it’s misaligned, everything suffers. Avoid the biggest mistake of improper installation, and your system will run smoothly like a well-oiled engine. By paying attention to proper placement, piping, and troubleshooting, you guarantee clean, safe water flows effortlessly. When installed correctly, your chlorine feeder becomes a reliable partner, keeping your pool sparkling and inviting—your secret weapon for perfect swimming season.