
To properly calibrate your salt cell, start by testing your water’s salt level with a reliable test kit and verify it’s within the ideal 2700-3500 ppm range. Check the cell’s output, which should fall within a set range based on your system’s instructions, and adjust salt levels if needed. Regular cleaning, inspecting for damage, and following calibration steps will keep your system running smoothly. Continue reading to master the full process and maintain excellent performance.
Key Takeaways
- Use a reliable salt test kit or digital meter to measure water salt levels, aiming for 2700-3500 ppm.
- Remove and clean the salt cell regularly to prevent buildup that can affect readings and performance.
- Consult your salt cell’s manual to locate calibration settings and follow specific instructions for adjustments.
- Adjust salt levels by adding salt or water, then re-test until the salt reading reaches the target range.
- Regularly check cell output and water chemistry, and replace the cell if calibration or cleaning no longer maintains proper function.

TAYLOR TECHNOLOGIES INC K-1766 DROP TEST CHLORIDE SALT WATER
- Compatible with salt water chlorine generators: For use with salt water chlorine generators
- Made in the United States: Country of Origin: United States
- Brand name: TAYLOR TECHNOLOGIES INC
As an affiliate, we earn on qualifying purchases.
As an affiliate, we earn on qualifying purchases.
Understanding Salt Cell Readings

When you check your salt cell readings, understanding what the numbers signify is essential. Your salt cell typically displays a salt level, measured in parts per million (ppm), indicating the salt concentration in your pool. A reading around 3,000 ppm is generally ideal, ensuring proper chlorine generation. If your reading is too low, your salt level isn’t enough for the system to produce chlorine effectively, which can lead to cloudy water or algae growth. Conversely, high readings can cause scaling or damage to the cell. Keep in mind that salt readings can fluctuate based on temperature and water dilution. Regularly monitoring salt levels helps you maintain optimal water chemistry and prevent potential issues. Proper interpretation of these readings helps you decide when to add salt or take other corrective actions. Additionally, understanding filter maintenance and ensuring your salt cell is properly cleaned can help optimize its performance. Maintaining appropriate water chemistry is also crucial for preventing issues related to salt levels and ensuring the longevity of your salt cell. Staying informed about salinity levels and their impact on your pool system can further improve maintenance routines and system efficiency.
Signs of Incorrect Salt Levels

Incorrect salt levels often trigger noticeable issues with your pool’s operation. If your salt levels are too low, the salt cell may struggle to produce chlorine, leading to cloudy water or algae growth. Conversely, high salt levels can cause the cell to overproduce chlorine or damage its components. You’ll notice these signs:
| Symptom | Cause |
|---|---|
| Low chlorine levels | Salt too low |
| Cloudy or green water | Inadequate sanitation |
| Cell warning lights | Incorrect salt concentration |
| Unusual salt cell behavior | High salt levels |
Monitoring these signs helps you identify issues early. Regularly testing your salt levels guarantees your pool stays balanced, avoiding costly repairs and maintaining clean, safe water. Proper salt cell tuning ensures optimal chlorine production and extends the lifespan of your equipment. Additionally, understanding the noise levels of modern heat pumps can help you choose quieter equipment that won’t disturb your backyard environment. Maintaining correct salt levels also prevent equipment corrosion, which is crucial for longevity. When adjusting your salt levels, it’s important to consider the benefits of saltwater pools, such as softer water and fewer chemical odors. To ensure accurate readings, it’s important to understand the importance of precise salt measurements and how they impact your pool’s chemistry.
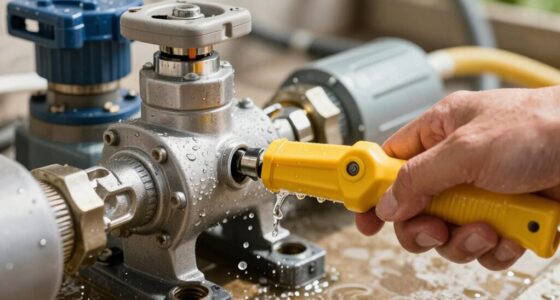
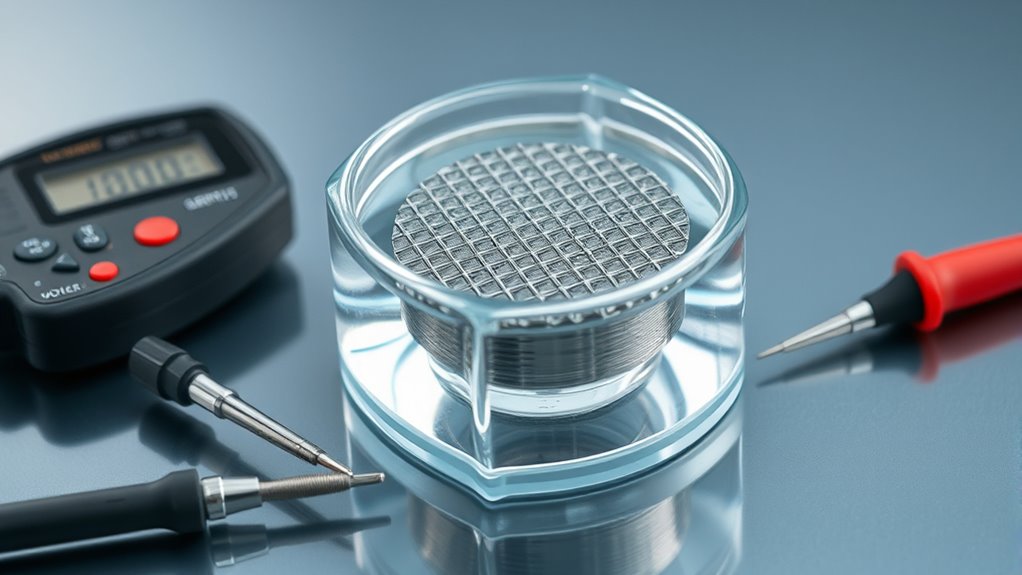
Tools Needed for Calibration
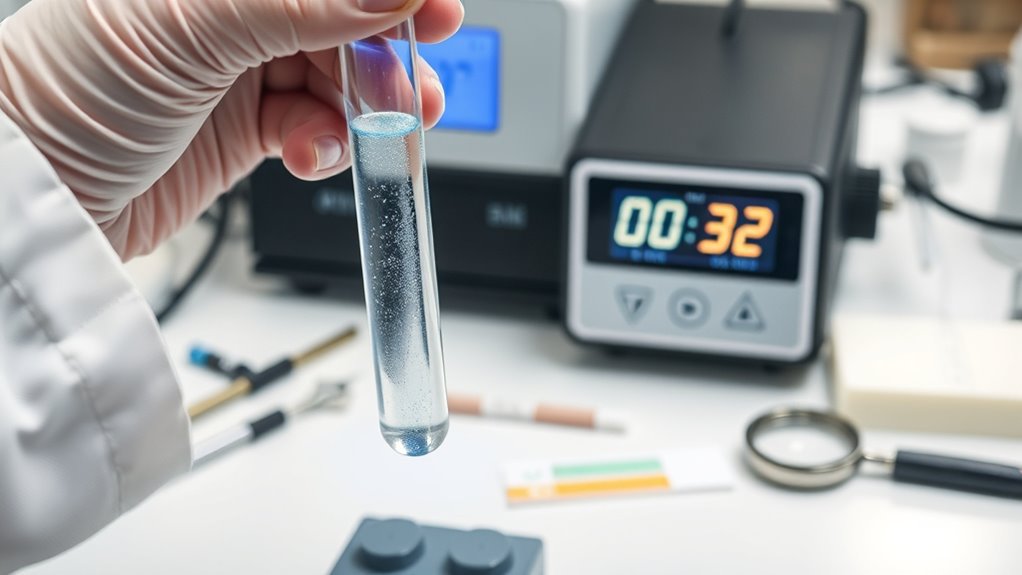
To accurately calibrate your salt cell, you’ll need a few essential tools that guarantee precise readings and adjustments. First, a reliable salt test kit is vital; it measures your pool’s salt level accurately, helping you determine if calibration is necessary. A digital multimeter is also important for testing the cell’s electrical output, ensuring it functions correctly. Additionally, a screwdriver will help you access and adjust the calibration settings on your salt generator. It’s helpful to have a clean cloth or brush to remove any buildup from the cell before testing. Regular maintenance and system monitoring can help prolong the life of your salt cell and maintain optimal performance. Incorporating proper calibration procedures recommended by your system’s manufacturer can improve accuracy and efficiency. To ensure consistent results, consider using calibration procedures recommended by your system’s manufacturer. Finally, consult your salt system’s manual for any specific tools or calibration instructions. Gathering these tools beforehand ensures a smooth calibration process, saving you time and preventing errors. Incorporating data-driven strategies can also help monitor and optimize your salt system’s performance over time.
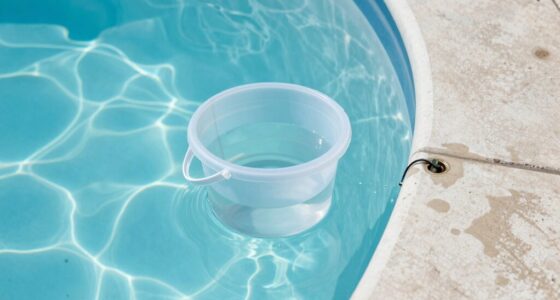
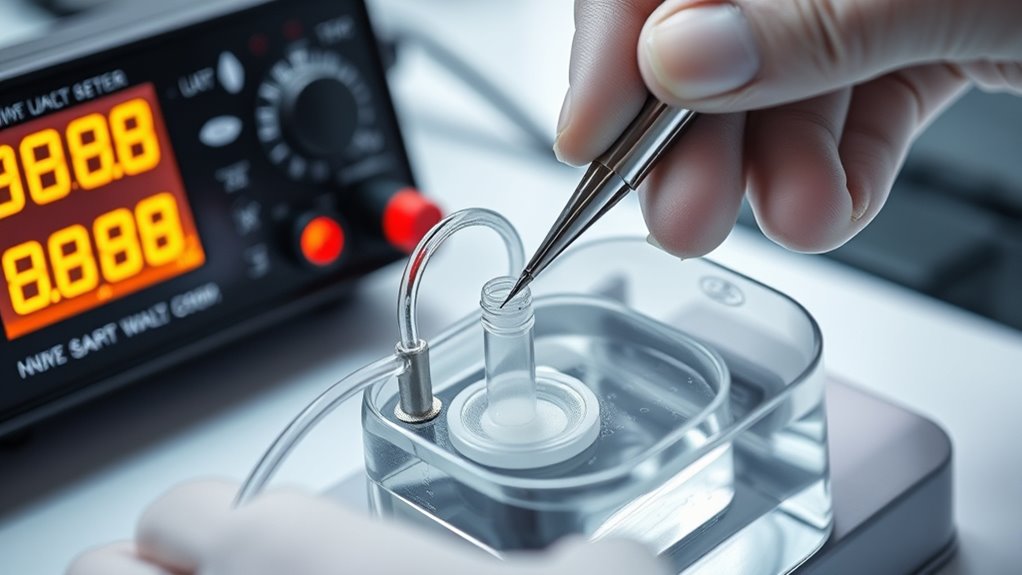
Checking Your Salt Level

Before you begin calibrating your salt cell, it’s important to verify your pool’s current salt level. Accurate readings ensure you don’t over- or under-salt your pool, which can affect chlorine production. To check your salt level:
- Use a reliable digital salt tester or test strips
- Collect a water sample from mid-depth
- Follow the manufacturer’s instructions for your testing kit
- Record the reading carefully
- Compare the result to your pool’s ideal salt range (usually 2700-3500 ppm)
- Remember that Self Watering Plant Pots utilize a reservoir system that can be affected by water composition, so maintaining proper salt levels is also important in pool maintenance.
- Ensuring proper water chemistry is essential for the longevity of your salt cell and overall pool health.
- Regularly monitoring salt levels helps prevent corrosion and other issues caused by improper salt concentrations.
- Maintaining optimal financial management practices in your pool maintenance routine can help you avoid costly repairs and extend the lifespan of your equipment.
- Additionally, understanding salinity levels and their impact can help you better interpret your test results and maintain balanced water chemistry.
How to Read Your Salt Cell Output
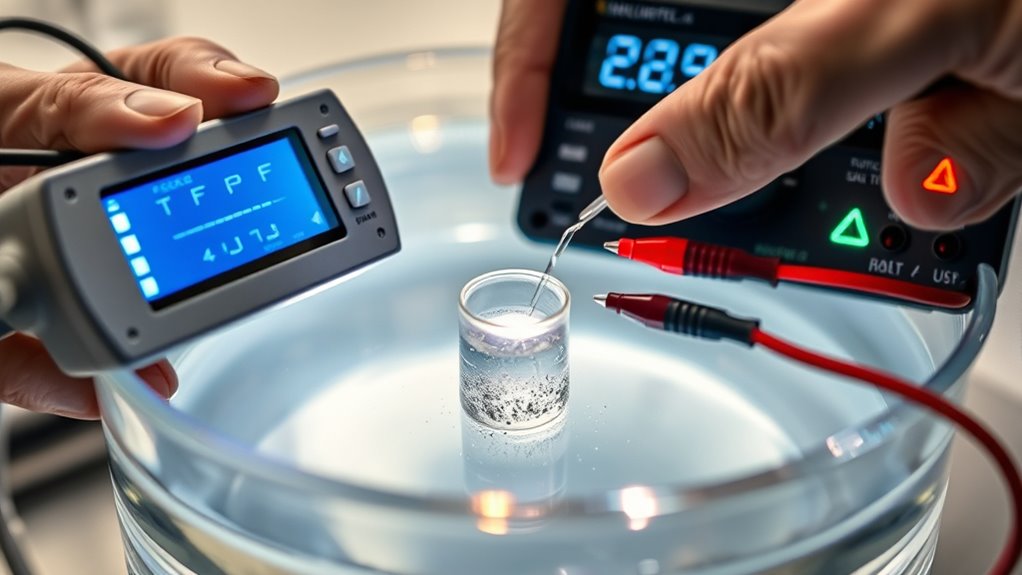
Understanding your salt cell output is key to maintaining proper water chemistry. You’ll want to interpret the readings accurately, know the typical ranges, and spot any signs of trouble. Regularly checking your salt cell output can help ensure optimal performance and longevity of your system, especially when combined with an understanding of essential oils for water maintenance and their role in maintaining a healthy aquatic environment. Monitoring retail hours today can also be helpful when planning maintenance visits or troubleshooting with customer service. Additionally, understanding retirement planning strategies can provide peace of mind, much like maintaining your water chemistry ensures a healthy pool environment. Incorporating knowledge of sound healing science can also promote relaxation during routine checks, making the process more enjoyable. Recognizing how projector contrast ratios influence image quality can also be applied to understanding the clarity and quality of your salt cell readings.
Interpreting Salt Cell Readings
Reading your salt cell output accurately is essential for maintaining ideal water chemistry. To interpret the readings correctly, focus on key indicators and what they mean for your pool. Look for:
- The salinity level displayed, ensuring it matches your target range
- Any error messages or blinking lights indicating issues
- The cell status to check if it’s clean and functioning properly
- Variations from previous readings to detect trends
- The temperature reading, since temperature affects salinity accuracy
- Regularly inspecting your salt cell for buildup or debris can help ensure consistent readings and prolong the lifespan of the cell proper maintenance.
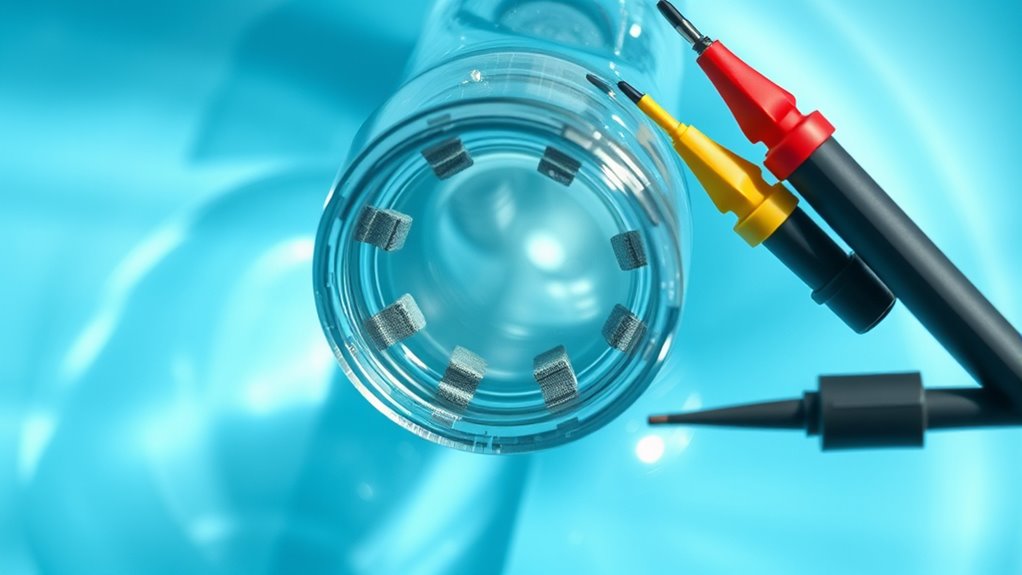
Typical Output Ranges
Your salt cell’s output typically falls within specific ranges that indicate proper operation. Most salt cells produce a salt level reading between 2900 and 3500 ppm, which signifies a healthy, balanced sanitizer level. If your reading is consistently below this range, it suggests your salt level might be too low, reducing sanitization effectiveness. Conversely, readings above this range can indicate excessive salt, which may cause scaling or equipment issues. Keep in mind that your salt cell’s output can fluctuate slightly based on water temperature and usage. Regularly monitoring these ranges helps you determine whether your salt level is within the excellent zone and guides you in maintaining a safe, clean pool. This knowledge is essential for keeping your pool balanced and functioning efficiently.
Troubleshooting Inaccuracies
Inaccurate salt cell readings can lead to misjudging your pool’s salt levels, which may cause over- or under-salting. To troubleshoot, start by checking for debris or buildup on the cell plates, as dirt can affect readings. Make certain your salt levels are within the recommended range before testing again. Verify that your test kit or digital reader is calibrated correctly and functioning properly. Look for signs of corrosion or damage on the cell, which can skew results. Finally, consider the water temperature, since cold or hot water can impact sensor accuracy.
- Clean the salt cell regularly to remove mineral deposits
- Recalibrate your sensor periodically
- Confirm that your test equipment is accurate
- Inspect for physical damage or corrosion
- Test in consistent water conditions for reliable results
Step-by-Step Calibration Process

To start calibrating your salt cell, first prepare it properly by rinsing and assembling it correctly. Then, run a test to get your initial reading. Finally, adjust the cell based on the test results to guarantee accurate measurements.
Prepare Salt Cell
Before starting the calibration process, make certain the salt cell is clean and free of debris. A dirty cell can give inaccurate readings and skew your results. First, rinse the cell with fresh water, ensuring no salt residue remains. Inspect the interior for any build-up or deposits and scrub gently if needed. Dry the cell thoroughly before use. To prepare properly, you should:
- Remove any old salt or mineral deposits
- Check for cracks or damage
- Rinse with clean water
- Dry completely with a soft cloth
- Ensure no debris is left inside
Handling the salt cell carefully prevents damage and guarantees accurate calibration. Taking these steps ensures the cell functions correctly, providing reliable readings during the calibration process.
2. Adjust Based on Test
Once you’ve completed the initial test of your salt cell, carefully compare the reading to the target salt level. If the reading is too high, you’ll need to dilute the salt solution by adding fresh water. Turn off the salt cell and slowly pour in water, then mix gently and retest. If the reading is too low, add a measured amount of salt to increase the level. Dissolve the salt thoroughly before retesting. Always add small amounts and wait for the reading to stabilize before making further adjustments. Repeat this process until the test results match the recommended salt level. Be patient and precise, as small changes can considerably affect the calibration. Proper adjustment ensures your salt cell operates efficiently and maintains ideal water chemistry.
Troubleshooting Common Calibration Issues
Calibration issues with salt cells often stem from incorrect sensor readings or inconsistent water chemistry. To troubleshoot, first verify that your water’s pH, alkalinity, and temperature are within ideal ranges, as fluctuations can cause inaccurate readings. Next, check for debris or buildup on the sensor, which can lead to faulty calibration. Make certain the salt level is appropriate; low salt can skew results. Confirm that the cell is clean and free of calcium deposits or algae, which interfere with proper operation. Finally, double-check your calibration procedure—incorrect steps or timing can cause errors.
Calibration problems often result from water chemistry fluctuations and sensor buildup.
- Inspect and clean the sensor regularly
- Confirm water chemistry stability
- Use fresh, proper salt levels
- Avoid introducing contaminants during calibration
- Follow manufacturer calibration instructions precisely
Maintaining Optimal Salt Cell Performance
Regularly maintaining your salt cell is essential to guarantee it performs at its best and extends its lifespan. Start by cleaning the cell plates with a brush and mild vinegar solution to remove calcium buildup and debris. Check the cell’s voltage and chlorine output regularly, ensuring they stay within recommended ranges. Keep the cell free of algae and scale, which can hinder efficiency. Confirm the water chemistry remains balanced, with proper salt levels and pH. Replace the cell when its performance drops despite cleaning and calibration. Maintain proper water flow and avoid running the pump dry. Regular inspections and cleaning help prevent corrosion and sustain maximum chlorination. Staying proactive in your maintenance ensures your salt cell operates efficiently and lasts longer.
Frequently Asked Questions
How Often Should I Calibrate My Salt Cell?
You should calibrate your salt cell regularly to guarantee accurate readings. Typically, it’s best to do this monthly or whenever you notice discrepancies in your test results. If your pool’s usage or weather changes markedly, consider calibrating more often. Regular calibration helps maintain proper chemical balance and extends your salt cell’s lifespan. Don’t forget to follow your manufacturer’s instructions for specific calibration procedures and intervals.
Can Temperature Affect Salt Cell Readings?
Temperature definitely impacts your salt cell readings. When the water’s warmer, the cell might show a lower salt level because increased temperature can cause the sensor to read artificially low. Conversely, cooler water can lead to higher readings. To maintain accuracy, you should regularly check and calibrate your salt cell, especially if you notice temperature fluctuations. Always consider temperature effects when interpreting your salt levels.
What Is the Ideal Salt Level for My Pool?
Did you know that maintaining the right salt level can improve your pool’s sanitation and save you money? The ideal salt level for most pools is between 2700 and 3400 ppm (parts per million). You should regularly check your salt level with a reliable tester and adjust by adding salt if it’s too low or diluting if it’s too high. Keeping it within this range ensures peak chlorine production and a sparkling pool.
How Long Does a Typical Calibration Process Take?
When calibrating your salt cell, expect the process to take about 15 to 30 minutes. You’ll need to follow specific steps, like cleaning the cell, adjusting the reading, and running the calibration cycle. Make sure your pool’s salt level is accurate beforehand. This calibration guarantees your salt system works efficiently, maintaining proper salt levels and keeping your pool clean and safe.
Are There Differences Between Salt Cell Brands I Should Know?
Think of salt cell brands like different symphonies—each has unique notes and tones. You might notice variations in calibration ease, durability, or display features. Some brands, like Pentair or Hayward, are renowned for reliability, while others offer budget-friendly options. Knowing these differences helps you select the right fit for your pool, ensuring smooth operation and peace of mind, much like tuning a perfect instrument for a flawless performance.
Conclusion
Now that you know how to read and calibrate your salt cell, you’re equipped to keep your pool crystal clear and balanced. But what if your readings still seem off? The next step could reveal hidden issues or unexpected surprises. Are you ready to uncover the secrets behind perfect salt levels? Stay vigilant—your pool’s health depends on it, and a simple adjustment might be all that’s standing between you and flawless swimming season.