To detect a pool leak, start with the bucket test by filling a bucket with water and placing it on a step in your pool to compare water loss over 24 hours. Look for signs like unexplained drops in water levels, wet spots, cracks, or algae growth around the pool, and inspect equipment and fittings for damage. Using dye tests can further confirm leak spots. Keep an eye on these clues, and you’ll uncover where the leak hides.
Key Takeaways
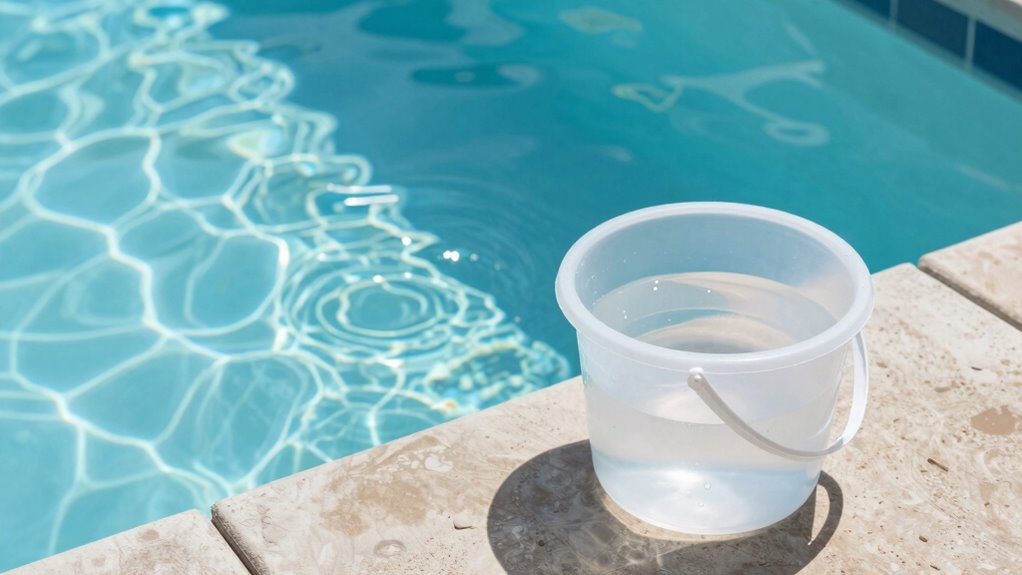
- Perform the bucket test to compare water loss inside a bucket versus the pool to identify evaporation versus leaks.
- Regular visual inspections can reveal cracks, wet spots, or mold indicative of leaks around the pool.
- Monitor water levels over time and note unexplained drops, especially after heavy use or rain.
- Inspect pool equipment, fittings, and surfaces for cracks, corrosion, or mineral deposits that may signal leaks.
- Use dye tests near suspected areas to precisely locate leaks by observing dye movement and pooling.
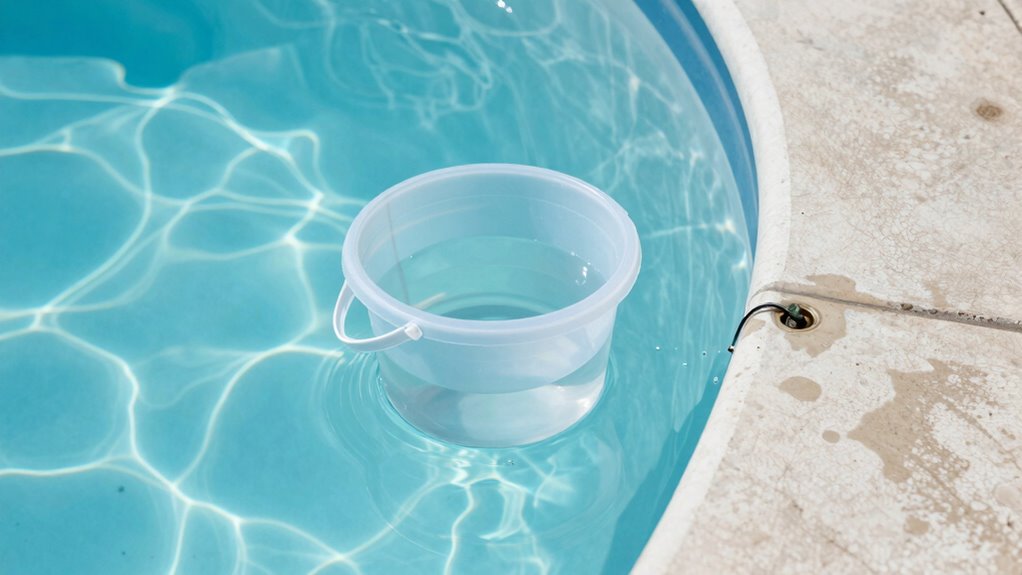
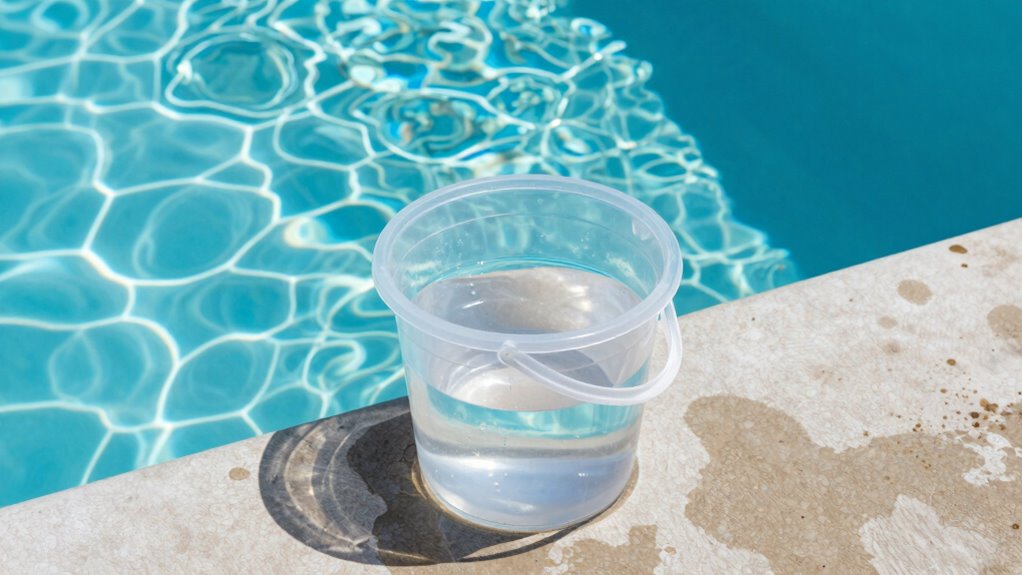
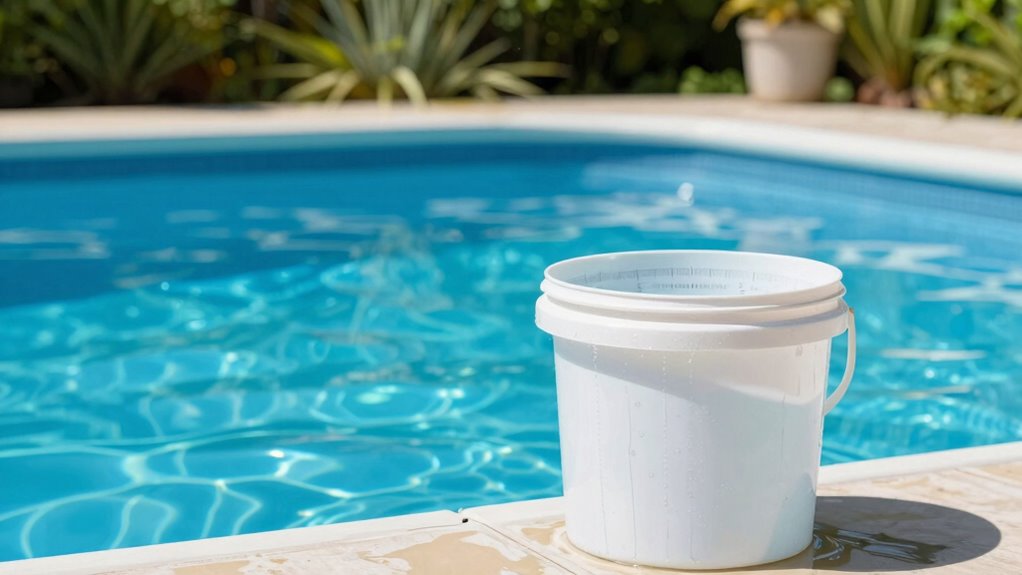
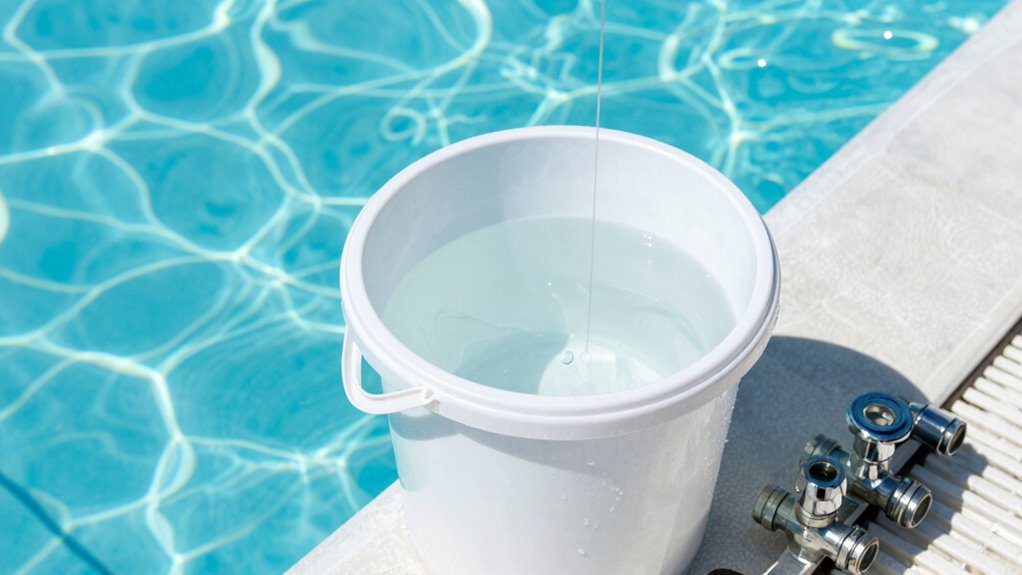
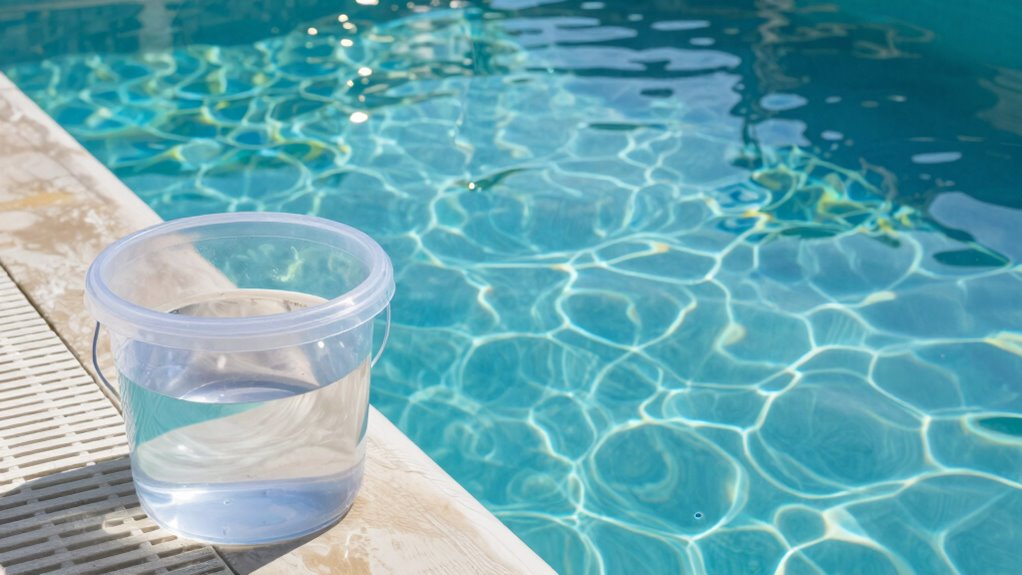
Performing the Bucket Test to Detect Pool Leaks
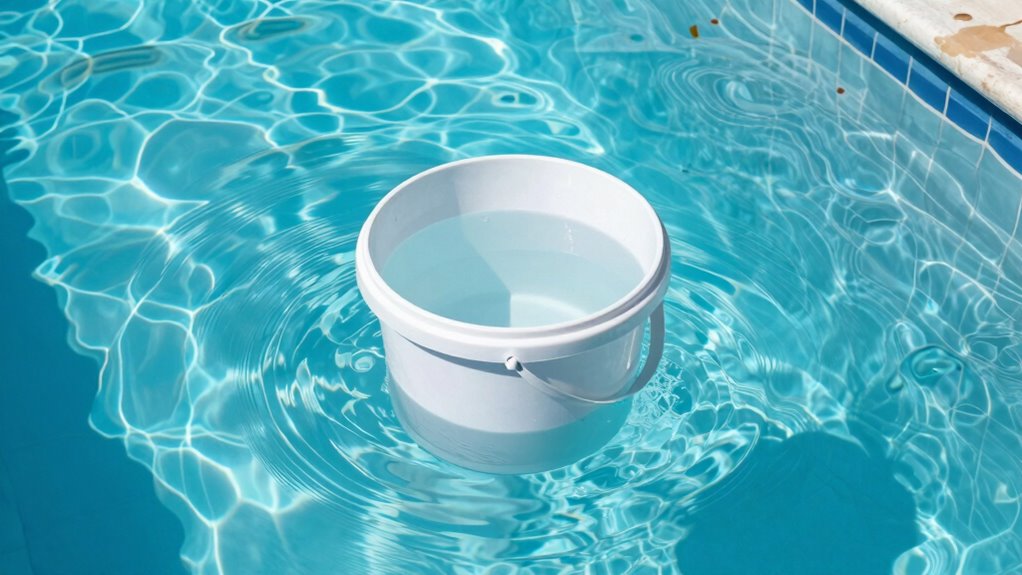
Have you ever wondered if your pool is leaking? The bucket test is a simple way to find out. First, fill a sturdy plastic bucket with water to about two inches from the top. Place it on the pool step, ensuring it’s submerged but stable. Mark the water level inside the bucket and the pool’s water level outside. Keep in mind, handling pool chemicals safely is essential during this process; avoid splashing chemicals near the test area. Start the pump and let everything run for 24 hours without adding chemicals or topping off the water. Afterward, compare the water levels. If the pool’s water has dropped more than the bucket’s, you likely have a leak. Remember, proper maintenance can also help prevent leaks from developing over time. Additionally, inspecting for other signs of leaks, such as wet spots around the pool or a decrease in water level even when the pump is off, can provide further clues. Regularly checking for early leak detection can help minimize potential damage and repair costs. Conducting a comprehensive inspection can reveal hidden issues that a simple bucket test might miss. Follow safety precautions at all times to prevent accidents or chemical spills.
Signs of Pool Leaks and How to Detect Them
Noticing unexplained changes in your pool’s condition can be a clear sign of a leak. Keep an eye on your chlorine levels; if they drop faster than usual, it might indicate water loss. Similarly, if your pH balance shifts unexpectedly, it could be due to water escaping and affecting chemical stability. You may also observe wet spots around the pool’s perimeter, cracked or softened concrete, or unexpected mold growth. Frequent skimming debris or algae growth despite proper maintenance can also signal leaks. Additionally, an increase in your water bills or the need to add water more often points to possible leaks. Regularly monitoring these signs helps you catch issues early, making leak detection more straightforward and preventing costly repairs. Understanding pool leak detection techniques, such as the bucket test, can further aid in identifying leaks accurately. Being aware of water evaporation rates can also help differentiate between normal water loss and actual leaks. Recognizing cabling failures or improper installation issues may also contribute to more precise troubleshooting and repairs.
Monitoring Water Levels Over Time
Monitoring water levels over time is one of the most effective ways to detect leaks early. By observing consistent changes, you can identify issues before they worsen. Keep an eye on signs like:
- Sudden drops in water level after a rainstorm or heavy use
- Water loss that exceeds typical evaporation rates
- Fluctuations during different times of the day or season
- Unexplained low water levels despite regular pool maintenance
- Water appearing to seep from fittings or nearby areas
Monitoring water levels helps you distinguish between natural water evaporation and potential leaks. Regular checks also promote better pool maintenance, preventing minor issues from escalating. Tracking these changes allows you to catch leaks early, saving you time and money in repairs. Additionally, understanding the play-based growth mindset can encourage proactive maintenance habits, fostering a sense of responsibility and confidence in managing your pool’s condition. Incorporating early detection techniques into your routine can further enhance your ability to spot issues before they become costly problems. Familiarity with regional environmental factors can also help you interpret water level fluctuations more accurately, especially when combined with monitoring water levels over time, which is a key strategy for leak detection. Being aware of seasonal weather patterns can provide additional context for natural water level changes and prevent unnecessary concern.
How to Inspect Pool Equipment and Fittings for Leaks
To identify leaks, start with a visual inspection of your pool equipment and fittings. Look closely at joints, connections, and seals for cracks, corrosion, or moisture. Checking these areas carefully can help you spot potential leak sources early.
Visual Inspection Techniques
Visual inspection is a straightforward yet effective way to identify leaks in your pool equipment and fittings. Start by carefully examining all visible parts, looking for cracks, corrosion, or mineral deposits. As you inspect, keep these clues in mind:
- Wet spots or puddles near equipment
- Cracked or discolored fittings
- Leaking valves or hoses
- Pool equipment with rust or corrosion
- Unusual mineral buildup around joints
Ensure your pool chemistry is balanced before inspecting, as chemical imbalances can mask or mimic leaks. Always follow safety precautions—wear gloves and safety glasses, and avoid working around energized equipment. A thorough visual check can catch obvious issues early, saving you time and preventing further damage. Regular inspections help maintain a safe, efficient pool. Additionally, understanding how to detect leaks in pool equipment can help you identify hidden issues before they escalate. Recognizing common leak signs can also aid in prompt detection and repair. Performing visual inspections routinely can help you catch small problems before they turn into costly repairs, especially when combined with proper maintenance practices.
Checking Fittings and Joints
When inspecting fittings and joints for leaks, start by turning off your pool pump to prevent water flow from masking issues. Check the connections around your pool skimmer, ensuring the gasket is intact and secure. Look for cracks, corrosion, or water drips where fittings connect to the pool wall. Examine the pump valves for leaks or loose fittings, especially around the valve stems and seals. Tighten any loose fittings carefully, but avoid overtightening, which can cause damage. Use a dry cloth to wipe away moisture and better spot leaks. If you notice persistent drips or wet spots around fittings or joints, consider replacing worn gaskets or seals. Properly inspecting these areas can help you catch leaks early and prevent more significant damage. For added assurance, performing the bucket test can help determine if the pool is losing water due to leaks or evaporation.
Checking for Cracks, Stains, or Visible Damage
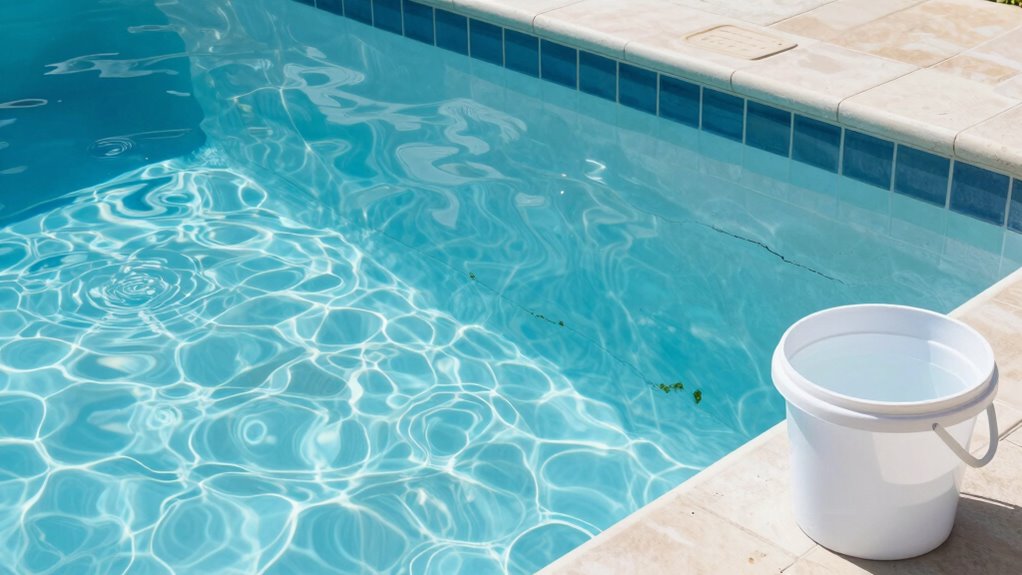
Inspect your pool carefully for any cracks, stains, or visible damage, as these can indicate leaks or structural issues. Look closely for signs of crack detection, such as hairline fractures or larger splits in the pool’s surface. Stain identification is also key—discolorations may suggest mineral deposits or algae growth, signaling potential leaks. Visual clues include:
Carefully inspect your pool for cracks, stains, and damage indicating leaks or structural issues.
- Fine cracks running along the pool walls or floor
- Areas with faded or discolored patches
- Bubbling or blistering paint or plaster
- Rough or jagged edges around the surface
- Unusual mineral stains near fittings or along the waterline
Pay special attention to these signs, as they help pinpoint damage that might be causing water loss. Addressing visible damage early can prevent further deterioration and costly repairs. Additionally, early detection of structural issues can save you from more extensive repairs down the line. Regular visual inspections are essential for maintaining pool integrity and avoiding surprises. Performing a comprehensive visual assessment can help identify problems before they worsen.
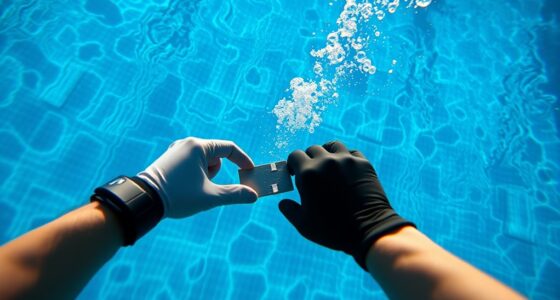
How to Use Dye Tests to Confirm Leak Location
To confirm the leak location, you’ll start by preparing a dye solution that’s safe for your pool. Then, carefully conduct the test by applying the dye near suspected areas and observing movement. Interpreting the results will help you pinpoint the exact leak, guiding your next repair steps.
Preparing Dye Solution
Preparing the dye solution correctly is essential for an effective leak detection test. You want the dye to flow smoothly and clearly show leak points without interference. Start by mixing a small amount of dye into a clean container of pool water. Ensure the chlorine levels are balanced, as high chlorine can fade the dye quickly. For best results, conduct the preparation after pool cleaning, when debris is minimal. Visualize the process with these steps:
- Dropping dye carefully near suspected leak areas
- Using a dropper or small container for precision
- Ensuring the dye disperses slowly for accurate detection
- Keeping the water calm to prevent turbulence
- Checking that the dye remains visible and concentrated
This preparation helps you spot leaks precisely, avoiding false negatives or confusing readings.
Conducting the Test
Once the dye is prepared, carefully introduce it near the suspected leak areas while the pool water remains still. Move slowly to prevent disturbing the dye’s movement, allowing it to follow the water flow accurately. Be sure to follow safety precautions, such as wearing gloves and avoiding inhalation of dye fumes. As you observe, look for the dye to drift toward the leak, confirming its location. To maximize accuracy, note the dye’s movement pattern and mark the spot. Remember, proper pool maintenance involves patience and precision during this process. Here’s a quick reminder:
| Key Point | Explanation |
|---|---|
| Use gentle motion | Prevents dye from dispersing prematurely |
| Safety first | Wear protective gear and work in well-ventilated areas |
| Observe carefully | Track dye movement to identify leak location |
| Document findings | Mark the spot for future repairs |
Interpreting Results
After you’ve introduced the dye near the suspected leak area and observed its movement, interpreting the results becomes essential to pinpoint the leak accurately. Look for the dye’s movement patterns to identify the leak source. If the dye pools or flows toward a specific spot, that’s likely your problem area. Keep in mind, low chlorine levels can make dye less visible, so ensure proper chlorination. Also, check your filter maintenance—clogged filters can cause false readings or obscure dye flow. Watch for these clues:
- Dye accumulating at a joint or seam
- Dye flowing into a crack or hole
- Sudden change in dye color or speed
- Dyes spreading unevenly with water flow
- Dye disappearing quickly, indicating rapid leaks
Interpreting these signs helps locate leaks precisely and decide whether repairs are needed.
When to Call a Professional for Pool Leak Repairs
Detecting a pool leak early is essential, but knowing when to call a professional can be tricky. If you notice persistent water loss despite proper pool chemistry and seasonal maintenance, it’s time to seek expert help. Small cracks or hidden leaks often require specialized equipment and expertise to locate and repair effectively. If your water level drops regularly or your efforts to adjust chemical balance aren’t resolving the issue, a professional can pinpoint the problem without risking further damage. Additionally, if you’ve tried simple fixes and still see water loss, don’t delay—professional leak detection guarantees proper repairs and prevents costly damage. Trusting a pro for complex leaks guarantees your pool remains safe, functional, and well-maintained.
Frequently Asked Questions
How Often Should I Perform the Bucket Test?
You should perform the bucket test monthly as part of your pool maintenance routine. Regular testing helps you catch leaks early, saving water and conserving resources. When you notice unexplained water loss, do the test immediately. By staying vigilant, you prevent costly repairs and maintain an efficient, eco-friendly pool. Consistent testing guarantees you’re actively caring for your pool and the environment, keeping it in top shape year-round.
Can Weather Conditions Affect Leak Detection Accuracy?
Weather impact can definitely affect leak detection accuracy. Seasonal variations, like rain or high temperatures, influence water levels and can mask or mimic leaks. For example, heavy rain might temporarily raise water levels, making it harder to identify leaks, while hot weather causes evaporation, lowering water levels falsely suggesting a leak. Always consider current weather conditions and seasonal changes when performing the bucket test to guarantee accurate results.
What Safety Precautions Are Needed During Inspections?
During inspections, you need to prioritize pool safety by ensuring the area is clear of hazards and using proper safety gear. Always handle inspection tools carefully to prevent accidents or damage. Keep a close eye on children and pets, and turn off power if working near electrical components. Proper safety precautions protect you and others, making the leak detection process safer and more effective.
Are There DIY Methods for Fixing Small Leaks?
You can roll up your sleeves for some DIY repairs when it comes to small leak fixes. Start by identifying where the leak is, then use waterproof sealant or epoxy designed for pools. For minor cracks or holes, applying a patch can do the trick. Just remember, a stitch in time saves nine, so tackle small leaks early before they turn into bigger headaches. Always follow safety guidelines and manufacturer instructions.
How Long Should I Monitor Water Levels Before Acting?
You should monitor water levels for at least 24 to 48 hours to accurately assess leak timing. During this period, track water level changes carefully, especially after heavy use or rain. If your water level drops considerably more than normal within this timeframe, it indicates a potential leak. Consistent monitoring helps you determine if the issue is ongoing or temporary, guiding your next steps for repair or professional help.
Conclusion
Remember, a stitch in time saves nine—addressing pool leaks early can prevent costly repairs later. By performing simple tests like the bucket test, monitoring water levels, and inspecting equipment, you can detect leaks before they worsen. Trust your observations and don’t hesitate to call a professional if needed. Staying attentive and proactive ensures your pool stays in top shape, proving that sometimes, a small leak can cause a big problem if left unchecked.