
To replace a pool pump seal, first turn off the power and drain the water from the pump. Remove the motor and impeller, then access the seal assembly. Carefully pry out the old seal, clean the area thoroughly, and inspect for damage. Install the new seal, ensuring proper alignment, then reassemble the pump components. After restoring power, check for leaks and smooth operation — keep going to learn detailed steps.
Key Takeaways
- Turn off power, drain residual water, and remove the pump motor and impeller for access.
- Locate and remove the seal housing, then carefully extract the old seal without damaging surrounding parts.
- Clean the seal area thoroughly, inspecting the shaft and housing for damage or wear.
- Install the new seal correctly, ensuring proper alignment and that the lip faces water.
- Reassemble the pump, tighten all parts securely, restore power, and check for leaks and proper operation.
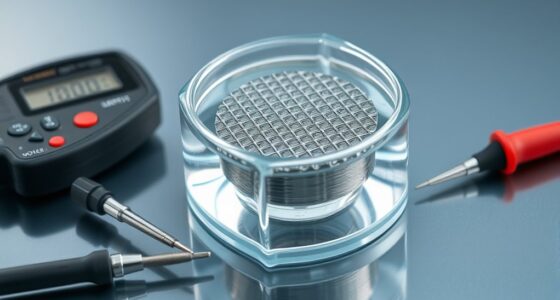
Gather Your Tools and Materials
Before you begin replacing your pool pump seal, it is essential to gather all the necessary tools and materials. Start with a thorough tools checklist, including screwdrivers, pliers, a socket wrench, and a seal removal tool. You’ll also need a replacement seal, so verify the seal types compatible with your pump model—different pumps may require specific seals. Gather a clean cloth, a lubricant suitable for seals, and possibly a gasket scraper. Ensuring you have the right tools and seal types ready will streamline the process and prevent delays. Double-check your pool pump’s manual for any additional or specific tools required. Being well-prepared makes the replacement smoother, safer, and more efficient, saving you time and effort during the repair. Additionally, understanding the cost of somatic therapy can help you budget for any professional assistance if needed. Moreover, familiarizing yourself with automation in business concepts can inspire innovative approaches to maintaining your pool system. When selecting your replacement seal, consider the quality of essential oils, as using high-quality components can prolong the lifespan of your pump parts. Also, taking a moment to research cost-effective maintenance practices can help you extend the life of your pool equipment. Furthermore, exploring the horsepower of electric dirt bikes can give insights into the power and efficiency of different pump motors, aiding in choosing the right replacement.
Turn Off Power and Drain the Pump
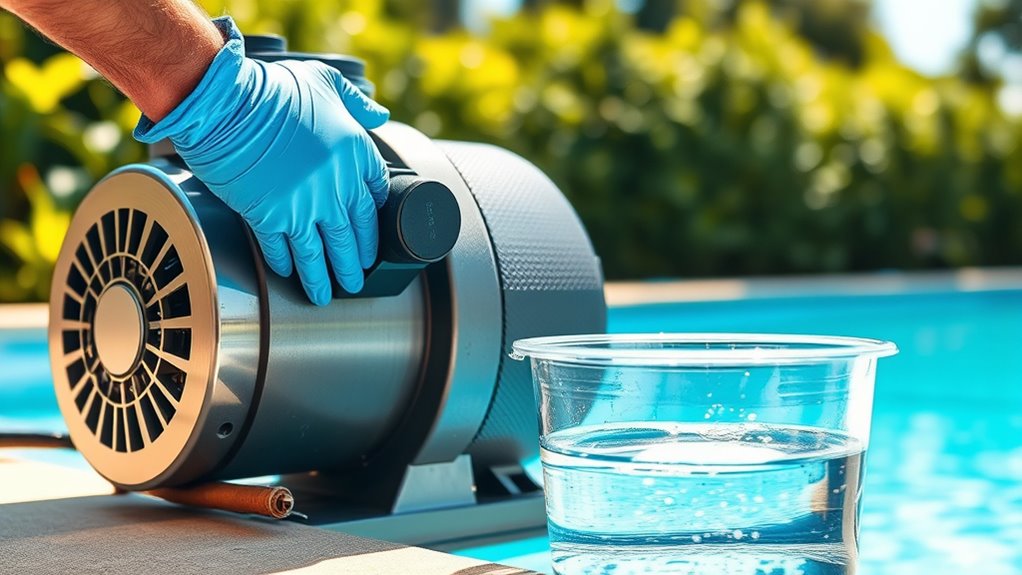
Before starting work, you need to turn off the pool pump’s power to guarantee safety. Next, carefully drain the pump to remove any remaining water and prevent leaks. Following these steps keeps the process safe and makes the seal replacement easier. Additionally, reviewing industry trends can help you understand the most effective tools and techniques for your repair, especially those related to essential maintenance practices. Being aware of performance tuning can also provide insights into how equipment performance may influence your maintenance approach. Proper air quality management during maintenance can further ensure a safe environment.
Power Shutdown Procedure
To safely begin the seal replacement process, you need to turn off the power and drain the pump. Prioritize electric safety by disconnecting the power at the circuit breaker. Never work on the pump while it’s plugged in or energized. Once the breaker is off, use a voltage tester to confirm there’s no electrical current before proceeding. This ensures your safety and prevents electrical shock. After confirming zero voltage, unplug the pump or switch off the disconnect switch. Drain the pump according to your previous steps. Always handle electrical components with care, and double-check that the power is fully off before touching any internal parts. Taking these precautions minimizes risk and keeps your work safe and efficient. Additionally, understanding the Protective Styling Benefits can help in avoiding unnecessary damage to the pump during maintenance. Ensuring proper airflow around the unit can prevent overheating and prolong the lifespan of your pump components, especially when considering trust issues with equipment.
Drainage Process Overview
Ensuring the pump is completely powered off and drained is essential for safe and effective seal replacement. Begin by turning off the circuit breaker to cut power. Next, locate the drainage pipe attached to the pump’s housing. Place a large bucket or drain pan beneath the pipe to catch residual pool water. Carefully disconnect the drainage pipe, allowing the water to flow out. Be prepared for some pool water to escape during this process. Once the water has drained, ensure all remaining water is removed from the pump and surrounding area. Proper drainage prevents spills and reduces pressure on seals. Confirm that the pump is dry before proceeding to remove the seal, ensuring safety and ease during the replacement process. Being aware of proper disposal methods can help prevent plumbing issues during maintenance. Additionally, inspecting the seal area for any damage or debris can facilitate a smoother replacement process. Regularly checking the pump components can also extend the lifespan of your equipment and prevent future repairs. Incorporating AI detection methods can further improve the accuracy of maintenance diagnostics. Using these advanced techniques can help identify potential issues early, saving time and resources.
Remove the Pump Motor and Impeller
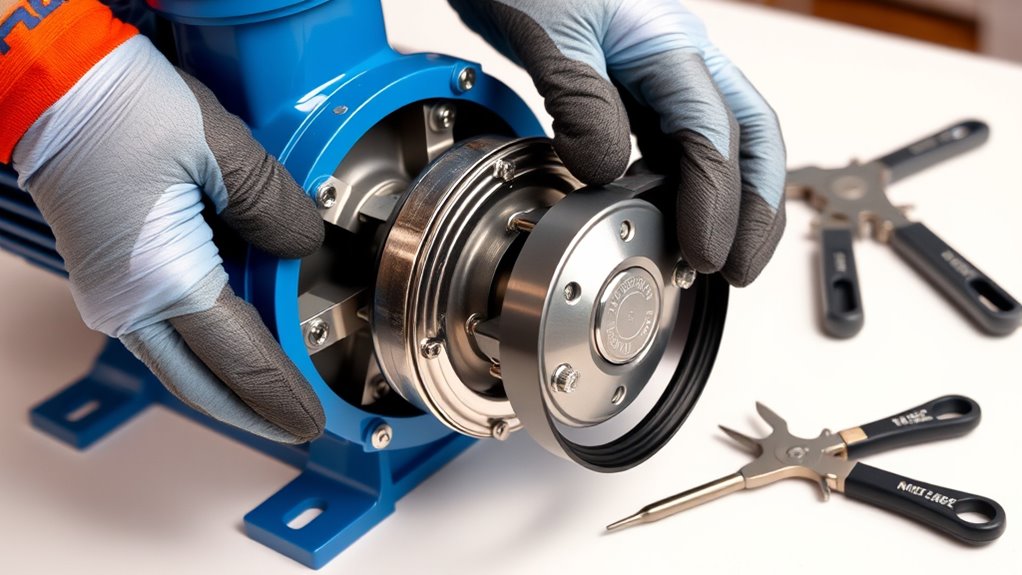
Before removing the motor and impeller, make sure you’ve disconnected the power supply safely to prevent any accidents. Next, carefully loosen and take out the motor, followed by removing the impeller. This step guarantees you can access the seal for proper replacement.
Disconnect Power Safely
Have you turned off the power supply to the pool pump? Ensuring electrical safety is vital before working on the pump. Locate the circuit breaker dedicated to your pool equipment and switch it off to cut the power completely. Double-check that the breaker has tripped and the power is off by trying to turn on the pump or testing with a voltage tester. Never skip this step—working on live electrical components poses serious safety risks. Once the power is disconnected, wait a few minutes for any residual current to dissipate. This step protects you from electrical shock and prevents damage to the pump’s electrical parts. Confirm the power is off before proceeding to remove the motor and impeller. Incorporating a security system deterrent can also help prevent theft while you’re working on your property.
Remove Motor and Impeller
Ready to remove the motor and impeller? Here’s how to get started. First, disconnect the motor from the pump housing by loosening the bolts securing it in place. Next, carefully perform impeller removal by turning it counterclockwise to release it from the shaft. Then, proceed with motor disassembly, ensuring you disconnect all wiring and mounting hardware. Finally, gently lift out the entire motor assembly along with the impeller.
- Loosen bolts securing the motor
- Turn impeller counterclockwise to detach
- Disconnect electrical connections
- Carefully lift out the motor and impeller assembly
Following these steps guarantees safe impeller removal and smooth motor disassembly, paving the way for seal replacement.
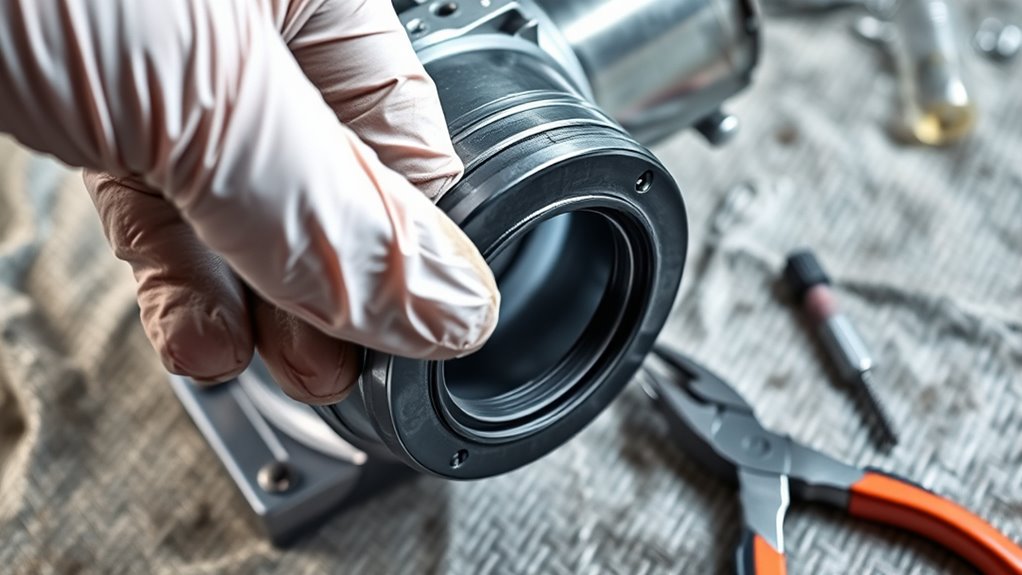
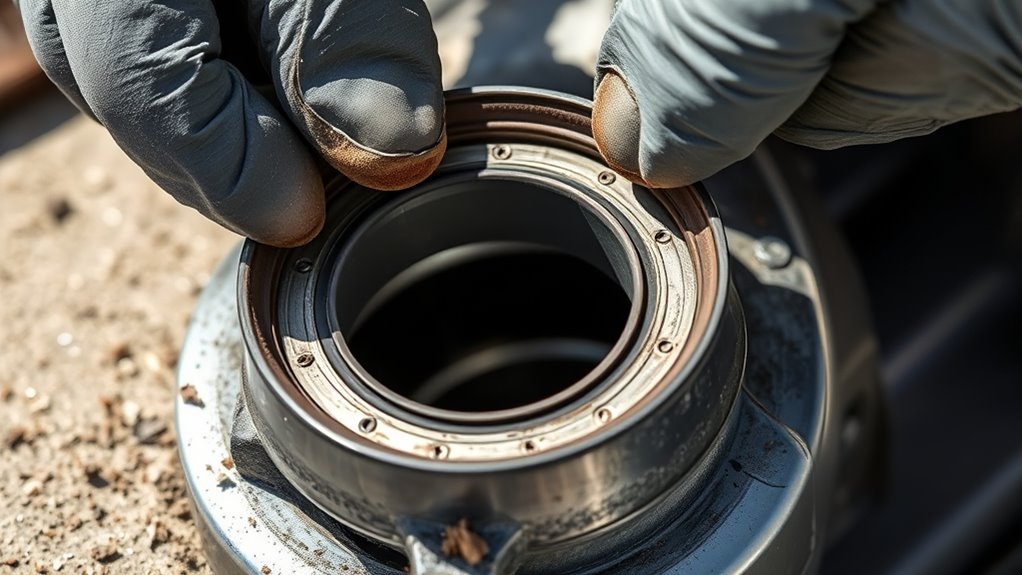
Access the Seal Assembly
How do you access the seal assembly in your pool pump? First, locate the seal housing, which is usually secured by bolts or screws. To gain access, look for the access port on the side of the pump’s casing. Remove the cover or lid on the access port carefully, exposing the internal components. This opening allows you to see the seal assembly without disassembling the entire pump. Make sure the pump is unplugged and the water is drained if necessary. Once the access port cover is removed, you can reach inside to examine the seal assembly or prepare for removal. Accessing the seal assembly through the access port simplifies the process and minimizes the need for extensive disassembly.
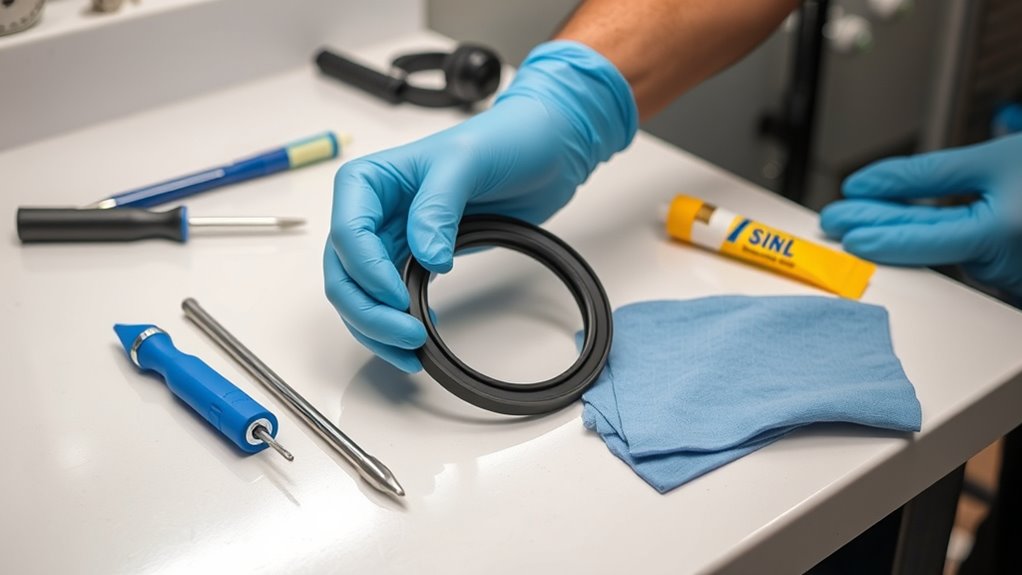
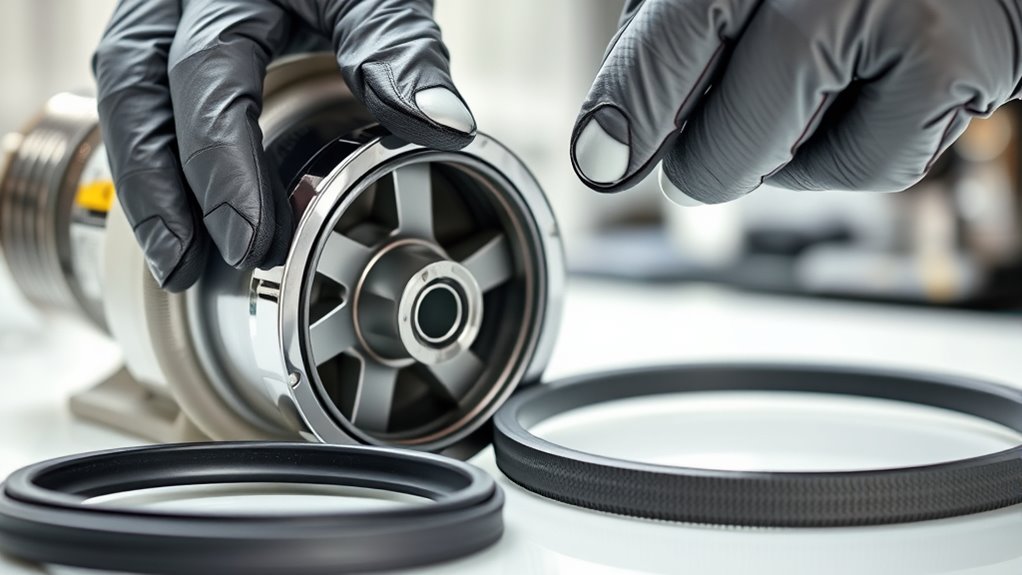
Remove the Old Seal Carefully
Once you’ve accessed the seal assembly, it’s important to remove the old seal carefully to prevent damage to surrounding components. Proper seal removal ensures the new seal fits correctly and avoids leaks. To do this effectively:
- Gently pry around the seal edge with a flat screwdriver or seal removal tool.
- Avoid applying excessive force to prevent cracking or damaging the seal housing.
- Carefully lift the old seal out, inspecting it for signs of wear or cracks.
- Keep the area clean and free of debris to facilitate a smooth seal inspection and future installation.
Taking your time during seal removal minimizes the risk of damaging the pump parts. A thorough seal inspection at this stage helps confirm whether replacement is necessary.
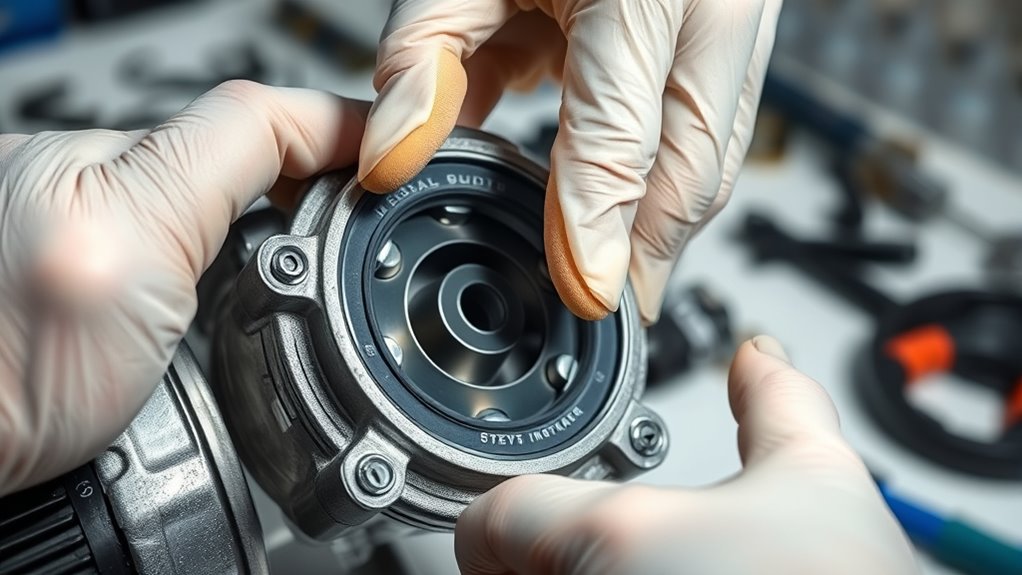
Clean the Seal Area and Inspect Components
Before installing the new seal, thoroughly clean the seal area to remove any dirt, grease, or debris that could compromise the seal’s effectiveness. Perform seal cleaning carefully, ensuring all old residue is removed to prevent leaks. While cleaning, inspect the surrounding components for wear, cracks, or damage that might affect the seal’s performance. Check the shaft, housing, and other nearby parts for corrosion or defects. This step helps you identify potential issues early, saving time and preventing future leaks. Take your time during component inspection, as overlooked damage could lead to seal failure later. Once the area is clean and inspected, you’re ready to proceed with installing the new seal, confident that the surface is prepared for a proper seal fit.
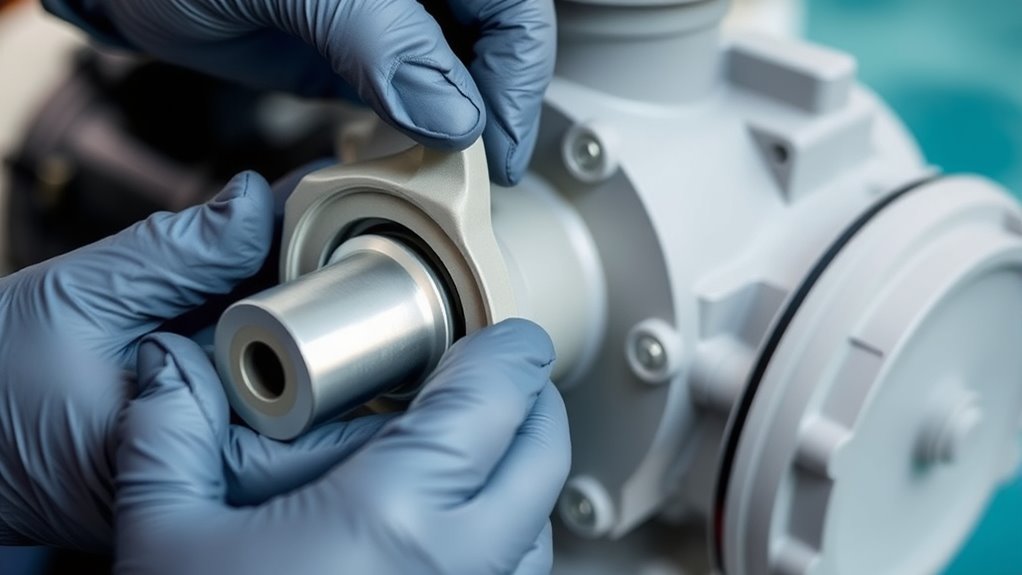
Install the New Seal Properly

To guarantee a proper seal, carefully align the new pump seal with the shaft and housing. Proper seal alignment is vital to prevent leaks and ensure smooth operation. Follow these seal installation techniques:
- Gently slide the seal onto the shaft, making sure it sits flush against the housing.
- Use even pressure to avoid misalignment or damaging the seal.
- Check that the lip of the seal faces the correct direction, usually toward the water side.
- Confirm that the seal is seated evenly, with no gaps or tilting.
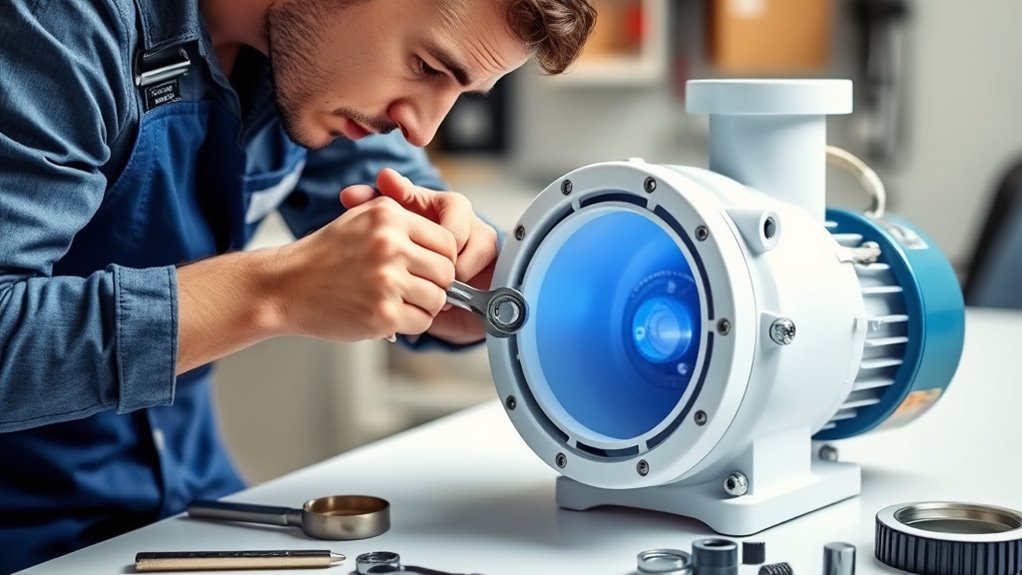
Reassemble the Pump and Check Alignment
After installing the new seal, carefully reassemble the pump by aligning the housing and the impeller. During reassembly procedures, guarantee the impeller is seated correctly and the housing fits snugly without forcing parts together. Once assembled, perform an alignment check to confirm everything is properly aligned. Misalignment can cause leaks or damage, so take your time to verify the impeller spins freely and is centered within the housing. Use a straightedge or feeler gauge if needed to double-check alignment. Tighten all bolts securely, but avoid overtightening, which can warp components. Proper reassembly and alignment are vital to ensure the pump operates smoothly and efficiently, preventing future issues and prolonging the life of your pool pump.
Restore Power and Test the Pump
Once the pump is fully reassembled and properly aligned, you can restore power to the unit. Before turning it on, ensure all electrical safety measures are in place—check for any exposed wires or loose connections. Then, follow these steps:
- Turn on the circuit breaker and observe any sparks or unusual sounds.
- Listen for smooth operation, confirming ideal pump performance.
- Check for leaks around the pump and seal area.
- Monitor the pressure gauge to ensure it’s within normal range.
If everything runs quietly and efficiently, your pump is ready for regular use. If you notice strange noises, leaks, or poor performance, double-check your work or consult a professional. Prioritizing electrical safety guarantees safe operation and extends your pump’s lifespan.
Frequently Asked Questions
How Do I Identify a Leaking Pump Seal?
You can identify a leaking pump seal by looking for pool leaks around the pump area. If you notice water pooling or dampness near the seal, it’s a sign of seal deterioration. Also, watch for reduced water flow or unusual noises. These signs indicate the seal might be compromised, allowing water to escape and cause leaks. Addressing seal deterioration early prevents further damage and keeps your pool running smoothly.
What Safety Precautions Should I Take During Replacement?
When replacing a pump seal, you should prioritize safety by wearing protective gear like gloves and safety glasses to prevent injuries. Always guarantee electrical safety by disconnecting the power supply before starting, avoiding any risk of electrocution. Work in a dry area, and be cautious with sharp edges. Following these precautions helps protect you from potential hazards, making the process safer and more efficient.
Can I Replace the Seal Without Removing the Motor?
It might seem like a coincidence, but you can sometimes replace the seal without removing the motor, especially if you have the right tools. Focus on the seal material and use specialized replacement tools designed for this purpose. Carefully access the seal area, ensuring you don’t damage the motor or other components. With patience, you can save time and effort by working around the motor, but make sure you follow safety tips.
How Often Should I Inspect or Replace the Pool Pump Seal?
You should inspect your pool pump seal regularly, ideally every few months, to catch any leaks early. Look for signs of seal lubrication issues or deterioration of the seal material, which can cause leaks. Replace the seal when you notice cracks, wear, or leaks. Proper maintenance keeps your pump running smoothly and extends its lifespan, preventing costly repairs down the line. Regular checks help guarantee your pool stays clean and safe.
What Are Common Mistakes to Avoid During Seal Replacement?
Imagine you’re rebuilding a delicate clock; every tiny gear matters. During seal replacement, avoid rushing, because seal lubrication is essential to prevent leaks. Make certain seal compatibility with your pump model, or you risk damage and costly repairs. Don’t overlook cleaning parts thoroughly or applying too much lubricant. These mistakes can cause leaks, reduce efficiency, or damage your pump—treat each step like tending to that precious clock to keep it running smoothly.
Conclusion
Once you’ve completed the reassembly, you’re almost there—just one step remains. As you restore power, a moment of anticipation builds. Will the new seal hold firm or will a leak reveal itself? Turn on the pump and watch closely. If everything runs smoothly, you’ve successfully replaced the seal. But beware—sometimes, surprises lurk beneath the surface. Stay alert; your pool’s perfect circulation depends on it.