To fix a malfunctioning pool heater, start by checking the power supply and resetting the circuit breaker if needed. Confirm the thermostat is set correctly, and inspect the pilot light or ignition system for proper operation. Clean or replace the air filter, and verify water flows freely without blockages. Diagnosing sensor issues and resetting the system can also help, but if problems persist, seeking professional help might be necessary. Learn more to troubleshoot effectively.
Key Takeaways
- Check power supply, circuit breakers, and reset the system to resolve electrical issues.
- Inspect thermostat, sensors, and ignition components for faults or damage.
- Ensure water flow is unobstructed by cleaning filters, skimmers, and pipes.
- Test and replace faulty heating elements or sensors using a multimeter for continuity.
- Monitor error codes and system indicators to identify specific malfunctions and determine if professional repair is needed.

Nilight 5PCS 15 Amps Thermal Circuit Breaker 125/250V AC 65V DC Push Button Manual Reset Overload Protector Waterproof Cap Auto Trip Resettable for Industrial 12-24V Auto Cars
- System Protection: Automatically resets after overload protection
- Compact Design: Waterproof push-to-reset button, 3/8 inch mounting hole
- Versatile Compatibility: Suitable for AC 125/250V and DC 65V applications
As an affiliate, we earn on qualifying purchases.
As an affiliate, we earn on qualifying purchases.
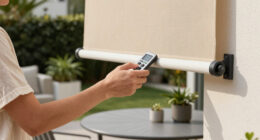
Checking the Power Supply and Circuit Breaker
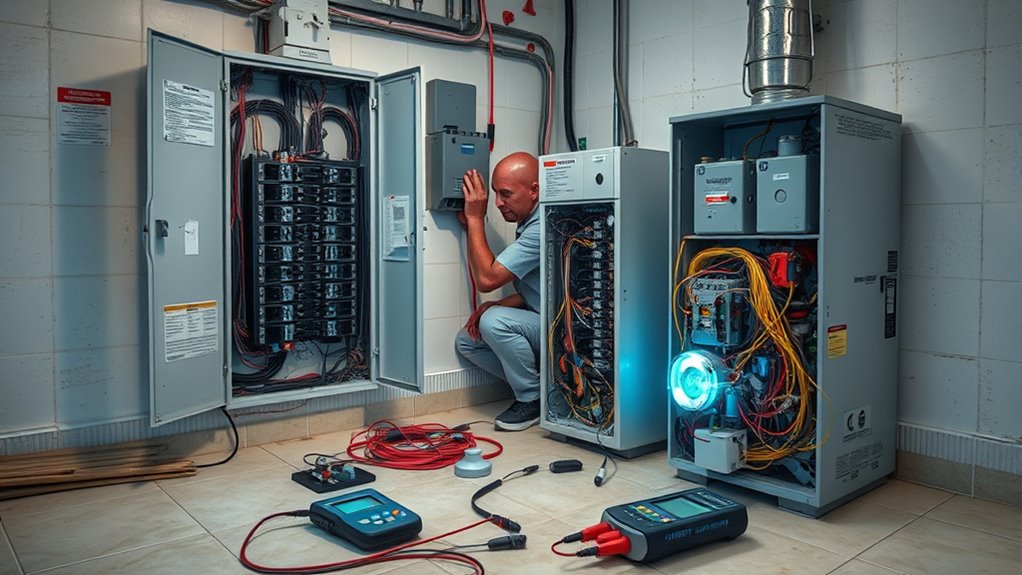
Before attempting any repairs on your pool heater, you should first check the power supply and circuit breaker. Make sure the heater is plugged in securely and that the outlet is functioning. Head to your electrical panel and look for the breaker labeled for your pool heater. If it’s tripped, reset it by flipping it all the way off and then back on. Sometimes, a breaker trips due to overload or a power surge. Also, inspect for any visible damage or corrosion around the breaker. If the breaker trips again after resetting, there could be a deeper electrical issue. Confirm that the power supply is consistent by testing other outlets nearby. Ensuring a reliable power source is essential before moving on to further troubleshooting.
Inspecting the Thermostat Settings and Functionality
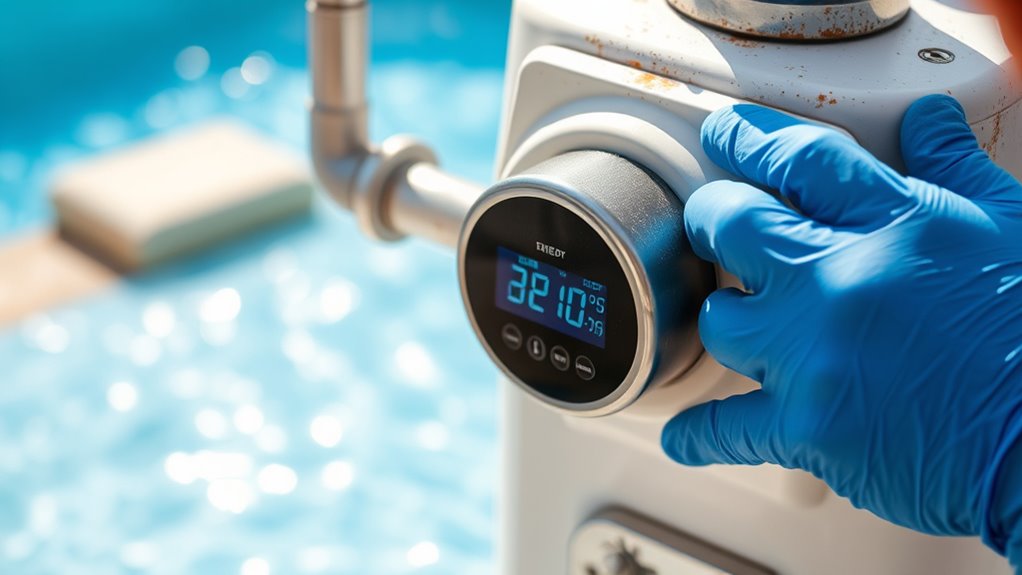
If your pool heater isn’t working properly, checking the thermostat settings is an important step. First, make sure the thermostat is set to a temperature higher than the current water temperature. Sometimes, it’s as simple as a low setting. Next, verify that the thermostat is functioning correctly by listening for clicking sounds when adjusting the temperature. You should also check for any visible damage or corrosion on the thermostat. If you have a digital thermostat, ensure it’s displaying the correct temperature and hasn’t reset or frozen. Additionally, understanding thermostat functions can help you troubleshoot more effectively and ensure your heater operates smoothly. Becoming familiar with the operation of pool heaters can also assist in diagnosing issues and understanding how different components interact. To further assist in diagnosing issues, familiarize yourself with the common thermostat problems that can occur in pool heaters. Recognizing symptoms of thermostat failure can help you determine if replacement or professional repair is needed. Finally, test the thermostat with a multimeter to confirm it’s sending the proper signals. These steps help identify if the thermostat is the culprit or if further repairs are necessary.
Examining the Pilot Light or Ignition System
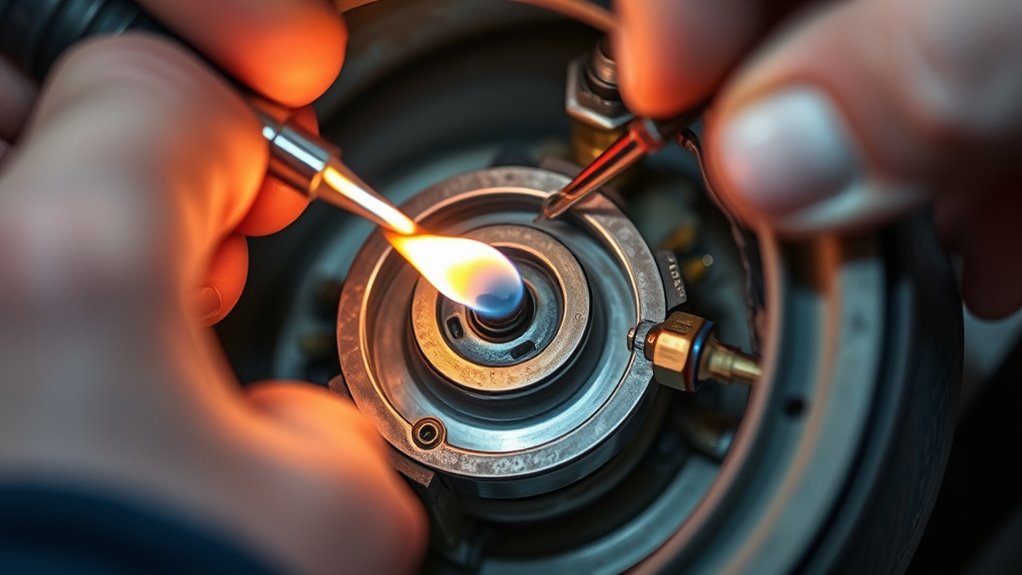
Start by checking if the pilot light is burning steadily; a weak or out flame indicates a problem. Next, inspect the ignition components for any damage or dirt that could prevent proper sparking. If needed, reset the system to see if that restores normal operation. Additionally, ensuring the high-quality ignition system is functioning correctly can prevent future malfunctions. Regular maintenance and understanding the fundamentals of ignition systems can help in diagnosing and preventing issues early on. Being aware of environmental considerations such as protecting the surrounding area from potential fire hazards can also be beneficial. Incorporating AI security insights can further enhance safety protocols and ensure reliable operation of your equipment. Familiarity with keto diet tracking tools and techniques can also be useful for maintaining optimal appliance performance.
Checking Pilot Light Status
To determine if the pilot light is the problem, you need to check its current status.
First, locate the pilot light area on your heater. Look for a small flame or a glass window showing the flame. If the flame is burning steadily, the pilot light is likely fine. If it’s out, you’ll need to reignite it.
When inspecting, keep these points in mind:
- Ensure the gas supply is turned on and unobstructed.
- Check for any debris or dirt around the pilot light orifice.
- Confirm that the pilot light flame is blue and steady, not yellow or flickering.
Inspecting Ignition Components
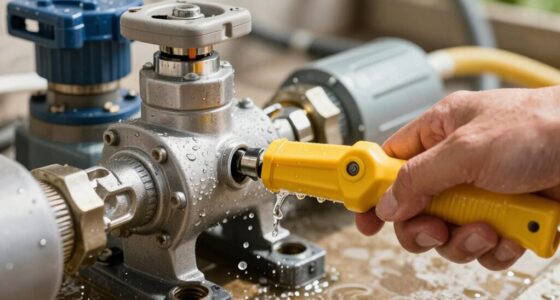
Have you checked the ignition components to make certain they’re functioning properly? Start by inspecting the pilot light assembly or ignition system for any signs of damage or dirt buildup. Ensure the electrodes are clean and properly aligned, as dirt or misalignment can prevent sparks. Look for corrosion or cracks in the igniter or sensor, which can hinder proper ignition. Confirm that wires connecting the ignition system are secure and free of corrosion. If your heater uses an electronic ignition, listen for clicking sounds when trying to ignite; a lack of sound may indicate a faulty igniter. Always turn off the power before inspecting these parts. Properly functioning ignition components are essential for safe, reliable operation of your pool heater.
Resetting the System
Wondering if your pool heater’s ignition system needs a reset? Sometimes, a simple reset can resolve ignition issues and get your heater working again. First, turn off the power to the heater at the circuit breaker. Wait a few minutes to allow the system to reset. Then, follow these steps:
- Locate the reset button on your heater’s control panel and press it.
- Check the pilot light or ignition system for proper operation.
- Turn the power back on and test if the heater ignites correctly.
If the heater still doesn’t fire up, repeat the process or consult the manual for specific instructions. Resetting the system can often clear minor faults and restore proper ignition.
Cleaning or Replacing the Air Filter
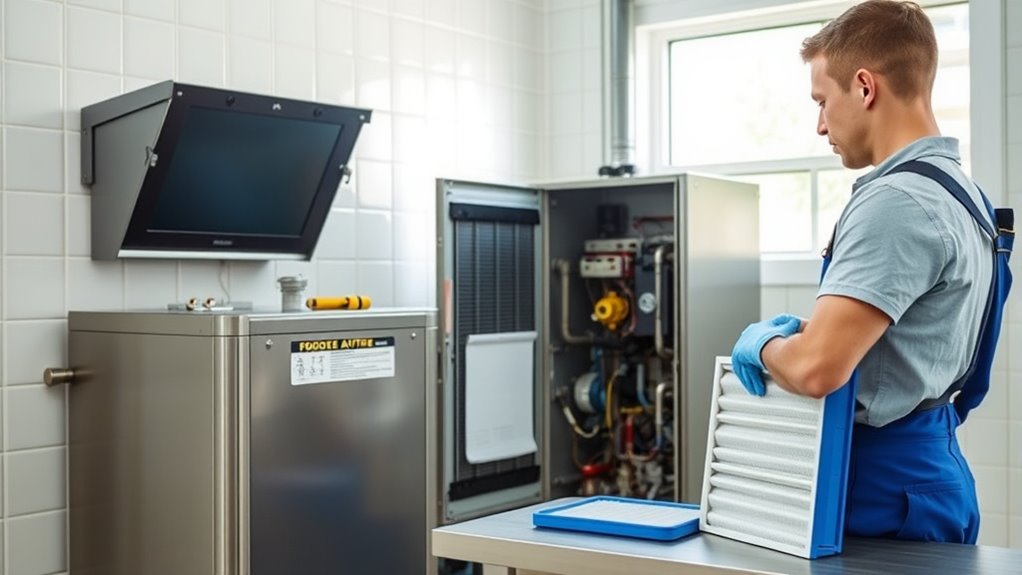
Regularly cleaning or replacing the air filter is essential for keeping your pool heater running efficiently. A dirty filter restricts airflow, causing the heater to work harder and potentially overheat or shut down. To clean it, turn off the heater first. Remove the filter from its housing, then gently brush away debris and dirt with a soft brush or rinse it with water if it’s washable. If the filter is damaged or excessively dirty, replace it with a new one designed for your heater model. Always check your manufacturer’s instructions for specific cleaning or replacement guidelines. Keeping the filter clean ensures proper airflow, improves efficiency, and extends the lifespan of your heater. Regular maintenance helps prevent malfunctions and keeps your pool at the perfect temperature. Additionally, understanding anime movies can provide entertaining ways to relax during maintenance sessions. Proper airflow management is crucial for chevrolet tuning to maximize performance and longevity. Ensuring your system has the appropriate necessary cookies enabled can also help monitor and improve your maintenance routines. Implementing preventative maintenance routines regularly can further reduce the risk of heater failures and costly repairs. Incorporating home security systems into your maintenance routine can also alert you promptly to any issues or malfunctions.
Ensuring Proper Water Flow and Clearing Obstructions

Make sure your water pump is working properly, as it’s essential for good flow. Check for any blockages or debris that might be obstructing water movement. Removing these obstructions quickly keeps your heater running efficiently and prevents future issues. Additionally, implementing data-driven strategies can help monitor system performance and detect potential problems early. Regular maintenance routines aligned with lifestyle and usage patterns can further extend the lifespan of your heater and ensure optimal operation. Incorporating preventative maintenance practices can also reduce the likelihood of unexpected malfunctions and costly repairs. Monitoring sensor data can provide real-time insights into system health and facilitate timely interventions. Staying informed about vacuums for dust removal can also help you understand how to maintain clean filters and airflow, which is vital for the overall health of your pool heating system.
Check Water Pump Function
To guarantee your pool heater functions properly, start by checking the water pump to confirm it’s working correctly. Ensure the pump is running smoothly without unusual noises or vibrations, which could indicate a problem. Verify that the pump’s strainer basket isn’t clogged, as debris can restrict water flow. Also, confirm the pump’s impeller is spinning freely; a jammed impeller limits water movement and affects heater performance.
- Inspect the strainer basket for debris and clean it if needed
- Listen for unusual noises from the pump during operation
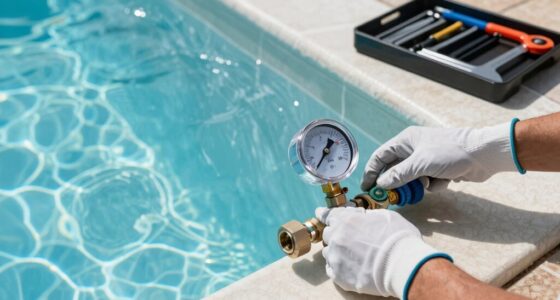
- Check the pump’s pressure gauge for normal readings to ensure proper flow
Remove Blockages Effectively
After confirming your water pump is functioning correctly, the next step is to remove any blockages that could hinder water flow. Inspect the skimmer basket, pump strainer, and pipes for debris, leaves, or dirt buildup. Use a hose or a brush to clear out stubborn debris from pipes and fittings. Check for any algae or mineral deposits that might restrict flow; if found, scrub or flush them out. Ensure all valves are fully open and functioning properly. If you notice unusual resistance or noise, double-check for obstructions. Clearing these blockages restores proper water circulation, which helps your heater operate efficiently. Regular maintenance prevents future obstructions and keeps your pool’s water flow smooth and consistent.
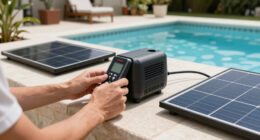
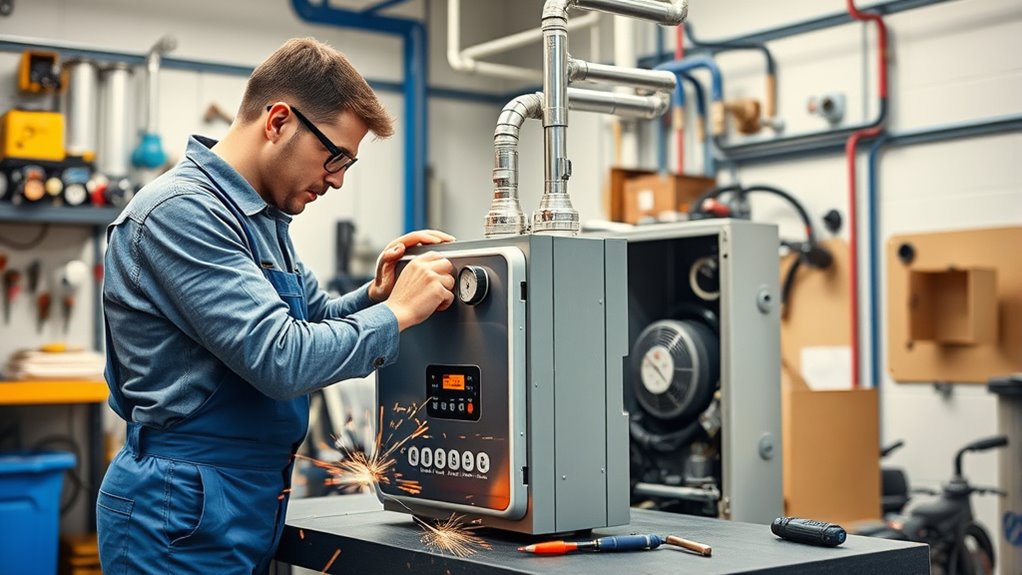
Testing the Heating Element for Continuity
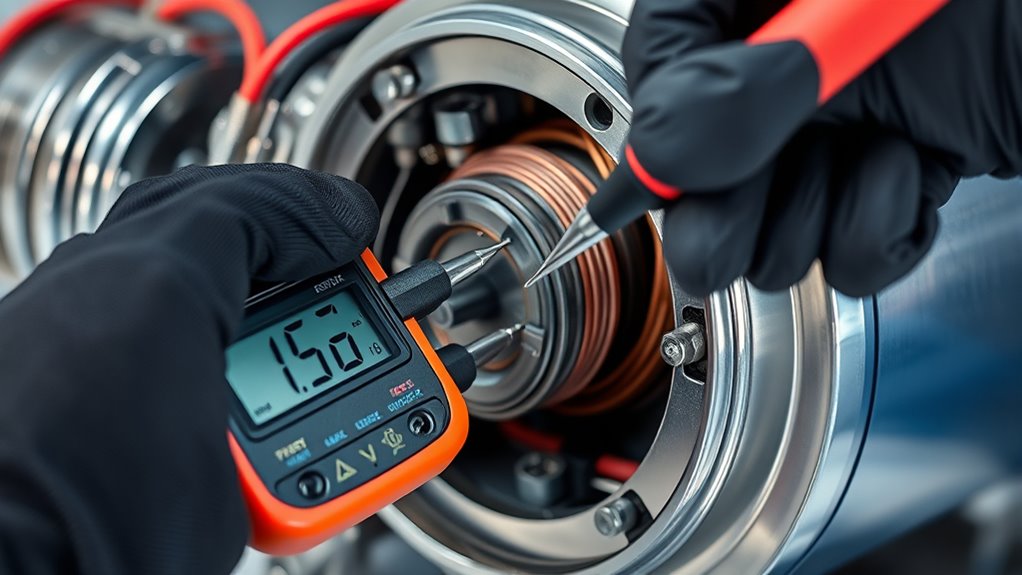
Before testing the heating element for continuity, make certain the power to the pool heater is completely turned off to avoid electrical shock. Safety is your top priority. Once the power is off, locate the heating element’s terminals. Use a multimeter set to the ohms or continuity setting. Touch the meter probes to each terminal, ensuring good contact. If the multimeter beeps or shows a low resistance reading, the element is good. If there’s no beep and the reading is infinite, the element has an open circuit and needs replacing. Understanding data privacy challenges is crucial when handling sensitive information during electrical diagnostics. Additionally, ensuring proper testing procedures can help accurately identify faulty components and prevent potential hazards. Familiarity with electrical safety protocols is also essential to protect yourself during these tests, especially considering that local laws may require specific safety measures during electrical work.
Diagnosing Sensor and Thermostat Malfunctions
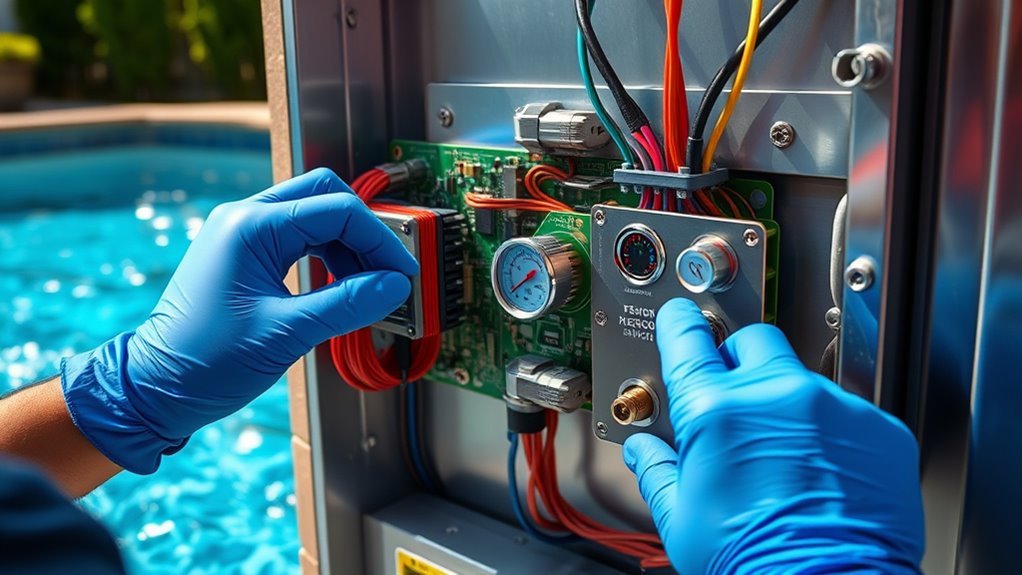
Diagnosing sensor and thermostat malfunctions is essential for identifying why your pool heater isn’t operating correctly. First, check the thermostat settings to ensure they match your desired temperature. Use a multimeter to test the sensors for proper resistance; if readings are off, the sensor may be faulty. The table below highlights common issues and solutions:
| Issue | Solution |
|---|---|
| Thermostat not responding | Replace or recalibrate the thermostat |
| Sensor readings inconsistent | Test and replace faulty sensors |
| Heater not heating properly | Verify sensor and thermostat function |
| Display shows error codes | Consult manual for specific fixes |
| No power to sensors | Check wiring connections |
Proper diagnosis helps you pinpoint the malfunction, saving time and avoiding unnecessary replacements. Additionally, consulting dog names can be a fun way to personalize your pool equipment or accessories.
Resetting the Pool Heater System

If your pool heater isn’t responding properly even after checking sensors and thermostats, resetting the system can often resolve underlying issues. Resetting clears minor glitches and restores normal operation. First, turn off the power supply to the heater at the circuit breaker. Wait for at least 30 seconds to allow the system to fully power down. Then, follow these steps:
- Turn the power back on at the breaker.
- Locate the reset button on the control panel—press and hold it for about 10 seconds.
- If your heater has a circuit breaker, flip it off and on again to reset the entire system.
After completing these steps, wait a few minutes and check if the heater responds properly. This simple reset often clears minor faults and gets your heater working again.
Addressing Error Codes and Diagnostic Indicators

When your pool heater displays an error code or diagnostic light, it’s a sign you need to take action. Learning how to interpret these signals helps you identify what’s wrong quickly. Let’s explore how to understand these codes and indicators to get your heater back in working order.
Interpreting Error Codes
Understanding error codes on your pool heater can seem intimidating at first, but they’re actually key to quickly identifying what’s wrong. These codes act as a communication system between your heater and you, signaling specific issues. To interpret them effectively, start by consulting your heater’s manual or manufacturer’s guide, which explains what each code means. Next, note down the code displayed or flashing on your unit. Finally, compare the code to the list of error indicators provided in your manual to pinpoint the problem.
- Check the manual for the specific error code
- Record the code for reference
- Use the guide to determine the necessary action
Diagnostic Indicator Signs
Diagnostic indicator signs on your pool heater, such as flashing lights or specific display messages, provide immediate visual cues about operational status or underlying issues. Recognizing these signs helps you quickly identify problems and decide whether to troubleshoot or call a professional. Many heaters use error codes or flashing lights to signal specific malfunctions. Understanding these indicators streamlines diagnostics and saves time.
| Indicator Sign | Possible Cause |
|---|---|
| Flashing lights | Overheating, sensor failure |
| Error codes on display | Pump issues, low water flow |
| Constant lights | Normal operation or minor issues |
| Rapid flashing | Safety lockout or critical faults |
When to Call a Professional for Pool Heater Repairs

While some minor issues with your pool heater can be tackled on your own, there are clear signs that it’s time to call in a professional. If you notice persistent leaks, strange noises, or failure to heat the water properly, don’t delay. These issues can indicate more serious problems that require expert diagnosis and repair. Additionally, if your heater keeps tripping the circuit breaker or shows error codes that you can’t resolve, it’s best to seek professional help. Attempting repairs beyond basic troubleshooting can be dangerous and may cause further damage. Remember, licensed technicians have the tools and knowledge to address complex issues safely and efficiently, saving you time and money in the long run.
Frequently Asked Questions
How Often Should I Schedule Routine Maintenance for My Pool Heater?
Scheduling routine maintenance for your pool heater is essential to keep it running smoothly. You should ideally have it serviced at least once a year, preferably before the peak swimming season. Regular checks every few months can help you spot issues early and prevent costly repairs. Keep an eye on any signs of trouble, and consult a professional if you notice strange noises, leaks, or decreased efficiency.
What Are Common Signs Indicating My Heater Needs Replacement?
Imagine your pool heater as the heart of your backyard oasis, quietly working to keep the water warm. When it starts making strange noises, such as banging or screeching, or if you notice inconsistent heating, it’s a sign it needs replacement. Leaking, rust, or a sudden drop in performance also indicate major issues. If these signs appear, it’s time to contemplate a new heater to make sure your pool remains inviting and warm.
Can I Repair My Pool Heater Myself Without Professional Help?
When wondering if you can repair your pool heater yourself, consider your skill level and the heater’s issue. If you’re comfortable with basic electrical and plumbing tasks, you might handle simple fixes like cleaning filters or replacing thermocouples. However, for complex problems such as electrical wiring or gas connections, it’s safer to call a professional. Attempting repairs beyond your expertise could cause damage or pose safety risks.
How Do Environmental Factors Affect Pool Heater Performance?
Ever wonder how the environment impacts your pool heater? Environmental factors like temperature, humidity, and debris can markedly influence its performance. Cold weather forces your heater to work harder, increasing energy use. High humidity can cause corrosion, and leaves or dirt clog vents and filters. To keep it running efficiently, you should regularly clean and shield your heater from harsh elements. Isn’t proper maintenance key to extending your heater’s lifespan?
Are There Energy-Efficient Upgrades Available for Older Pool Heaters?
You’re wondering if there are energy-efficient upgrades for older pool heaters. Yes, there are options like high-efficiency heat exchangers, programmable thermostats, and insulating covers that can improve performance and reduce energy use. Upgrading to a modern, energy-efficient model might be more cost-effective long-term. Plus, maintaining your existing heater properly and sealing leaks can also boost efficiency, saving you money while keeping your pool comfortably heated.
Conclusion
By following these simple steps, you can keep your pool heater running smoothly and enjoy warm, inviting waters all season long. A little attention now and then helps prevent bigger issues from popping up, making your pool experience more relaxing. Remember, if things still don’t heat up after your efforts, it’s perfectly okay to call in a pro. Sometimes, a gentle touch from an expert can turn things around smoothly and effortlessly.