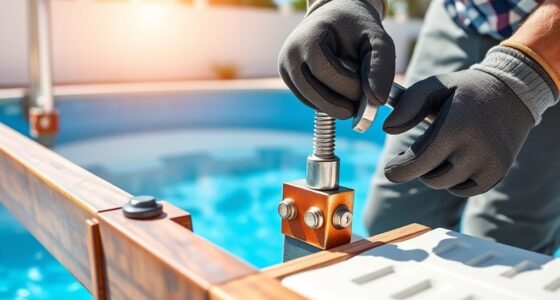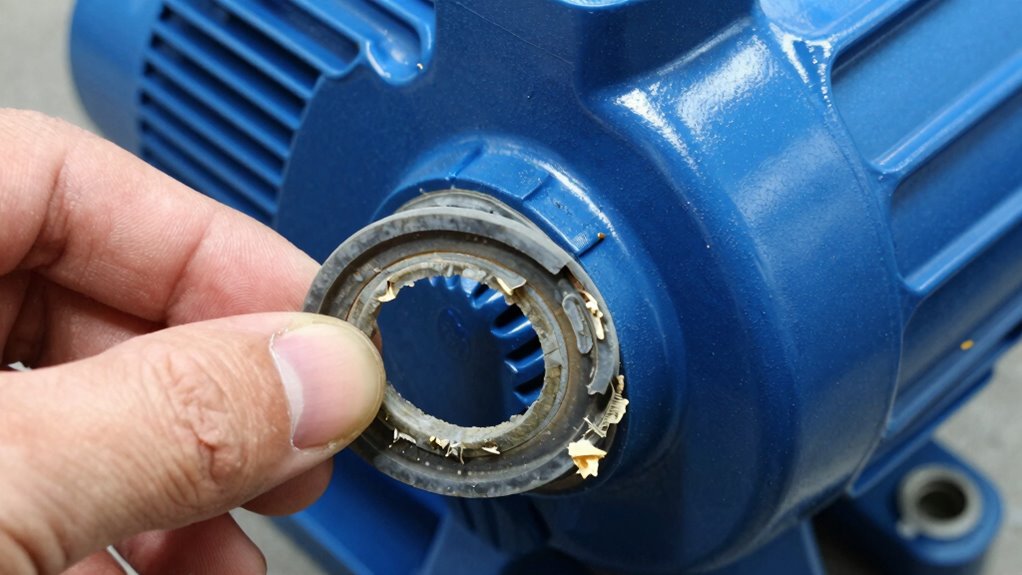
To replace worn pool gaskets before leaks happen, start by turning off your pump and disconnecting the equipment. Drain any remaining water and carefully remove the housing or lid, noting how it was assembled. Gently pry out the old gasket and clean the groove thoroughly. Select a new gasket that matches your original, then carefully place it into the groove. Reassemble everything tightly and evenly, then test your system for leaks. Keep going to find out more tips for a long-lasting repair.

Get pool and patio gear delivered free with Prime
- Fast, free delivery on millions of items
- Prime Video, Amazon Music and more included
- Member-only deals all year
Key Takeaways
- Regularly inspect gaskets for signs of wear, cracks, or deformation to catch issues early.
- Turn off and disconnect pool equipment before removing the gasket to prevent leaks and damage.
- Clean the gasket groove thoroughly to ensure proper seating and prevent future leaks.
- Match the replacement gasket’s size and material to the original for optimal fit and durability.
- Reassemble and tighten components evenly, then test for leaks to confirm a proper seal.

Over time, pool gaskets can wear out, leading to leaks and decreased performance. If you notice water around your pump or filter, it might be a sign that your gasket needs attention. Regular pool maintenance includes inspecting these crucial seals to prevent bigger issues down the line. Gasket materials vary, with common options like rubber, silicone, and EPDM. Each material offers different benefits, but all serve the same purpose: creating a watertight seal that keeps your pool functioning smoothly.
Pool gaskets wear out over time, causing leaks—regular inspection helps prevent costly repairs and keeps your pool running smoothly.
When you decide to replace a worn gasket, it’s important to choose the right type for your equipment. Rubber gaskets are affordable and easy to work with but may degrade faster with exposure to chemicals and UV light. Silicone gaskets tend to last longer and handle temperature changes better, making them a popular choice among pool owners. EPDM gaskets are highly durable, resistant to aging, and ideal for long-term pool maintenance. Knowing the gasket material helps you select the right replacement, ensuring your pool system remains leak-proof and efficient.
Before starting the replacement process, turn off your pool pump and disconnect the equipment. Drain any remaining water from the pump or filter to avoid spills and make work easier. Carefully remove the housing or lid that covers the gasket, taking note of how it’s assembled. You might want to photograph the setup for reference. Once the cover is off, gently pry out the worn gasket—avoid using sharp tools that could damage the housing or sealing surfaces. Clean the groove thoroughly, removing any debris, old gasket residue, or mineral buildup with a soft brush or cloth. A clean surface ensures the new gasket will seat properly, preventing future leaks. Additionally, understanding the importance of biodiversity can inspire sustainable practices even in routine maintenance, promoting a healthier environment.
Now, select your new gasket, making sure it matches the original in size and gasket material. Place it carefully into the groove, ensuring it sits evenly without twists or kinks. Reassemble the housing or lid, tightening bolts gradually and evenly to avoid warping or damaging the gasket. Once everything is back in place, turn on your pool equipment and check for leaks. If you spot any, re-tighten the fittings or replace the gasket if needed. Proper handling and installation techniques are essential for preventing future leaks and extending gasket life. Additionally, choosing a gasket with the right chemical resistance can help improve its longevity in a pool environment.
Replacing worn pool gaskets might seem straightforward, but it requires attention to detail and proper gasket material selection. Regular inspection and maintenance can extend the life of your pool’s seals, saving you time and money. It’s also helpful to familiarize yourself with water chemistry to ensure the longevity of your gaskets and other pool components. By staying proactive and replacing gaskets before they start leaking, you keep your pool running smoothly, ensuring a safe and enjoyable swimming environment.
As an affiliate, we earn on qualifying purchases.
Frequently Asked Questions
How Often Should Pool Gaskets Be Inspected for Wear?
You should inspect your pool gaskets at least twice a year, especially during regular pool chemical maintenance and before pool liner repair. Regular checks help identify signs of wear, cracking, or deterioration early, preventing leaks and costly repairs. Keep an eye on gasket condition after harsh weather or heavy use. Prompt inspection guarantees your pool stays sealed and in good shape, avoiding bigger problems down the line.
Can I Replace Pool Gaskets Without Draining the Pool?
Imagine a gentle breeze stirring the surface of your pool, revealing just a hint of its hidden machinery. You can replace pool gaskets without draining the pool by carefully working around water levels, but it’s essential to maintain proper pool chemical balance beforehand. Choose gasket material options like rubber or silicone for durability. With patience, you can upgrade gaskets smoothly, ensuring your pool stays leak-free while keeping the water inviting.
What Tools Are Essential for Gasket Replacement?
You’ll need essential replacement tools like a gasket scraper, adjustable wrench, and screwdriver. Choosing the right gasket material, such as rubber or silicone, guarantees a proper seal. These tools help remove the old gasket carefully and install the new one securely. Make sure you have a clean surface before fitting the replacement gasket, and use the tools to tighten fittings without over-tightening, which can damage the gasket or equipment.
Are There Different Gasket Types for Above-Ground and In-Ground Pools?
Ironically, choosing the right gasket type isn’t as simple as it seems. For above-ground pools, you’ll typically need gaskets made of rubber or foam that withstand frequent disassembly. In contrast, in-ground pools require gaskets with specific gasket material designed for higher pressure and durability, ensuring pool compatibility. Always check manufacturer specifications to match the gasket type with your pool’s design, preventing leaks and ensuring a perfect fit.
How Long Does a Typical Gasket Replacement Process Take?
A typical gasket replacement takes about 1 to 3 hours, depending on your experience and pool type. You’ll need to select the right pool gasket materials, which vary for in-ground and above-ground pools. The gasket replacement costs usually range from $50 to $150, covering materials and labor if you hire a professional. Expect a quicker process if you’re familiar with pool maintenance, but always prioritize proper installation to prevent leaks.
Conclusion
By replacing worn pool gaskets before they leak, you’re fundamentally patching up the dam before the flood begins. Think of it as giving your pool a fresh suit of armor—preventing tiny weaknesses from turning into big, costly problems. With a little effort, you’ll keep your pool running smoothly and your worries at bay. Remember, a proactive fix today can save you a tidal wave of trouble tomorrow. Stay vigilant, and your pool will thank you.
Fall Picks
fall essentials
As an affiliate, we earn on qualifying purchases.