
To stop leaks, you should inspect your pool’s gaskets and seals around essential parts like the pump, filter, and skimmer. Replace worn, cracked, or brittle gaskets with high-quality, compatible parts, making sure to clean surfaces beforehand. Carefully install the new seals and tighten connections gradually. Running your equipment afterward to check for leaks helps confirm the repair. Properly maintaining and replacing these seals now can prevent bigger issues—if you keep going, you’ll discover how to do it right.
Key Takeaways
- Inspect and identify leaking gaskets or seals around pump, filter, and skimmer before replacement.
- Use compatible, high-quality gaskets and thoroughly clean surfaces prior to installation.
- Apply silicone lubricant if recommended, and tighten connections gradually to prevent damage.
- Test for leaks after installation by refilling components and running pool equipment.
- Perform regular maintenance and inspections to prevent future leaks and extend gasket lifespan.

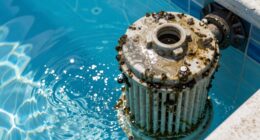
Over time, pool gaskets and seals can wear out or become damaged, leading to leaks and reduced pool performance. If you notice water loss despite a clean and well-maintained pool, it’s likely that the gaskets or seals are compromised. Addressing these issues promptly is essential for effective pool maintenance and leak prevention. Neglecting damaged gaskets not only wastes water but can also cause further damage to your pool’s structure and equipment. By replacing worn or cracked gaskets and seals, you can restore your pool’s integrity and guarantee it operates efficiently.
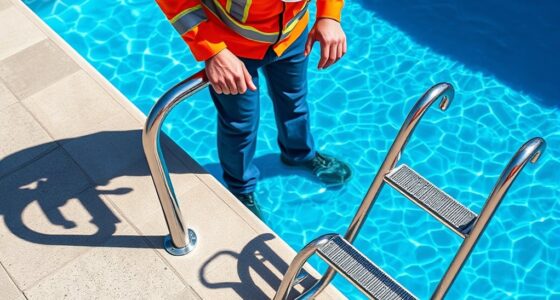
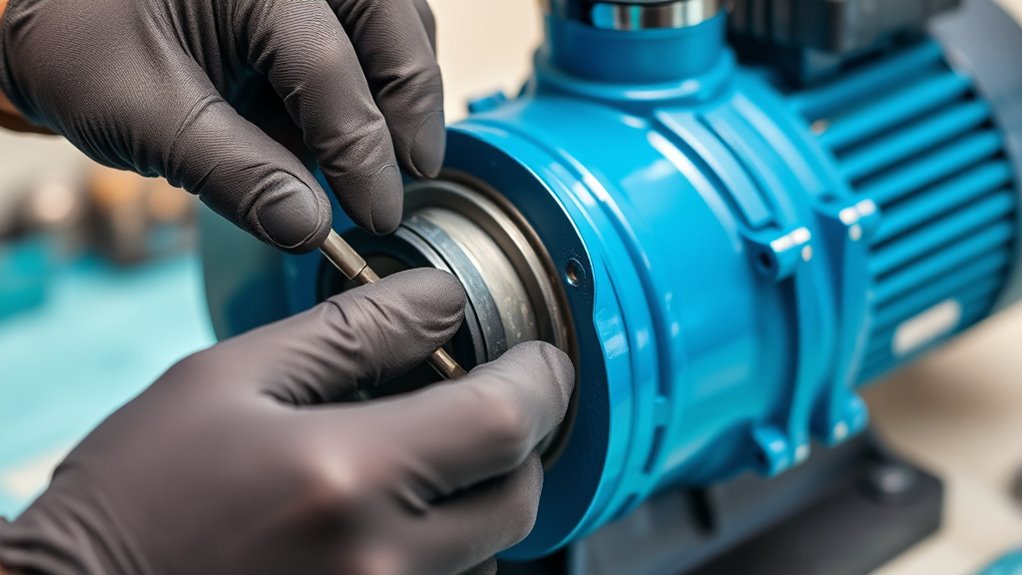
The first step in replacing pool gaskets and seals is to identify the source of the leak. Inspect all accessible seals around the pump, filter, and skimmer. Look for signs of cracking, brittleness, or water pooling around the seals, which indicates deterioration. Once you’ve pinpointed the problem areas, turn off your pool’s equipment and drain the necessary components if required. This prevents water from spilling out and makes replacement easier. Keep in mind that proper pool maintenance includes regularly checking these components to catch issues early before they escalate into costly repairs. Regular inspection and maintenance can extend the lifespan of your gaskets and seals, preventing unexpected leaks.
When replacing gaskets and seals, it’s essential to select the right parts. Using incompatible or low-quality replacements can lead to further leaks and reduce the lifespan of your repairs. Always refer to your pool’s manufacturer guidelines or consult with a professional to guarantee you get the correct size and type. Before installing the new gasket, clean the surfaces thoroughly to remove any debris, dirt, or old gasket material. A clean, dry surface guarantees a tight seal, minimizing the chance of future leaks. Apply a bit of silicone lubricant if recommended; this helps the gasket seat properly and makes future maintenance easier.
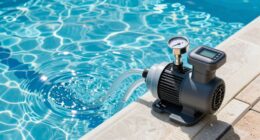
As you install the new seals, tighten connections gradually and evenly, avoiding over-tightening which can cause damage. After completing the installation, refill the components and run your pool equipment to check for leaks. Monitor the area closely over the next few days to confirm that the leak has stopped. Regular inspection and timely replacement of gaskets and seals form a critical part of ongoing pool maintenance, helping you prevent future leaks and maintain peak performance. Staying proactive with leak prevention ensures your pool remains inviting, efficient, and cost-effective to operate. Properly maintaining pool components is key to avoiding costly repairs down the line.
Frequently Asked Questions
How Often Should Pool Gaskets and Seals Be Replaced?
You should replace pool gaskets and seals every 1 to 3 years to maintain peak gasket longevity. Regular pool maintenance helps identify signs of wear, like leaks or cracks, so you can act early. Keep an eye on your equipment, and if you notice persistent leaks or difficulty sealing, it’s time for replacement. Properly maintaining gaskets ensures your pool stays leak-free and functions smoothly, saving you money and hassle.
Can I Replace Pool Gaskets and Seals Myself?
You can try DIY repairs, but replacing pool gaskets and seals can be tricky. If you’re confident with tools and small projects, you might handle it yourself, but don’t underestimate the complexity. A mistake could lead to more leaks or damage. When in doubt, getting professional help guarantees the job’s done right, saving you time and preventing future problems. Sometimes, expert hands are your best bet.
What Tools Are Needed for Replacing Pool Gaskets?
You’ll need basic seal replacement tools like a screwdriver, pliers, and a rubber mallet. For the pool gasket material, make sure you have the correct type suitable for your pool’s make and model. A gasket scraper or a utility knife can help remove old gasket material. Don’t forget to have some lubricant or silicone spray on hand to facilitate installation and ensure a tight seal.
Are There Different Types of Gaskets for Specific Pool Models?
Think of it like a key fitting into a lock—there’s a specific gasket for each pool model. Yes, there are different types of gaskets tailored to various pool models, made from materials like rubber or silicone, ensuring seal compatibility. Always check your pool’s manufacturer recommendations to find the right gasket material and type. Using the correct gasket guarantees a tight fit and prevents leaks, saving you time and money.
How Do I Identify a Faulty Gasket or Seal?
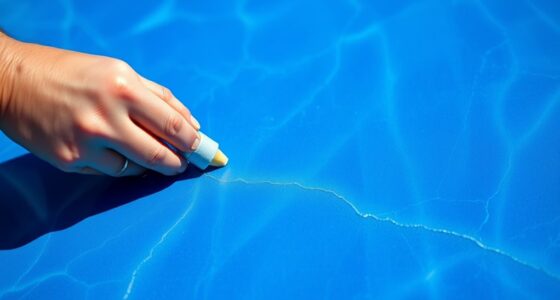
You can identify a faulty gasket or seal by looking for common signs like water leaks around the equipment or pool edges. During leak diagnosis, check for cracks, warping, or dried-out areas on the gasket. If you notice constant dripping, air bubbles in the skimmer, or a drop in water level despite no visible cause, it’s likely time to replace the gasket or seal to prevent further issues.
Conclusion
By carefully replacing pool gaskets and seals, you prevent pesky leaks and preserve your pool’s perfect performance. Patience and precision prevent problems and promote peace of mind. Prioritize proper installation, and you’ll prevent future frustrations. Remember, a small seal solution sustains the serenity of your swimming sanctuary. So, seize the skill, stay steady, and safeguard your summer splashes with a simple, yet significant, seal solution. Success starts with securing the seals!