To safely replace a broken pool light bulb, first turn off the breaker to cut power and confirm the light no longer works. Carefully remove the fixture lens or cover without getting water inside, and handle the bulb with gloves to avoid damage. Check all gaskets and seals before installing the new bulb, then reassemble everything securely. Power it back on to test the new bulb, and if issues persist, more detailed steps are available to guide you through the process.
Key Takeaways
- Turn off power at the breaker and confirm the light is not functioning before beginning.
- Carefully remove the lens or cover, inspecting for water or damage, and dry thoroughly.
- Handle the new bulb with gloves or a cloth to prevent oil transfer, and securely install it.
- Reassemble the fixture, ensuring all parts are properly seated and water-tight.
- Restore power and test the light, checking for proper operation before leaving the area.
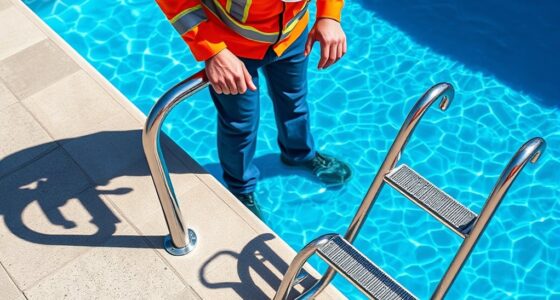
If your pool light has stopped working, replacing the broken bulb is a straightforward fix you can do yourself. Before diving in, it’s essential to prioritize safety precautions to prevent any accidents or electrical hazards. Turn off the power supply to your pool’s light at the breaker box. This step is vital because working with electricity near water can be dangerous. Once the power is off, double-check that the light is indeed not functioning by attempting to turn it on again—sometimes, the issue might be a loose connection or a blown fuse, which can be resolved without replacing the bulb. These troubleshooting tips help you determine whether the bulb is truly the problem or if something else might be causing the malfunction.
Turn off power at the breaker, then check if the pool light is truly not working before replacing the bulb.
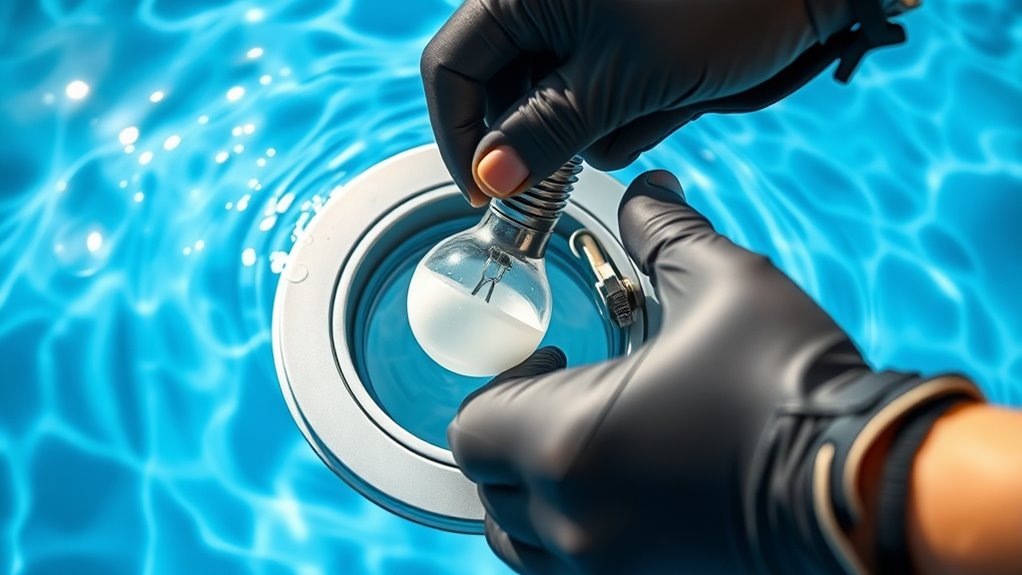
When you’re ready to replace the bulb, gather the necessary tools—usually a screwdriver, replacement bulb, and possibly a pool light niche cover or gasket. Carefully remove the lens or cover of the light fixture, following the manufacturer’s instructions, which often involve unscrewing bolts or clips. As you do this, keep an eye out for any water inside the fixture, as moisture can cause electrical issues or damage the new bulb. If water is present, dry the area thoroughly before proceeding. Be gentle during this process to avoid damaging the fixture or the wiring.
When handling the new bulb, avoid touching the glass with your fingers, as oils from your skin can shorten the bulb’s lifespan or cause it to overheat. Use a clean cloth or wear gloves to handle it. Insert the new bulb into the socket, ensuring it’s securely in place. Before sealing the fixture, inspect the gasket or O-ring for cracks or damage; replacing a worn gasket helps keep water out and prevents future issues. Once everything is reassembled, restore power at the breaker box and turn the light on to verify that it’s working correctly. Additionally, choosing a high-quality, durable bulb can extend the lifespan of your replacement and reduce the need for future repairs.
If the new bulb still doesn’t light up, revisit your troubleshooting tips—check the wiring connections, test the circuit, or consider whether a different component might be faulty. Remember, safety is your top priority throughout this process. If anything seems beyond your comfort level or if you encounter persistent issues, don’t hesitate to contact a professional. By following these precautions and tips, you can replace your pool light bulb safely, saving time and money while ensuring your pool remains illuminated for your enjoyment.
Frequently Asked Questions
Can I Replace the Pool Light Bulb Without Draining the Water?
You can replace a pool light bulb without draining water if your pool’s design permits it. During pool maintenance, guarantee electrical safety by turning off the power at the breaker before handling the bulb. Carefully access the light niche, avoiding water contact with electrical components. Keep in mind, some pools require partial draining for safety reasons. Always follow manufacturer instructions and consult a professional if unsure to prevent electrical hazards.
What Tools Are Essential for Replacing a Pool Light Bulb?
Did you know that nearly 60% of pool-related electrical accidents happen during maintenance? For replacing a pool light bulb, you’ll need a sturdy ladder, a waterproof screwdriver, and a replacement bulb. Focus on electrical safety by turning off the power before starting. Having the right tools guarantees a smooth process and minimizes risks. Proper pool maintenance isn’t just about cleaning—safety always comes first.
How Often Should Pool Light Bulbs Be Replaced?
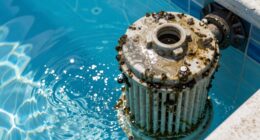
You should replace your pool light bulbs every 2 to 3 years as part of routine pool maintenance. Regularly inspecting the lighting guarantees peak performance and enhances lighting safety around your pool area. If you notice dimming, flickering, or corrosion, it’s time for a replacement. Staying proactive helps prevent potential electrical issues and keeps your pool area safe and well-lit, giving you peace of mind during nighttime swims.
Is It Safe to Replace the Bulb at Night?
Replacing the pool light bulb at night isn’t safe due to limited visibility and potential hazards. Night safety concerns arise from poor pool lighting conditions, making it harder to see hazards or equipment. To guarantee safety, perform the replacement during daylight hours or when the pool area is well-lit. Always turn off the power before starting, and use adequate lighting if you must work at night.
What Are Signs That the Pool Light Bulb Needs Replacement?
Did you know that about 80% of pool maintenance issues stem from neglected light bulb problems? You’ll notice dim or flickering lights, water discoloration around the fixture, or corrosion on the lens. These signs indicate your pool light needs replacement. Addressing it promptly guarantees electrical safety and keeps your pool inviting. Regular inspections help catch issues early, preventing costly repairs and ensuring a safe swimming environment for everyone.
Conclusion
Now that you know how to replace a broken pool light bulb safely, you can enjoy a luminous, inviting pool all year round. Remember, patience and caution are your best tools—think of yourself as a lighthouse keeper guiding the way through the darkness. With these steps, you’ll keep your pool shining bright and your spirits high. So, plunge in confidently, knowing you’ve mastered the art of illuminating your backyard oasis.