While shade sails may seem simple to install, achieving a clean, attractive look relies heavily on proper anchoring and tension. You’ll need to plan anchor points carefully, contemplating angles and heights to prevent sagging or fluttering, especially in wind. Proper tension is key—too tight, and you risk damage; too loose, and it flaps. To get it just right and ensure long-lasting results, there’s more to consider below.

Get pool and patio gear delivered free — and shop member deals
- Fast, free delivery on millions of items
- Access to Prime Big Deal Days deals on October 6–7
- Prime Video, Amazon Music and more included
Key Takeaways
- Proper anchoring angles and heights are crucial for maintaining shape and preventing sagging or fluttering.
- Correct tension adjustment avoids fabric stress, ensuring durability and a neat appearance over time.
- Planning for drainage and wind resistance requires thoughtful placement of anchor points and sail slopes.
- Using high-quality, UV-resistant materials and hardware extends the lifespan of the shade sail.
- Regular maintenance and tension checks are essential to keep the installation secure and visually appealing.
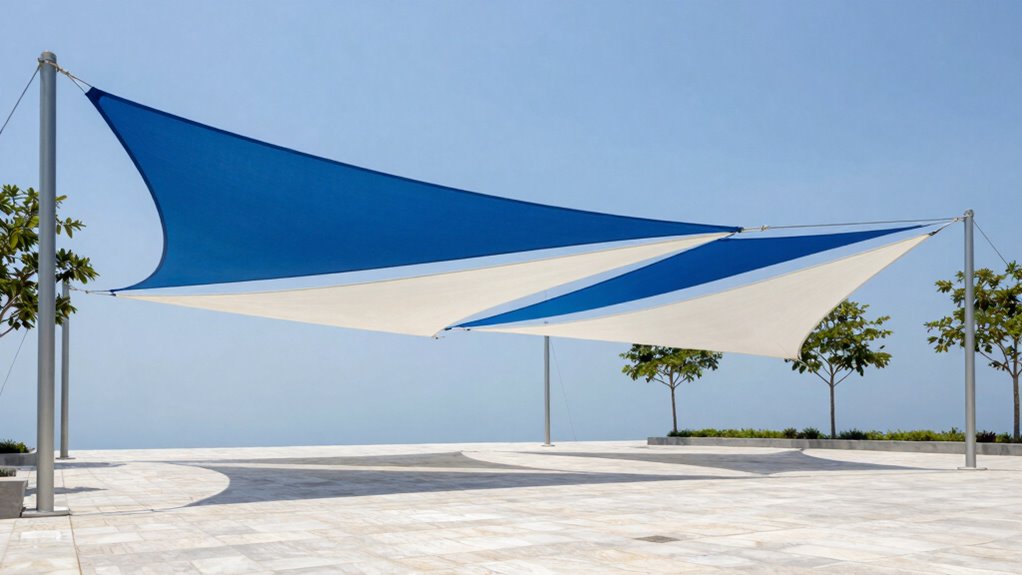
When installing shade sails, proper anchoring and tension are essential to guarantee they stay secure and look sleek. The process may seem straightforward at first glance, but to achieve a professional, long-lasting result, you need to pay close attention to design considerations and material selection. These factors directly influence how well your shade sail performs, how it handles weather, and how it complements your space.
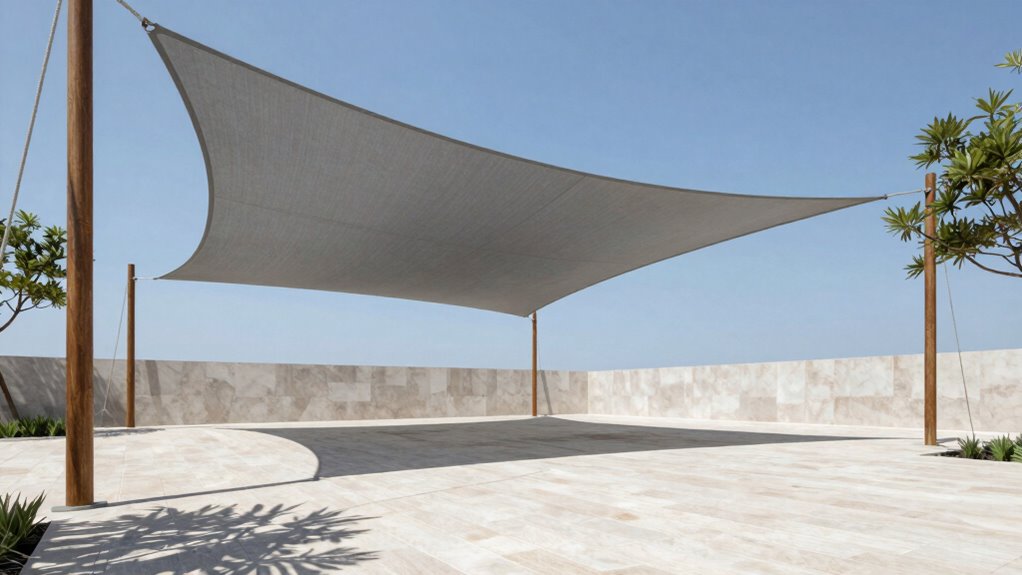
Start with design considerations. You want your shade sail to provide optimal coverage without sagging or fluttering in the wind. To do that, you need to plan your installation carefully. Consider the angles and heights of anchor points—these determine the tension and shape of the sail. Slightly higher anchor points on opposite sides help create a gentle slope that promotes drainage and reduces wind resistance. Think about how the sun moves throughout the day and year, so you position your sail for maximum shade without sacrificing aesthetic appeal. Also, check for obstructions like trees or wires that could interfere with the installation or cause wear over time. Proper planning can also extend the lifespan of your installation by preventing unnecessary stress on the fabric and hardware. Additionally, selecting the right installation techniques can make the process smoother and more effective.
Plan anchor points and angles carefully for effective shade, drainage, and wind resistance.
Material selection plays a crucial role in how your shade sail performs and lasts. You should choose fabrics specifically made for outdoor use, typically made from high-density polyethylene or polyester with UV-resistant coatings. These materials resist fading, mold, and deterioration caused by exposure to sunlight and moisture. The fabric’s weight, often measured in ounces per square yard, also impacts durability and tension retention. Heavier fabrics tend to hold tension better and last longer, but they might be more expensive and harder to work with. When selecting material, consider your climate—if you live in a windy area, opt for a fabric that withstands wind stress without tearing or stretching. Additionally, look for fabrics with reinforced edges and stainless steel or marine-grade hardware, which will provide extra strength at anchor points.
Finally, matching the right material with your design plan ensures your shade sail remains taut and secure over time. You need to establish anchor points using sturdy hardware like turnbuckles, eye bolts, or specialized anchors designed for outdoor use. Tension must be adjusted carefully—too tight, and you risk tearing the fabric or damaging hardware; too loose, and the sail won’t offer proper shade or could flap noisily in the wind. Regular checks and adjustments are key to maintaining the tension and integrity of the installation. When you combine thoughtful design considerations with the right material selection, your shade sail will not only look sleek but also stand up to the elements for years to come. Paying attention to material durability and hardware quality can make all the difference in achieving a long-lasting installation.
shade sail installation hardware kit
As an affiliate, we earn on qualifying purchases.
As an affiliate, we earn on qualifying purchases.
Frequently Asked Questions
What Materials Are Best for Shade Sail Durability?
For durability, you should choose fabric with high UV resistance and strong materials like HDPE or high-quality polyester. These fabrics withstand sun exposure, resist fading, and last longer. Your fabric selection impacts how well your shade sail holds up over time, especially under harsh weather conditions. Opt for fabrics designed specifically for outdoor use, ensuring your shade sail remains functional and attractive for years.
How Do Weather Conditions Affect Shade Sail Tension?
Your shade sail’s tension is dramatically affected by weather conditions. Wind impact can cause the sail to flap wildly or loosen over time, while rain effects add weight, stretching the fabric and reducing tension. Heavy rain can sag the sail, and strong winds can pull it out of shape or cause damage if not properly anchored. Regularly check and adjust tension to keep your shade sail looking perfect despite weather whims.
Can Shade Sails Be Installed on Uneven Surfaces?
Yes, you can install shade sails on uneven surfaces, but it requires proper surface leveling and specific anchoring techniques. You’ll need to assess the terrain first, then use adjustable anchor points or foundation supports to create a stable base. Proper tension is essential to prevent sagging or excessive strain. By carefully planning your anchoring methods and ensuring some level of surface correction, you can achieve a secure and attractive installation.
What Are Common Mistakes in Shade Sail Installation?
You often make common mistakes in shade sail installation by neglecting proper shade sail design and installation planning. Failing to measure accurately can cause improper tension and sagging, while overlooking anchor points might lead to instability. Make sure you understand the correct angles for maximum water runoff and tension. Avoid rushing the process; instead, plan carefully and double-check your measurements to achieve a secure, long-lasting shade sail that looks great and functions well.
How Often Should Shade Sails Be Maintained or Replaced?
Like a garden that needs regular tending, your shade sail requires routine maintenance. You should clean it at least once a year to keep it looking fresh and prevent mold or dirt buildup. Check for wear, tears, or fading, and replace the sail if damage affects its function or aesthetics. Proper shade sail cleaning and upkeep help preserve its appearance and durability, ensuring it continues to provide reliable shade and visual appeal over time.
Conclusion
Remember, a stitch in time saves nine. Properly anchoring and tensioning your shade sail might seem tricky at first, but with patience and attention, you’ll enjoy a stylish, functional shaded area. When you take the time to get it right, you’ll avoid future headaches and enjoy your outdoor space comfortably. Keep in mind that a well-installed shade sail not only looks great but also stands the test of time. Don’t rush—perfection is worth the effort.
Halloween Picks
halloween
As an affiliate, we earn on qualifying purchases.