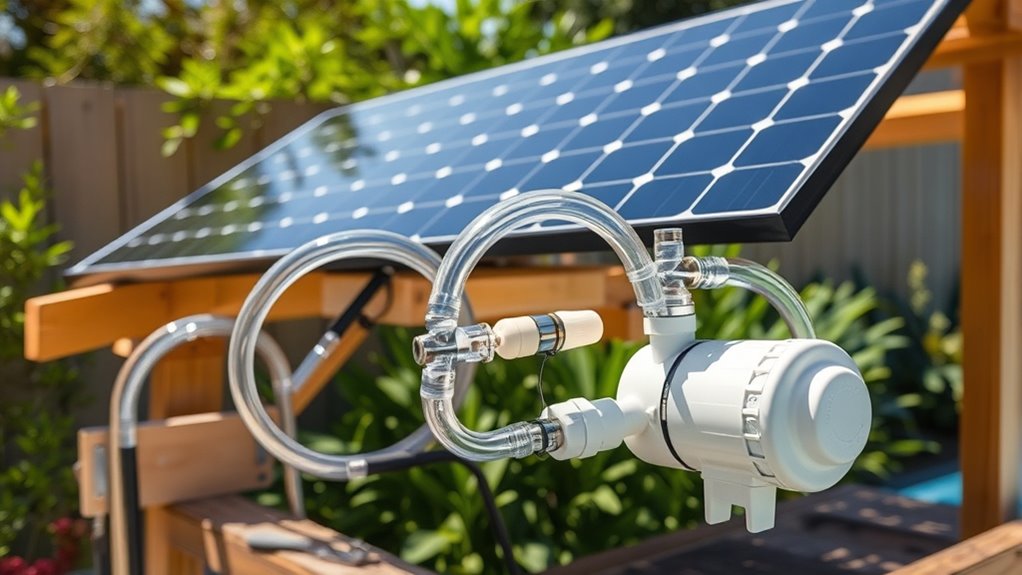
To install a DIY solar PV pool circulation system, start by evaluating your pool’s size, sunlight exposure, and site conditions to plan your setup. Choose efficient, weather-resistant solar panels and a suitable pump to circulate water effectively. Build a sturdy mounting structure facing south or southwest, connect the plumbing and electrical wiring carefully, then test your system for leaks or issues. Continue with proper maintenance to guarantee the best performance and longevity of your solar setup.
Key Takeaways
- Assess your pool’s size, sunlight exposure, and site conditions to optimize solar panel placement and system efficiency.
- Select durable, high-efficiency solar panels and appropriate pumps suited for your pool’s circulation needs.
- Construct a sturdy, weather-resistant mounting system with proper tilt and secure panel attachment for maximum sun exposure.
- Connect plumbing and electrical components carefully, ensuring leak-proof fittings and safe wiring away from water sources.
- Test the system thoroughly, monitor operation regularly, and perform maintenance like cleaning panels and checking connections.

Highest Performing Design – DIY Solar Pool Heater Kit – 15-20 Year Life Expectancy (4-4×10 / 1.5" I.D. Header)
- High-Heat Performance: Captures more heat with advanced technology
- Efficient Water Flow: Molded manifold ensures optimal flow
- Durable Construction: Built to last 15-20 years in harsh conditions
As an affiliate, we earn on qualifying purchases.
As an affiliate, we earn on qualifying purchases.
Assessing Your Pool and Site for Solar Installation
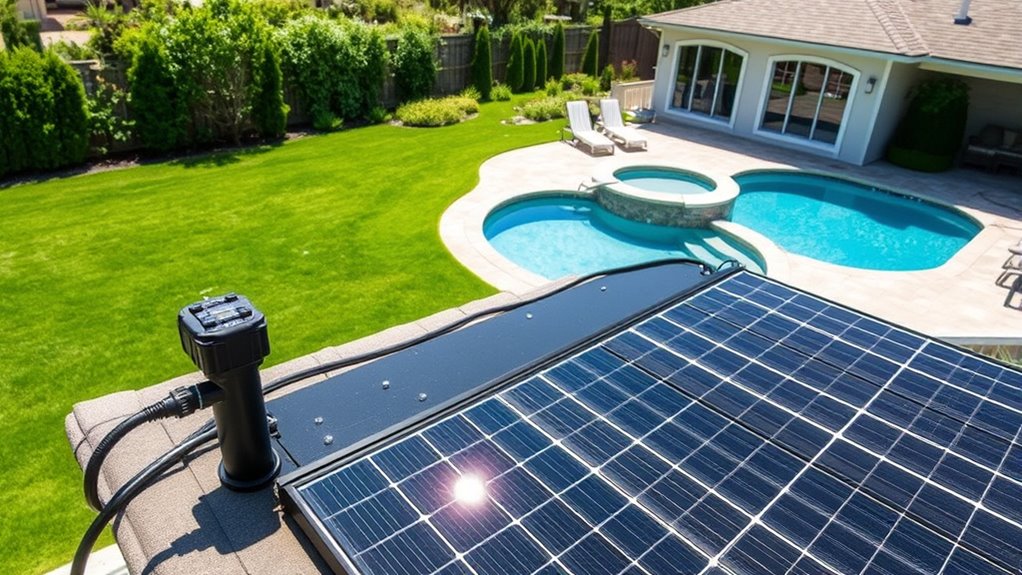
Before installing a solar PV pool circulation system, you need to evaluate your pool and its surrounding site carefully. Check the pool’s size and shape to determine how much solar capacity you’ll need. Look for areas with maximum sunlight exposure throughout the day; shade from trees or nearby structures can reduce efficiency. Assess the pool’s orientation—facing south or southwest usually captures the most sunlight. Consider the proximity of your electrical connections and existing plumbing to simplify installation. Guarantee the area is accessible for maintenance and safe from potential weather damage. Take note of any obstructions or overhanging branches that could cast shadows. Proper assessment helps you plan a system that maximizes energy capture while fitting seamlessly into your space. Additionally, understanding solar panel efficiency can help in designing a system that complements your daily routine and long-term needs. Recognizing renewable energy principles ensures your setup aligns with sustainable practices and maximizes your solar investment.
Selecting the Right Solar Panel and Pump Components
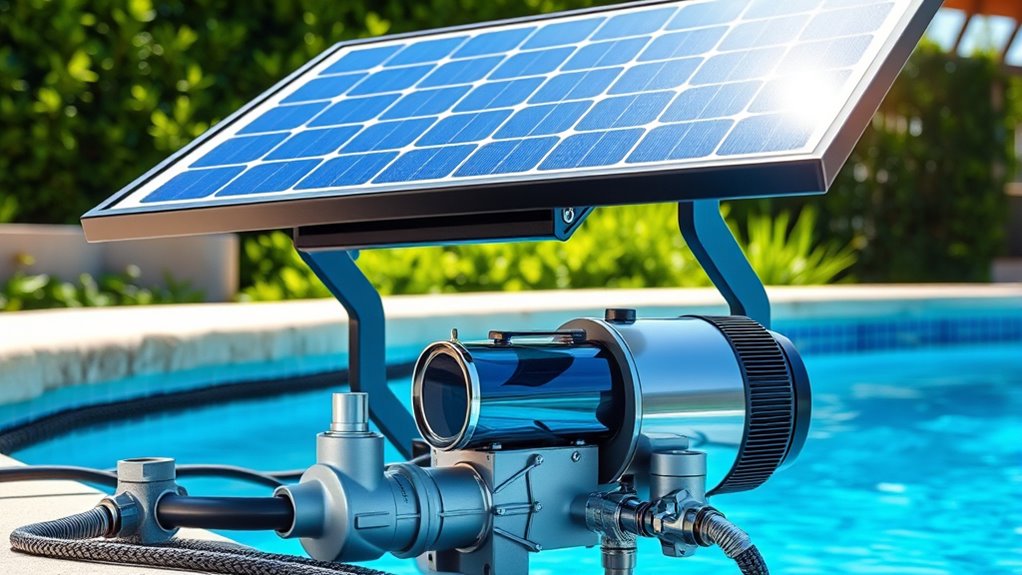
Choosing the right solar panels and pump components is essential to guarantee your pool circulation system operates efficiently and reliably. You need panels that match your pool’s size and sunlight exposure, and a pump capable of moving water effectively without overloading. Select panels with a high efficiency rating and durable construction. For pumps, consider flow rate and head height to ensure proper circulation. Use the following guide to compare options: active listening and empathy—important skills for troubleshooting system issues and ensuring optimal performance. Additionally, pay attention to solar panel durability to withstand weather conditions over time, ensuring long-term system reliability. Incorporating organic farming methods such as using organic fertilizers can also contribute to the longevity of your system components by reducing exposure to harmful chemicals. Moreover, choosing components with material resilience can further enhance the durability of your setup against environmental stressors.
Calculating System Size and Solar Panel Placement
To size your solar system correctly, you need to determine your pool’s heating needs based on its size and climate. Next, consider how to arrange the panels for maximum sun exposure and efficiency. Finally, calculate the solar capacity required to keep your pool comfortably heated year-round. Incorporating natural elements into your setup can also enhance energy efficiency and environmental harmony.
Assessing Pool Heating Needs
Understanding how much heat your pool needs is essential for sizing your solar system effectively. To do this, determine your pool’s volume in gallons and its current temperature. Consider how warm you want the water to be and how much heat loss occurs due to wind, evaporation, and ambient temperatures. This helps you estimate the total BTUs required daily to maintain your desired temperature. Keep in mind your local climate and sunlight availability, as these factors influence heating needs. By accurately evaluating these variables, you can select a solar panel size that provides sufficient heat without oversizing, saving money and maximizing efficiency. Properly evaluating your pool’s heating requirements ensures your DIY system performs reliably and keeps your pool comfortably warm. Additionally, factoring in vetted pool heating products can help you choose safe and effective equipment for your setup. Understanding energy efficiency and how it impacts your heating needs can further optimize your system’s performance. Incorporating accurate heat load calculations can improve your system’s effectiveness and prevent unnecessary energy use. In addition, considering system scalability allows you to expand or adjust your solar setup as your heating needs change over time.
Optimal Panel Arrangement
Have you considered how the arrangement and size of your solar panels directly impact your pool’s heating efficiency? Proper placement maximizes sunlight exposure and ensures ideal energy absorption. Position panels where they won’t be shaded during peak hours, ideally facing south if you’re in the Northern Hemisphere. Tilt them at an angle equal to your latitude for best results. Use the table below to help decide on panel layout:
| Orientation | Tilt Angle | Shading Concerns |
|---|---|---|
| South | Latitude | Minimize shade during noon |
| East | Latitude – 10° | Morning sun focus |
| West | Latitude – 10° | Afternoon sun focus |
| Flat Roof | Same as roof pitch | Limited sun exposure |
| Ground Mount | Latitude | Adjustable for shading |
Proper arrangement boosts efficiency, saving energy and costs. Additionally, considering solar panel orientation can further optimize energy capture throughout the day.
Calculating Solar Capacity
Calculating the right solar capacity is essential to guarantee your pool receives enough heat without overspending. You need to take into account your pool’s size, sunlight exposure, and climate to determine the most suitable system size. Proper calculation ensures efficient energy use and cost savings. Incorporating efficient design principles can further enhance system performance and longevity. Additionally, understanding the nutritional value of chia seeds can serve as an analogy for optimizing system components, ensuring each element contributes effectively to overall performance. Considering system scalability is also important to allow for future expansion or increased energy needs. Evaluating storage options such as batteries or thermal storage can help maximize the system’s efficiency during variable sunlight conditions.
Gathering Tools and Materials for Assembly
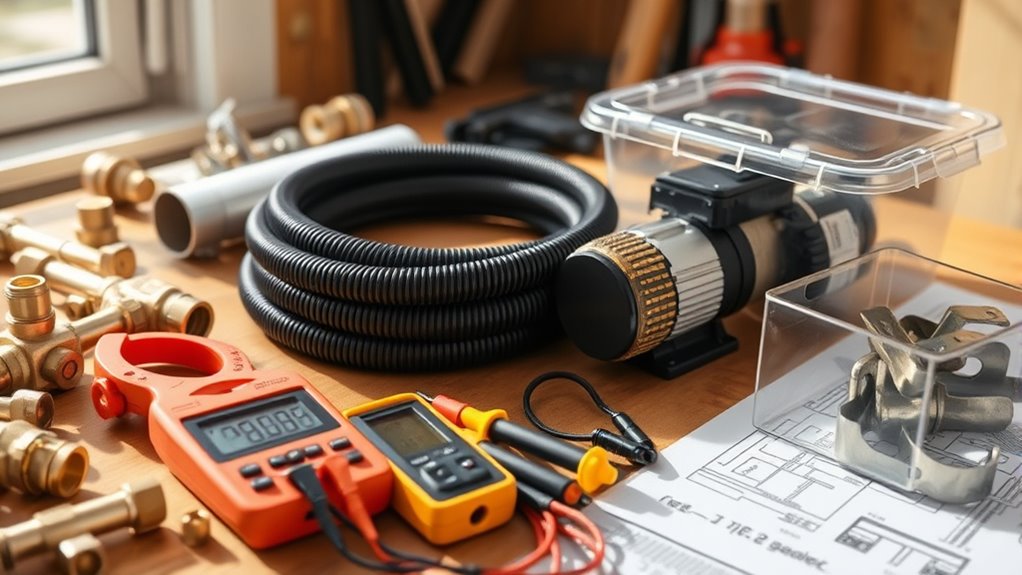
Before starting your DIY solar PV pool circulation system, gather all the necessary tools and materials to make certain a smooth assembly process. You’ll need basic hand tools like a drill, screwdriver, wrench, and wire cutters. Make sure you have electrical supplies such as waterproof connectors, circuit breakers, and wiring suitable for outdoor use. You’ll also need your solar panels, mounting brackets, and a compatible pump for circulation. Don’t forget to get plumbing components like hoses, fittings, and clamps. It’s wise to have a multimeter for testing voltage and connections. Keep safety gear like gloves and eye protection handy. Organizing all these items beforehand prevents delays and ensures your installation proceeds efficiently, saving you time and frustration during the assembly. Incorporating powerful persuasive words into your planning can help motivate a successful setup.
Building the Solar Panel Mounting System
First, choose the best location where your panels will get maximum sunlight. Next, assemble sturdy mounting frames that can support the weight and withstand weather conditions. Finally, secure the panels firmly to guarantee they stay in place and operate efficiently.
Selecting Mounting Locations
Choosing the right location for your solar panel mount is essential to guarantee maximum sunlight exposure and system efficiency. You want your panels to catch the sun’s rays for as many hours as possible, so pick a spot with minimal shading. Think about the path of the sun throughout the day and year, and choose an area that stays open and unobstructed. Consider ease of access for maintenance and secure mounting. The right location can make the difference between a thriving pool system and one that underperforms.
- Feel the warmth of the sun on your skin as you identify the perfect spot
- Picture your panels working at full capacity, powering your pool effortlessly
- Visualize hassle-free maintenance in a convenient location
- Imagine the satisfaction of maximizing sunlight exposure
- Envision a smooth, efficient installation process
Assembling Mounting Frames
With the perfect mounting location identified, it’s time to assemble your solar panel mounting frames. Begin by measuring the dimensions of your panels and cutting the frame components accordingly. Use sturdy, weather-resistant materials like aluminum or treated wood. Connect the pieces with appropriate fasteners, guaranteeing the frame is square and stable. Reinforce corners with brackets for added strength, especially if your system will face strong winds. Make sure the frame’s angle matches the optimal tilt for your location to maximize sunlight exposure. Double-check all connections and alignments before attaching the panels. Proper assembly ensures your panels stay secure and perform efficiently over time. Take your time to build a solid foundation—this step is vital for the longevity and effectiveness of your DIY solar system.
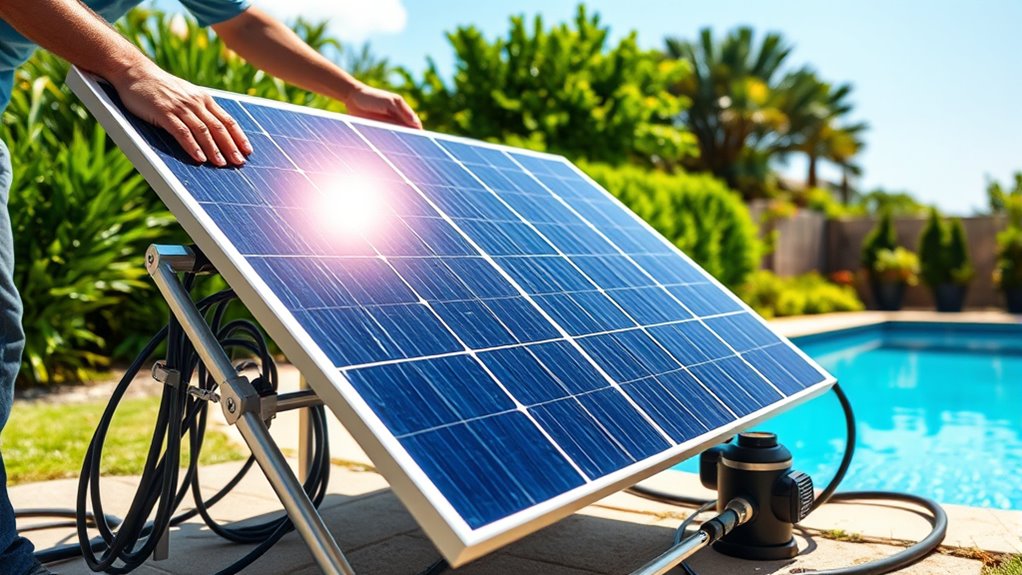
Securing Panels Properly
Once your mounting frames are assembled, the next step is to securely attach the solar panels to guarantee they stay in place and perform efficiently. Proper securing prevents damage from wind, weather, or accidental impacts. Use high-quality brackets and stainless steel fasteners to ensure durability and resistance to corrosion. Make sure panels are tilted at the *most suitable* angle for your location to maximize sunlight exposure. Tighten all bolts firmly but avoid over-tightening, which can crack the panels. Check that all connections are secure and stable before finalizing.
- Feel confident knowing your panels won’t shift or fall
- Enjoy peace of mind during storms and high winds
- Maximize energy output with the right tilt
- Protect your investment for years to come
- Achieve a safe, reliable solar setup
Connecting the Plumbing and Electrical Components
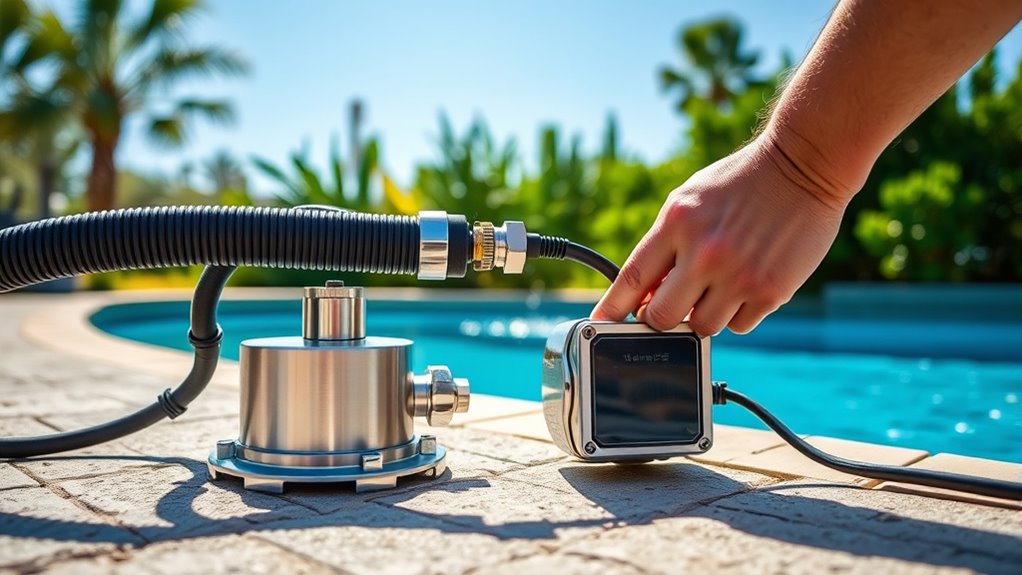
Before connecting the plumbing and electrical components, make certain all parts are properly assembled and fit securely. Check that pipes are tightly fitted to prevent leaks, and ensure fittings are snugly tightened. For the electrical wiring, verify that wires are correctly stripped and connected to the appropriate terminals, following your wiring diagram. Use waterproof connectors where necessary to protect against moisture. Keep electrical connections away from water exposure and secure cables neatly to avoid tripping hazards. Confirm that all valves are in the correct position and that the pump is properly wired to the power source. Taking these precautions helps guarantee safety, efficiency, and a smooth setup process. Once everything is in place, you’re ready to move on to system testing and troubleshooting.
Testing the System and Troubleshooting Common Issues

To guarantee your DIY solar PV pool circulation system operates effectively, you need to thoroughly test it and identify any issues early on. Turn on the system and observe how water flows through the panels and pump. Check for leaks, unusual noises, or uneven water movement. Ensure the pump is circulating water efficiently and that the panels are receiving adequate sunlight. If problems arise, troubleshoot common issues like blocked filters, loose connections, or air in the lines. Stay attentive to these signs:
Regularly test your DIY solar pool system for leaks, noises, and flow issues to keep it running efficiently.
- 🌞 The water isn’t circulating as expected
- 💧 Leaks or dripping from connections
- 🔊 Unusual sounds from the pump
- ⚠ Sudden drops in water flow
- 🌡 Inconsistent water temperature
Address issues promptly to keep your system running smoothly and enjoy a warm, inviting pool.
Maintaining and Optimizing Your Solar Pool Circulation System
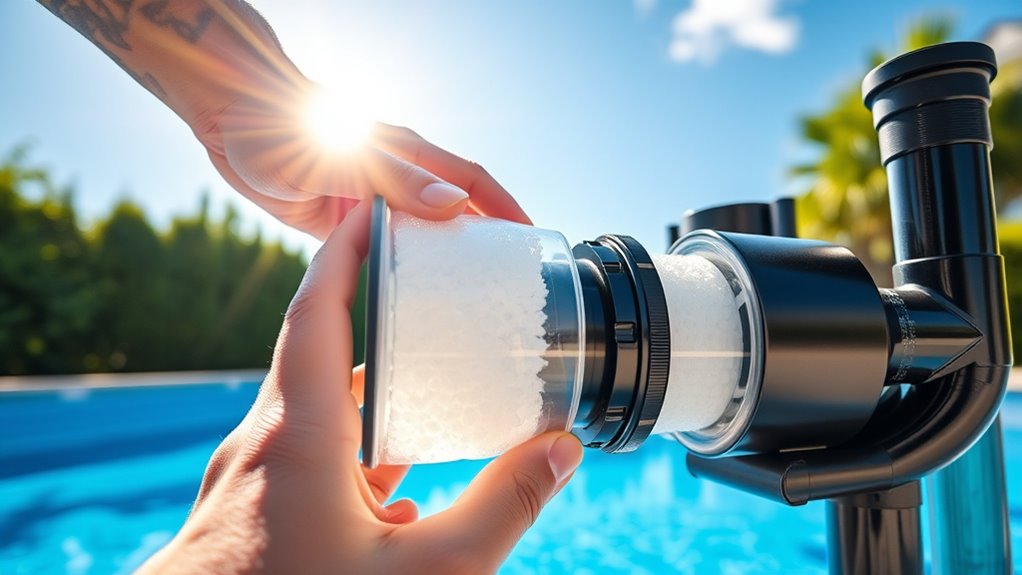
Regular maintenance and thoughtful adjustments can keep your solar pool circulation system operating at peak efficiency. Check your panels regularly for debris, dirt, or shading that can reduce performance, and clean them as needed with a soft brush or cloth. Ensure your valves and connections are tight and leak-free, and inspect the pump for unusual noises or vibrations. Adjust the tilt of the panels seasonally to maximize sun exposure. Monitor your system’s flow rate and temperature to confirm it’s working correctly. If you notice a drop in circulation or heating efficiency, troubleshoot by checking for obstructions or malfunctioning components. Regularly reviewing and tuning your system helps prevent issues, prolongs equipment life, and keeps your pool consistently warm and clean.
Frequently Asked Questions
How Long Does It Typically Take to Complete a DIY Solar Pool System?
Building your DIY solar pool system is like planting a new garden; it takes patience and care. Typically, you can complete the project in 1 to 3 weekends, depending on your experience and the system’s complexity. You’ll spend time gathering materials, installing panels, and setting up the circulation. With dedication, you’ll soon enjoy a greener, more efficient pool, making your effort feel like a rewarding harvest.
What Safety Precautions Should I Follow During Installation?
When working on any installation project, safety should be your top priority. Always wear protective gear like gloves and goggles, especially when handling electrical components or sharp tools. Make sure the power is turned off before you begin, and follow all manufacturer instructions carefully. Keep your work area dry to prevent electrical shocks, and never work alone—having someone nearby can help in case of an emergency.
Can I Expand or Upgrade My System Later?
Did you know that most solar systems can be expanded or upgraded later? You can definitely upgrade your system in the future as your needs grow, but it depends on your current setup. Make sure your existing components are compatible with new ones, and consult a professional if needed. Planning for future expansion from the start makes upgrades easier and more cost-effective, so keep that in mind during installation.
How Do Weather Conditions Affect System Performance?
Weather conditions directly impact your system’s performance. Sunny days boost solar energy production, while cloudy or rainy weather diminishes it. Extreme temperatures can also affect efficiency, with very hot or cold conditions causing fluctuations. Wind can cool panels, slightly lowering output. To maximize performance, regularly clean panels and consider weather patterns in your location. Planning for seasonal changes helps ensure your system operates effectively year-round.
Is Professional Inspection Recommended After Installation?
Did you know that over 60% of solar system issues go unnoticed without proper inspection? After installation, it’s highly recommended that you get a professional inspection to guarantee everything’s working efficiently and safely. They can identify potential problems early, saving you money and energy in the long run. Plus, a certified inspection can help you maximize your system’s performance and longevity, giving you peace of mind that your pool stays perfectly circulated.
Conclusion
With your DIY solar pool system in place, you’re now the architect of your own sunny oasis. Think of it as planting a seed that grows with each sunbeam, turning bright days into savings and fun. As you maintain and optimize your setup, remember that every drop of effort fuels endless summer swims. Embrace this journey—after all, you’re not just installing a system, you’re creating your personal solar-powered paradise.