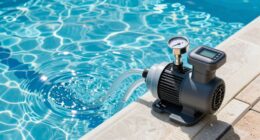
If your pump isn’t flowing, start by checking for air leaks in hoses, fittings, or the inlet pipe, and make sure the pump is properly primed with water. Make certain all valves are open and secure, and inspect ports for debris or blockages. Confirm the pump is installed correctly and there’s no damage or wear. If these steps don’t work, follow simple repriming procedures and maintenance tips—more detailed solutions are just ahead.
Key Takeaways
- Check and ensure the pump is properly primed with water, removing air pockets that block flow.
- Inspect inlet and outlet valves to confirm they are fully open and functioning correctly.
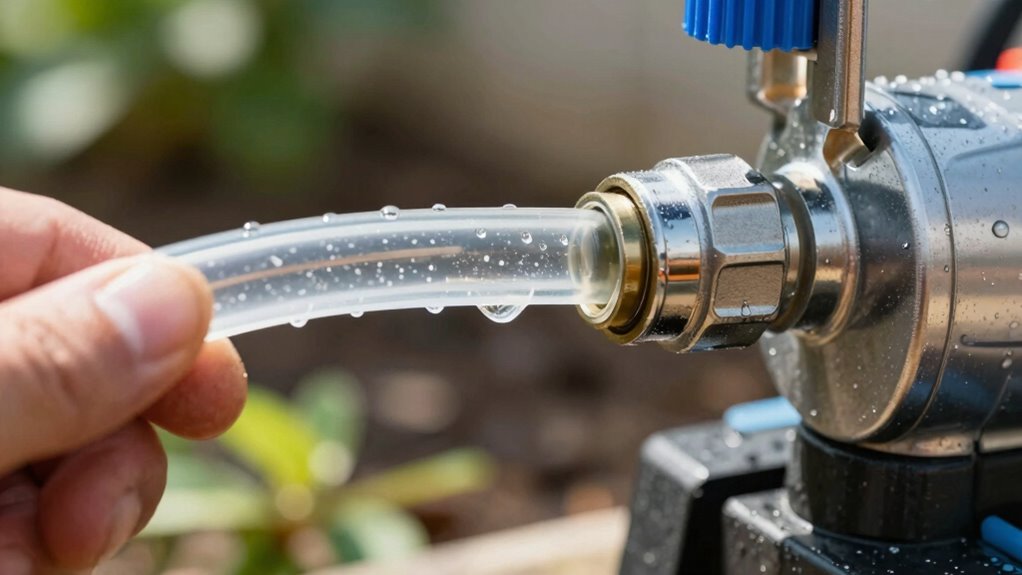
- Look for leaks or loose fittings in hoses and seals that may cause air ingress or loss of prime.
- Verify electrical connections, power supply, and that the pump is level and correctly installed.
- Re-prime the pump by filling the housing with water and sealing it, then restart to restore flow.
Why Your Pump Won’t Start or Has No Flow
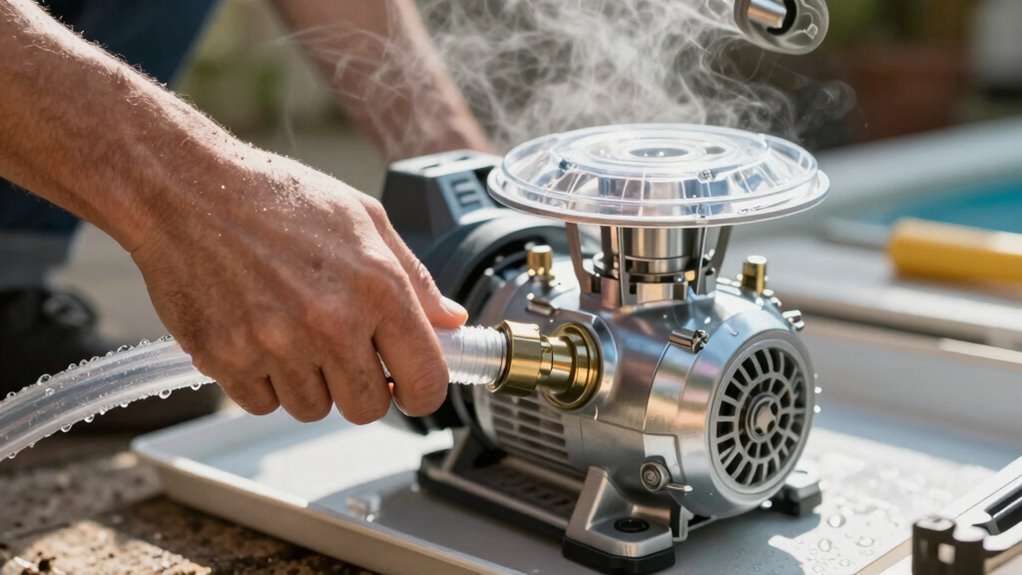
If your pump won’t start or has no flow, the issue often lies with improper priming or air trapped in the system. During routine pump maintenance, it’s common for air pockets to form, blocking water flow. Troubleshooting tips include checking that the pump is properly primed and that there are no leaks or air leaks in the suction line. Ensure the pump’s inlet is submerged correctly and that fittings are tight. Sometimes, a simple re-priming restores flow. Also, inspect for any blockages or debris that might impede water movement. Regular pump maintenance helps prevent air entrapment and keeps your system functioning smoothly. Proper priming techniques are essential for optimal performance and can prevent many common issues. Addressing these common issues quickly can save you time and avoid more costly repairs later. Additionally, using high-quality toilet components during repairs can improve the longevity and reliability of your system. Maintaining correct priming procedures can significantly reduce downtime and ensure continuous operation. Proper system design also plays a vital role in avoiding air pockets and ensuring efficient water flow. Ensuring the system incorporates air venting solutions can further improve priming success and reduce air lock problems.
How to Check Your Pump’s Power and Electrical Connections
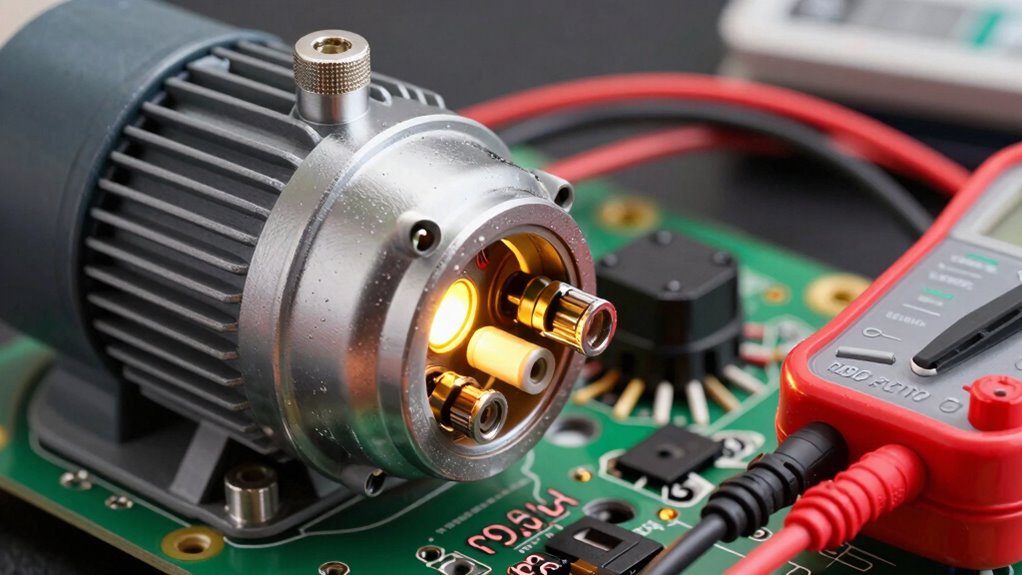
To guarantee your pump operates correctly, start by checking its power supply and electrical connections. Ensure the power source is active by testing the outlet with another device. Always prioritize electrical safety—turn off the power before inspecting wiring or connections. Look for loose or corroded terminals, damaged cords, or broken wires that could disrupt power flow. Confirm that the circuit breaker or fuse hasn’t tripped or blown, which can cut off power unexpectedly. Use a multimeter to check voltage at the pump’s electrical terminals; if no power is detected, the issue likely lies with the power source or wiring. Secure all connections tightly, and avoid working on electrical components if you’re unsure—safety comes first. Proper electrical checks help prevent damage and ensure your pump runs smoothly. Additionally, inspecting microplastics in dust can help identify potential indoor air quality issues that may affect your equipment’s operation. Regularly reviewing electrical safety protocols can further reduce risks during maintenance. Being familiar with electrical troubleshooting techniques can also aid in quick diagnosis and repair. Developing a preventative maintenance plan can help catch issues early before they cause pump failure. Remember, consistent electrical maintenance practices go a long way in preventing unexpected pump failures.
Step-by-Step Guide to Properly Repriming Your Pump
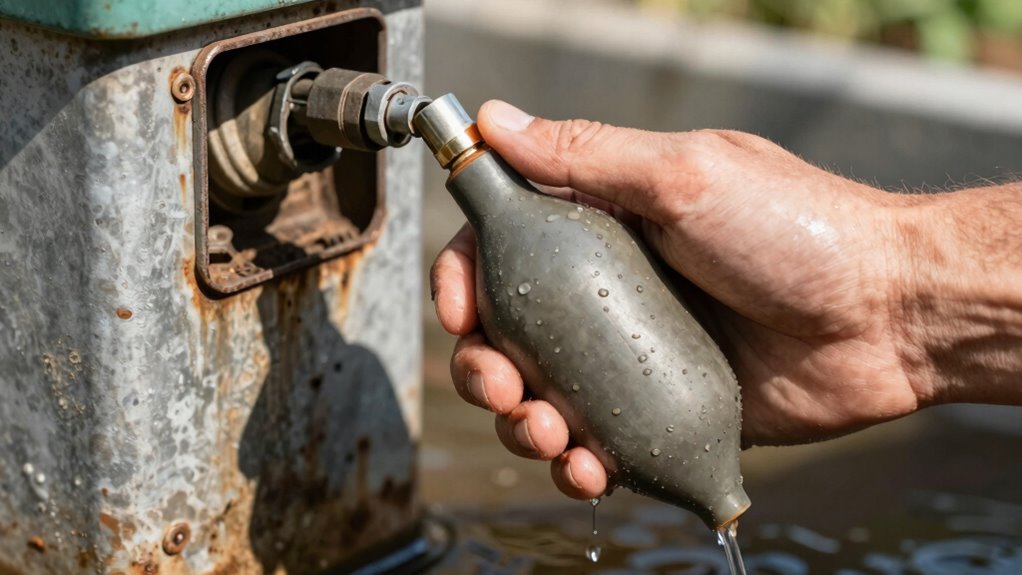
Repriming your pump is essential when it has lost its prime and isn’t circulating water properly. Proper pump maintenance and troubleshooting techniques can save you time and money. To start, follow these steps:
- Turn off the pump and close the valves to prevent air entry.
- Drain any remaining water from the pump housing and remove the priming plug.
- Pour clean water into the pump housing until it’s full, then reseal the plug.
Next, restart the pump and observe the flow. If water still doesn’t circulate, repeat the process or check for air leaks. Regular pump maintenance helps prevent priming issues, making troubleshooting more straightforward and efficient.
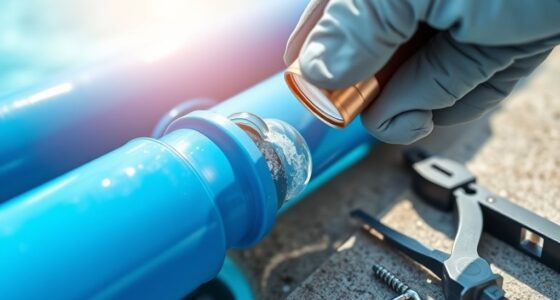
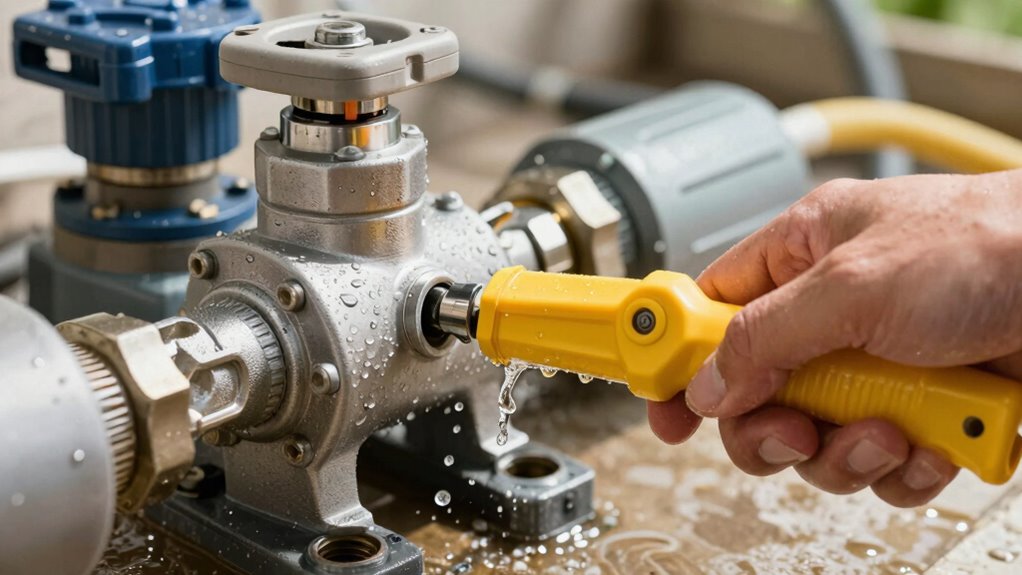
How to Spot and Fix Air Leaks and Blockages
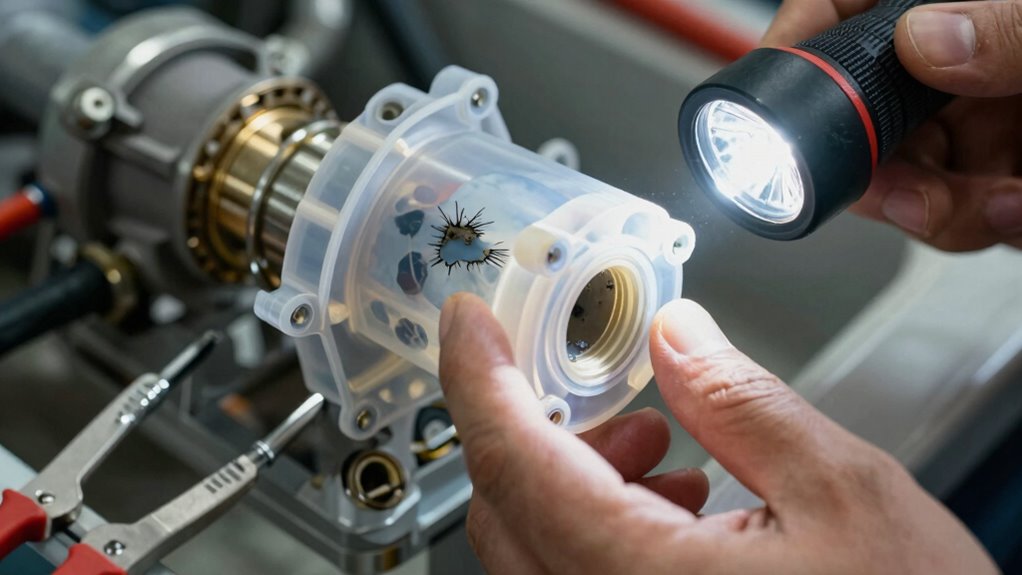
You need to identify air leaks quickly to keep your pump running smoothly. Check for visible cracks or loose fittings that could be causing leaks. Make sure seals are tight and in good condition to prevent blockages and maintain proper pressure. Additionally, inspecting for airflow obstructions can help ensure the pump functions efficiently. Regularly testing for air leaks with soapy water can help locate elusive leaks that aren’t immediately visible. Incorporating hydrotherapy techniques can also aid in diagnosing issues by observing water flow and pressure changes during operation. Understanding net worth growth hacks can indirectly assist in investing in tools or services that improve maintenance efficiency. Recognizing cryptid mysteries related to unseen creatures can remind you of the importance of thorough inspection and not overlooking hidden issues.
Detect Air Leaks Quickly
Ever wonder how to quickly identify air leaks that can hinder your pump’s performance? Effective leak detection is essential for maintaining peak seal integrity and preventing flow issues. Start by listening for hissing sounds around fittings and seals—these often signal leaks. Next, visually inspect connections and hoses for bubbles or damp spots, which indicate escaping air. Lastly, use a soap solution on joints; if bubbles form, you’ve found the leak. These simple steps help you spot leaks fast, saving time and money. Additionally, understanding how air leaks impact pump efficiency can help you prioritize repairs and maintain optimal performance. By promptly detecting air leaks, you can fix them before they cause more serious pump priming problems. Remember, quick identification keeps your system running smoothly and extends the life of your pump.
Clear Blockages Effectively
Detecting and fixing blockages is key to maintaining ideal pump performance. When your pump makes unusual noise or struggles to prime, it’s often due to obstructions or air pockets. Check for debris or buildup in the inlet or outlet lines, which can cause flow restrictions. Pay attention to fluid viscosity; thicker fluids can slow flow and increase strain, leading to pump noise and potential blockage. Clear any visible debris carefully and flush the system if needed. Sometimes, air leaks create a false blockage, so ensure all connections are tight and sealed. If you notice persistent noise or reduced flow, isolate sections of the system to find the clog. Regularly inspecting for signs of system imbalance can help prevent blockages from forming. Understanding how AI cybersecurity threats evolve can assist in implementing proactive defenses. Additionally, ensuring proper system maintenance can reduce the risk of future blockages. Being aware of air leaks and their signs can help you address issues before they cause major disruptions. Recognizing the importance of proper sealing techniques can help prevent air leaks from developing in the first place. Removing blockages restores smooth operation, prevents damage, and keeps your pump running efficiently.
Maintain Proper Seals
How can you assure your pump maintains peak performance? The key is proper seal maintenance. Air leaks often cause no flow or prime issues. To prevent this, follow these steps:
- Regularly inspect seals and gaskets for cracks or damage.
- Replace any worn or brittle gaskets immediately to prevent air leaks.
- Ensure all seals are tightly fitted during assembly.
- Use appropriate safety tools and techniques when handling and replacing seals to avoid injury and ensure a proper fit.
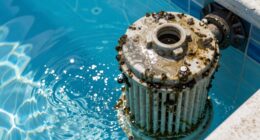
Cleaning and Inspecting Pump Inlet and Outlet Ports
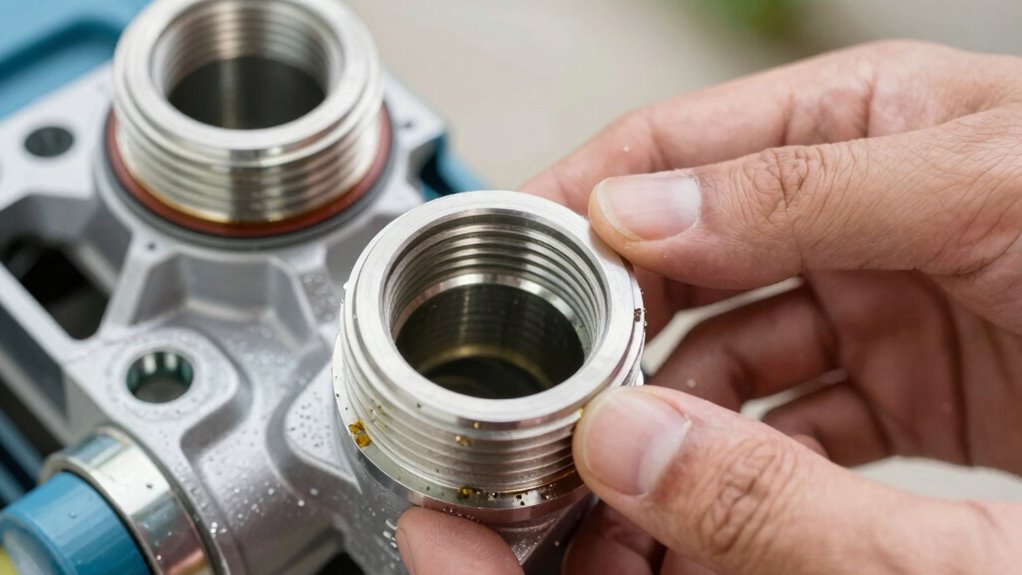
Cleaning and inspecting the pump inlet and outlet ports is a crucial step to guarantee proper operation and prevent priming problems. Regular pump maintenance includes checking these ports for debris, blockages, or corrosion that can hinder flow. During inlet inspection, ensure the port is clear and free of obstructions that might restrict water entry. For the outlet, look for buildup or debris that could cause pressure issues. Use a brush or cloth to clean any buildup, and remove any obstructions you find. Properly maintained ports help maintain efficient flow and reduce the risk of no-flow conditions. By routinely inspecting and cleaning these areas, you minimize the chances of priming failures and extend your pump’s lifespan. Regular pump maintenance keeps your system running smoothly and reliably.
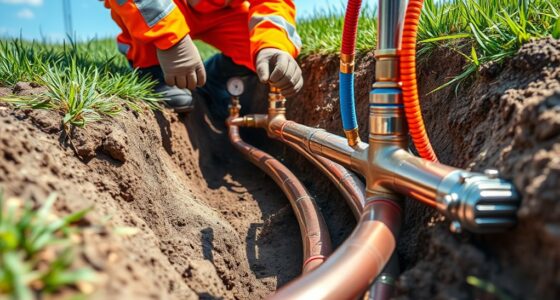
Is Your Pump Installed Correctly? Setup Tips
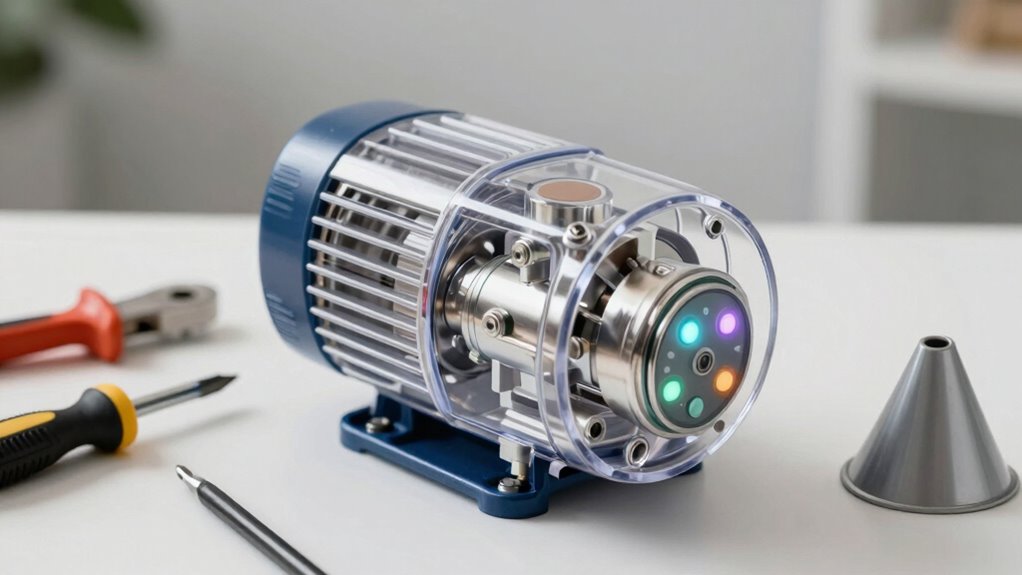
Make certain your pump is wired correctly to avoid electrical issues. Verify that it’s placed in the right location for ideal performance. Also, double-check all connections to ensure they’re secure and won’t cause any operational problems.
Check Proper Wiring
Is your pump wired correctly? Proper wiring is essential for your pump system to work smoothly and safely. Faulty wiring can cause no flow issues or even pose wiring safety hazards. To ensure correct installation, check these key points:
- Confirm the power supply connections match the manufacturer’s instructions.
- Verify all ground wires are properly attached to prevent electrical shocks.
- Ensure any switches or relays are correctly wired and functioning.
Miswiring can lead to equipment damage or safety risks, so double-check every connection. Always turn off power before inspecting or working on your pump system. Proper wiring not only guarantees reliable operation but also keeps you safe from electrical hazards. If you’re unsure, consulting a professional is smart, but most wiring issues are simple to fix if you follow these steps.
Verify Correct Placement
Ensuring your pump is installed correctly is essential for peak performance and longevity. Start by checking the pump placement; it should be on a stable, level surface to prevent vibrations and misalignment. Proper inlet orientation is critical—make sure the inlet is positioned correctly to avoid air leaks or blockages. The inlet should be submerged if required, and free of debris that could restrict flow. Verify that the pump’s suction line is straight and secure, without unnecessary bends or kinks. Avoid placing the pump too high or low relative to the water source, as this can cause priming issues. Correct placement and inlet orientation ensure smooth operation, reducing the risk of no flow problems and extending your pump’s lifespan.
Ensure Secure Connections
Properly securing all connections is essential to prevent leaks and maintain pump efficiency. Ensuring seal integrity and connection security keeps the system airtight and functional. To do this effectively:
- Check that all fittings are tight and properly seated.
- Use the correct gasket or sealant for your pump’s connections.
- Inspect hoses and pipes for cracks or damage that could compromise seal integrity.
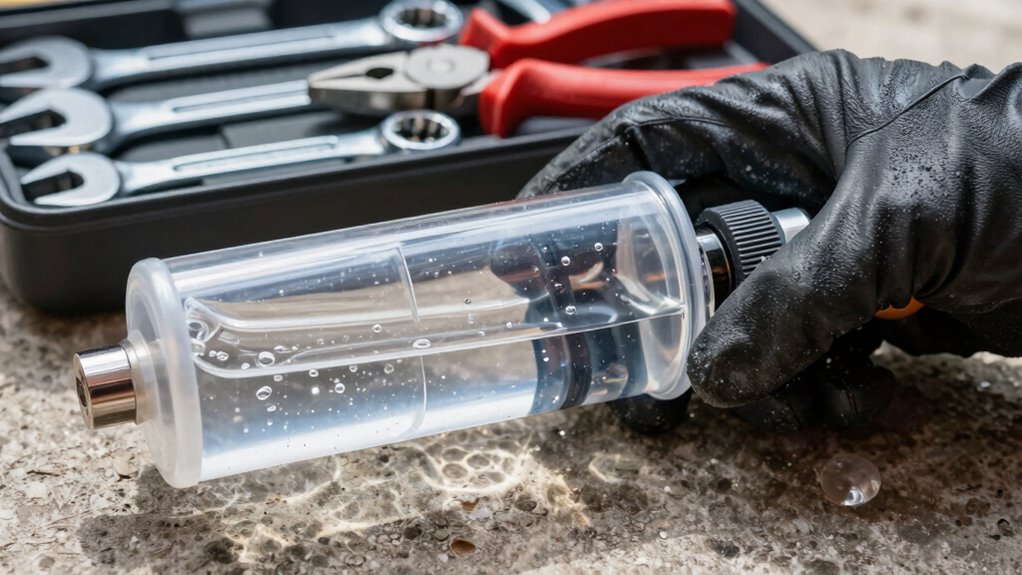
Mechanical Wear and Failures: Signs to Watch For
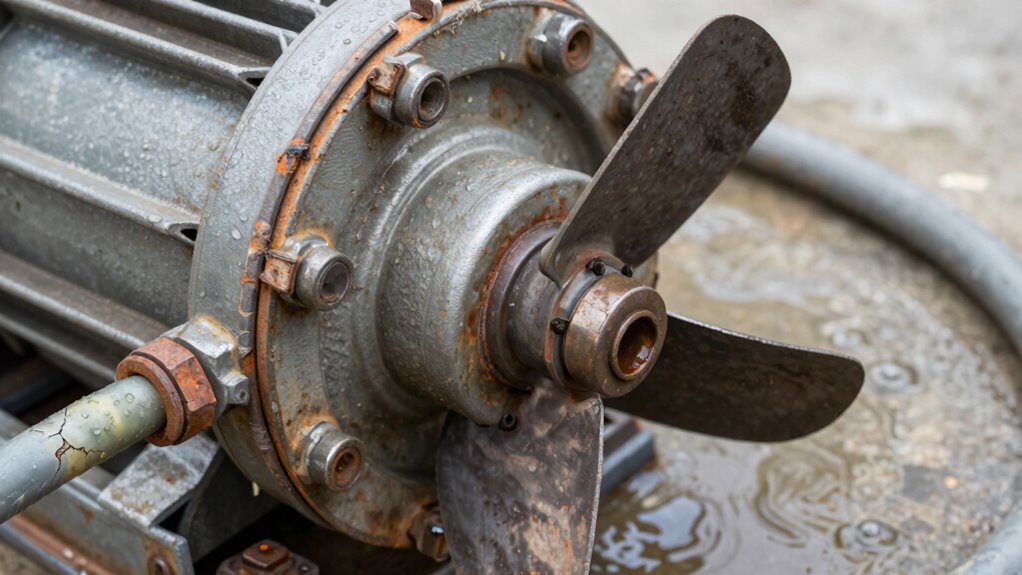
Mechanical wear and failures often give clear signals that your pump needs attention before it breaks down completely. One common sign is vibration issues, which can indicate misalignment, loose parts, or bearing problems. If your pump starts vibrating excessively, it’s a red flag that something’s worn out or out of balance. Seal deterioration is another key warning sign; if you notice leaks around the pump seals or a drop in pressure, the seals may be cracked or degraded. Ignoring these signs can lead to more serious failures and costly repairs. Regularly inspect your pump for unusual vibrations and seal integrity. Catching these issues early helps you prevent breakdowns and keeps your pump running smoothly longer.
What to Do If Repriming Doesn’t Solve the Problem
When repriming your pump doesn’t resolve the issue, it’s time to look beyond simple solutions. First, check for leaks in hoses or fittings, as air leaks can reduce pump efficiency and prevent proper priming. Second, ensure your pump’s maintenance schedule is up to date; neglecting routine checks can lead to blockages or worn parts that hinder flow. Third, verify that the inlet and outlet valves are fully open and functioning correctly. If these steps don’t fix the problem, consider inspecting the pump’s internal components for damage or wear. Maintaining a regular maintenance schedule helps prevent recurring issues and keeps your pump running smoothly. If problems persist despite these efforts, it might be time to consult a professional.
When to Call a Professional for Pump Troubleshooting
If you’ve tried repriming your pump, checked for leaks, and inspected valves without success, it may be time to bring in a professional. Poor pump performance can stem from complex issues beyond basic troubleshooting tips, like internal component failure or wear. When pump maintenance becomes too complicated or the problem persists despite your efforts, calling a professional guarantees safety and proper diagnosis. Experts have the tools and expertise to identify hidden issues and perform repairs correctly. If your troubleshooting attempts don’t restore flow or if you’re unsure about the pump’s condition, don’t hesitate to seek help. Recognizing when to escalate pump troubleshooting helps prevent further damage and ensures your system operates efficiently and reliably.
Frequently Asked Questions
Can a Faulty Pressure Switch Cause a No-Flow Issue?
Yes, a faulty pressure switch can cause a no-flow issue. When the pressure switch malfunctions, it might not send the proper signals to start the pump, leading to electrical component issues. You should check if the switch is stuck or damaged, as this is a common cause of no flow. Replacing or repairing the pressure switch often resolves the problem without needing a professional.
How Does Temperature Affect Pump Priming and Operation?
Temperature impacts pump priming and operation by causing thermal expansion, which can affect seals and fittings, potentially leading to leaks or air ingress. As temperatures rise, viscosity decreases, making fluids flow more easily, aiding priming. Conversely, colder temperatures increase viscosity, hindering flow and making priming more difficult. Keep an eye on temperature fluctuations, as they directly influence pump efficiency and the likelihood of priming issues.
Are There Specific Signs Indicating a Worn-Out Pump Impeller?
If your pump’s flow decreases or it makes unusual noises, impeller damage could be the cause. Look for wear indicators like reduced efficiency, vibrations, or visible cracks on the impeller. Worn-out impellers often show signs of corrosion or corrosion buildup, which affects performance. If you notice these signs, it’s time to inspect the impeller closely and consider replacing it to restore proper pump operation.
What Safety Precautions Should I Take During Troubleshooting?
When troubleshooting your pump, always wear protective gear like gloves and safety glasses to prevent injuries. Make certain the power is turned off before inspecting electrical components to avoid shocks. Keep the area dry and clear of clutter to prevent accidents. Check for proper grounding and avoid touching live wires. Following electrical safety protocols helps protect you, and wearing the right gear minimizes risks during troubleshooting.
How Often Should I Perform Maintenance to Prevent Priming Problems?
Think of your pump as a essential heartbeat—keep it steady with regular tune-ups. You should perform preventative maintenance and routine inspections at least once every three to six months, depending on usage. Regular checks help catch potential priming problems early, ensuring smooth flow. By staying proactive, you prevent issues before they start, keeping your pump humming along like a well-oiled machine, ready to serve whenever you need it.
Conclusion
Most common pump issues can be fixed without calling a pro—saving you time and money. Did you know that nearly 60% of pump failures are caused by air leaks or improper priming? By following these troubleshooting steps, you can often get your pump back in action quickly. Stay vigilant for signs of wear, and don’t hesitate to call a professional if problems persist. Keep your pump running smoothly and avoid costly repairs!