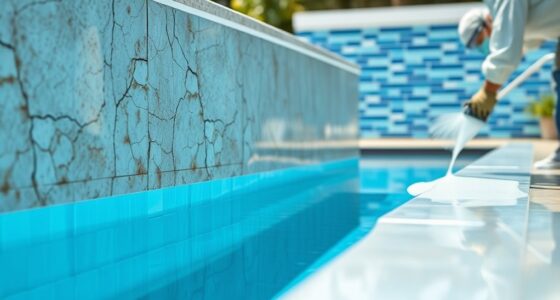

To replace your pool tile band DIY, start by turning off the power and water supplies for safety. Carefully remove the damaged tiles using a putty knife or chisel, being gentle to avoid damaging the surface. Clean and prep the area, then apply waterproof adhesive and set new tiles in place, ensuring proper alignment. Finish by sealing the grout lines for durability. Keep going to discover step-by-step tips that will help you complete the project smoothly.
Key Takeaways
- Turn off electrical and water supplies, then carefully remove damaged tiles using a putty knife or chisel.
- Clean and prepare the surface by removing old adhesive, filling cracks, and smoothing for a proper tile bond.
- Gather matching tiles, waterproof adhesive, grout, and necessary tools such as a grout saw and caulk gun.
- Apply adhesive, set new tiles along marked guidelines, and ensure they are level and securely placed.
- Finish by cleaning excess grout, sealing the grout lines, and maintaining the new tile band regularly.
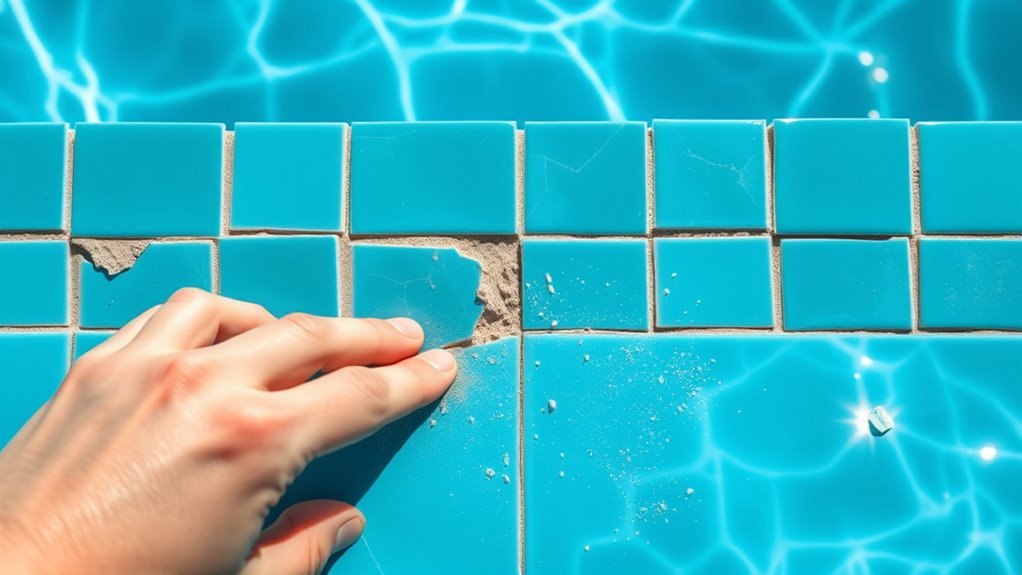
Assessing the Condition of Your Existing Tile Band

Before you begin replacing your pool tile band, it is vital to carefully assess its current condition. Check for cracked, loose, or missing tiles, which indicate damage or deterioration. Examine the grout lines for cracks, gaps, or signs of wear, as these can lead to water seepage and further damage. Look for any signs of water damage or mold behind the tiles, which may suggest a leak or underlying issue. Also, inspect the overall alignment of the tile band; uneven or shifted tiles could signal structural problems. Note any areas where tiles are loose or falling out, as these will need immediate attention. Conducting a thorough assessment helps determine the extent of repairs needed and guarantees you plan effectively for the replacement process. Additionally, understanding the cycle of breakups can help you approach repairs with patience and resilience, ensuring a more successful project outcome. Recognizing the signs of deterioration early can prevent more extensive repairs in the future. Incorporating knowledge about AI detection methods can also assist in evaluating the authenticity of any replacement materials or digital documentation related to your repair project. Moreover, being aware of the best practices in tile installation can lead to a more durable and long-lasting repair. Considering advanced troubleshooting techniques may further improve your ability to diagnose underlying issues before starting repairs.
Gathering the Necessary Tools and Materials
Before you start replacing the tile band, make sure you have all the essential tools and materials on hand. Check your tools list and gather everything you need, from scrapers to grout. Don’t forget safety equipment like gloves and goggles to protect yourself throughout the project. Additionally, understanding the raw food ingredients involved in the process can help you select the right materials for a durable repair. Considering the security of your home during the project can also help prevent theft or vandalism while working outdoors. To ensure a successful repair, it’s helpful to be familiar with essential oils for home projects, which can provide added protection and comfort during your DIY work. Being aware of skincare benefits of glycolic acid can also inspire you to maintain your skin health after completing your project. Moreover, selecting weather-resistant materials ensures your repairs withstand outdoor conditions effectively.
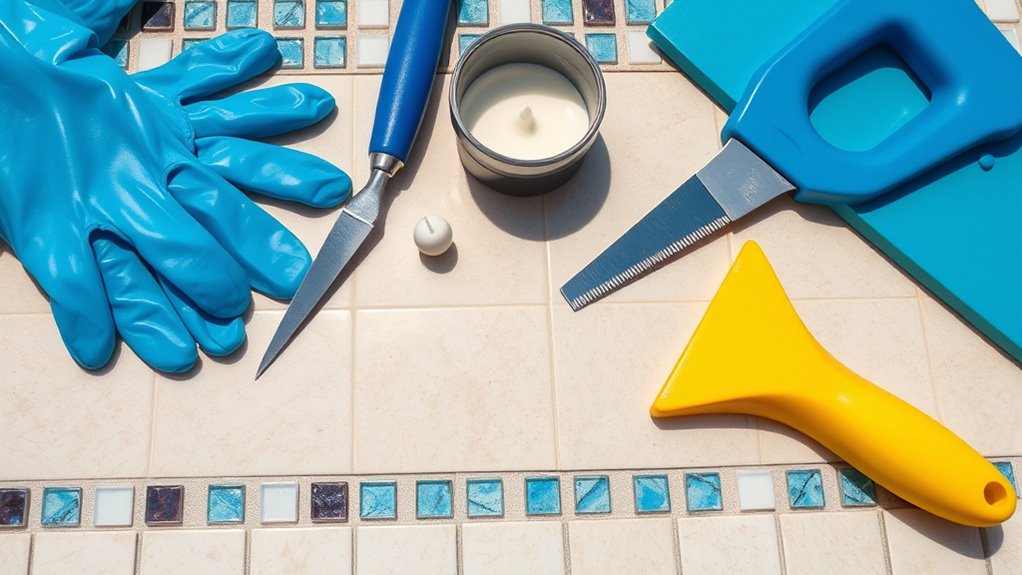
Essential Tools Checklist
To successfully replace a pool tile band, you need to gather the right tools and materials essential for the job. Start with a utility knife to carefully remove old grout and loosen tiles. A chisel and hammer will help you gently pry off damaged tiles without damaging the surrounding surface. You’ll also need a grout saw or rotary tool to clean out the old grout lines thoroughly. A silicone caulk gun is useful for applying waterproof sealant around the new tiles. Don’t forget safety gear like gloves and safety goggles to protect yourself during removal and installation. Having these tools ready ensures you can work efficiently, avoid unnecessary delays, and achieve a professional-looking result with minimal frustration. Additionally, understanding the effectiveness of eye patches can help ensure your repairs are compliant and long-lasting. Proper preparation and the right tools are crucial for a successful DIY project, especially when working with vetted materials and techniques. Being aware of home theatre projector features can also help you choose the best tools for tasks like surface preparation and alignment.
Required Materials List
Gathering all the necessary materials is essential to guarantee your tile replacement project goes smoothly. Having everything on hand minimizes delays and keeps you motivated. You’ll need a few key items to ensure a successful job:
- High-quality replacement tiles that match your pool’s design
- Waterproof adhesive to secure the tiles firmly
- Grout for filling gaps and sealing edges
- A putty knife or trowel for precise application
- A sponge and clean cloth for finishing touches
- Understanding tuning basics can help you choose the best materials for durable and long-lasting results.
With these materials ready, you’re set to tackle the project confidently. Ensuring you have the right supplies not only makes the process easier but also guarantees a professional-looking result. Prepare thoroughly, and you’ll be one step closer to restoring your pool’s beauty and function.
Safety Equipment Needed
Having the right safety equipment on hand is essential to protect yourself throughout the tile replacement process. You’ll be working with sharp tools, chemicals, and potentially slippery surfaces, so proper gear is a must. Wear gloves to prevent cuts and chemical burns, and safety goggles to shield your eyes from debris. A dust mask helps avoid inhaling dust or fumes, especially when cutting tiles. Non-slip footwear keeps you steady on wet surfaces. Keep a fire extinguisher nearby in case of emergencies. Here’s a quick overview:
| Safety Equipment | Purpose | Recommended Type |
|---|---|---|
| Gloves | Protect hands from cuts and chemicals | Rubber or latex |
| Safety Goggles | Shield eyes from debris | Impact-resistant |
| Dust Mask | Filter dust and fumes | N95 or higher |
| Non-slip Shoes | Prevent slips | Rubber-soled |
| Fire Extinguisher | Emergency safety | ABC type |
Additionally, understanding proper handling of tools can help prevent accidents during your DIY project. Being aware of water safety practices is also important if you’re working near pools or wet surfaces to avoid slips and falls.
Removing the Old Tile Band Safely
Before you start removing the old tile band, make sure to turn off the power and water supplies to prevent accidents. Put on proper safety gear like gloves and goggles to protect yourself during the process. Carefully take out the old tiles, working slowly to avoid damaging the surrounding areas. If you’re considering upgrading your pool area, exploring options like electric pool accessories can enhance your experience. Additionally, understanding practical support options can help you navigate challenges during your DIY project. Staying informed about data privacy challenges can also guide you in protecting your personal information during online research. For added safety and efficiency, reviewing portable camping tools can provide useful tips, especially if your project involves outdoor work or remote locations. Being aware of merchant services risks can help you avoid potential financial pitfalls during your renovation project.
Turn Off Power and Water
To safely remove the old tile band, you need to turn off both the power and water supplies first. This step is vital to prevent accidents and protect yourself. Shut off the circuit breaker for the pool’s electrical system, ensuring no power runs to the area. Then, locate the main water valve and close it tightly, stopping any water flow. Taking these precautions keeps you safe from shocks and flooding. Additionally, reviewing the site’s safety guidelines ensures all risks are minimized before beginning work.
Use Proper Safety Gear
Wearing the right safety gear protects you from potential hazards while removing the old tile band. Always put on safety goggles to shield your eyes from falling debris, dust, or sharp tile shards. Use durable gloves to protect your hands from cuts, scrapes, and chemical exposure if you’re using cleaning agents or adhesives. A dust mask or respirator can prevent inhaling dust particles and debris, especially when working with abrasive tools or grout removal. Wear long sleeves and sturdy pants to minimize skin contact with sharp edges or hazardous materials. Non-slip, closed-toe shoes are essential to prevent slips and protect your feet from falling objects. Proper safety gear reduces injury risk and helps you work more confidently and efficiently during the removal process.
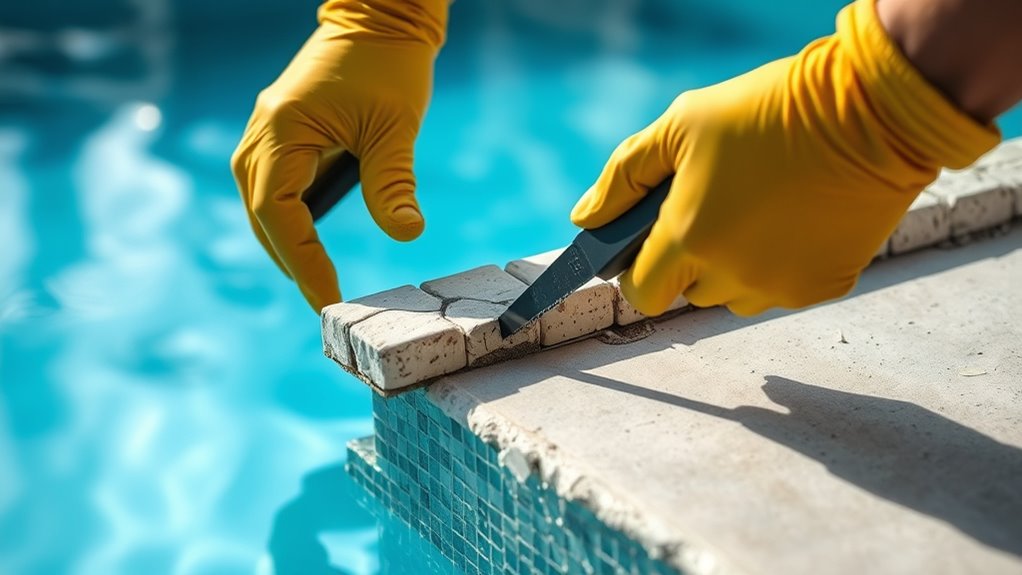
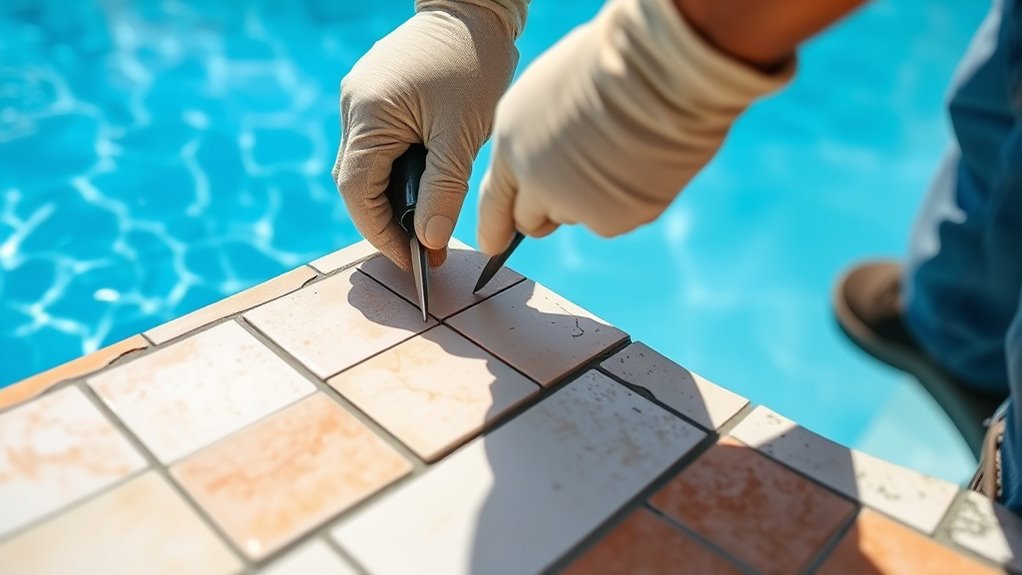
Carefully Remove Old Tiles
Carefully removing the old tiles is essential to prevent damage to the underlying surface and guarantee a smooth shift for your new tile band. Take your time and work gently to avoid cracking or gouging the substrate. Use a putty knife or chisel to lift each tile carefully, starting at a corner. Be mindful of your movements to prevent unintended damage. Wear safety gear, like goggles and gloves, to protect yourself from sharp edges and debris. Patience is key—rushing can cause costly mistakes. Remember, this step sets the foundation for your new tiles to look perfect.
- Feel the satisfaction of restoring your pool’s beauty
- Avoid costly repairs from careless removal
- Gain confidence in your DIY skills
- Protect your investment for years to come
- Enjoy the pride of a job well done
Preparing the Surface for New Tiles
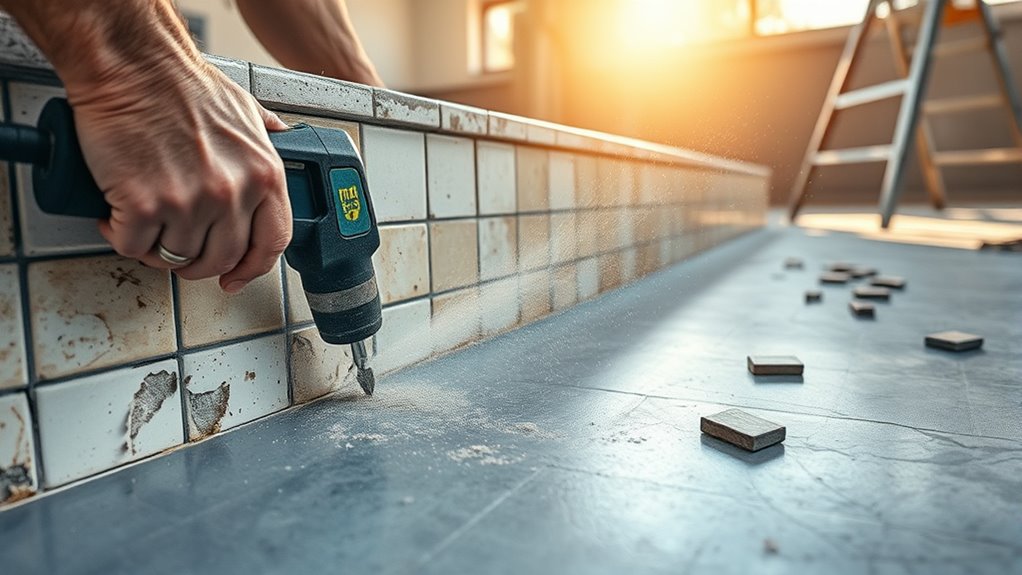
Before installing new tiles, you need to make certain the surface is clean, smooth, and free of debris. Start by rinsing the area thoroughly to remove dirt, dust, and loose particles. Use a scraper or wire brush to remove any remaining adhesive or residue from the old tiles. If the surface is uneven or cracked, apply a patching compound to create a flat, stable base. Sand down rough spots to ensure smoothness, which helps the new tiles adhere properly. Wipe the surface with a damp cloth to eliminate dust and allow it to dry completely. Ensuring a clean, even surface prevents tiles from shifting or cracking later. Taking these steps now guarantees a solid foundation for your new tile band, promoting long-lasting results.
Installing the New Tile Band

To install the new tile band effectively, start by measuring and marking the area to make certain the placement is level and straight. Use a pencil and a level to draw guidelines along the surface. Once marked, you’ll feel confident that your tiles will sit perfectly. Carefully apply tile adhesive to the back of each tile or directly onto the surface, then press them firmly into place along your guidelines. Keep a consistent gap between tiles for grouting later. As you work, imagine the transformation you’re creating—restoring your pool’s beauty and durability.
- Feel a surge of pride as each tile clicks into perfect alignment
- Experience satisfaction seeing your pool’s new, refreshed look
- Enjoy the sense of accomplishment with each carefully placed tile
- Visualize a stunning finish that lasts for years
- Revel in the pride of DIY achievement
Finishing Touches and Maintenance Tips
Once you’ve installed and grouted your new tile band, adding finishing touches will guarantee your work looks polished and lasts. Carefully clean any excess grout or debris from the tiles with a soft brush or cloth to achieve a smooth, professional appearance. Inspect the grout lines for any gaps or cracks, and touch up with additional grout if needed. Seal the grout to protect against water damage and staining, applying a suitable grout sealer with a clean applicator. Regular maintenance includes cleaning the tiles with a non-abrasive cleaner and soft brush to prevent algae buildup and mold. Keep an eye on the grout’s condition over time, reapplying sealer annually. Proper upkeep assures your tile band remains vibrant, secure, and durable for years to come.
Frequently Asked Questions
How Long Does a Typical DIY Tile Band Replacement Take?
Replacing a tile band can take anywhere from a few hours to a full day, depending on your experience and the pool’s size. You’ll need to carefully remove the old tiles, prep the surface, and install the new tiles, which takes patience. If you’re a beginner, expect it to take longer. Planning ahead and gathering all supplies first can help streamline the process and save you time.
What Are Common Mistakes to Avoid During Installation?
Think of installing a tile band as building a sturdy bridge—you want every step solid and precise. Common mistakes to avoid include rushing the prep work, which can lead to uneven tiles, and neglecting proper adhesive application, resulting in loose tiles. Don’t skip measuring carefully or ignore waterproofing; these oversights can cause long-term damage. Stay patient, follow instructions closely, and double-check your work to guarantee a smooth, lasting finish.
Can I Replace the Tile Band Without Professional Help?
You can replace the tile band yourself if you’re comfortable with DIY projects and have the right tools. However, it’s important to understand the process and potential challenges, like matching tiles and guaranteeing proper adhesion. If you lack experience, you might end up damaging the pool surface or tiles. Consider consulting a professional for advice or assistance to ensure a durable, professional-looking result.
What Are the Best Waterproofing Practices for the New Tile Band?
You want your new tile band to stay waterproof, so focus on thorough sealing, proper membrane application, and using high-quality waterproofing materials. Clean the surface well before applying any waterproofing products, guarantee the membrane overlaps correctly, and apply multiple coats for added protection. Don’t forget to seal joints and edges meticulously. By following these steps, you create a reliable barrier that keeps water out and prolongs your pool’s lifespan.
How Do I Match the New Tiles to Existing Pool Tiles?
When matching new tiles to existing pool tiles, you should start by carefully examining the color, glaze, and size of the current tiles. Bring samples or high-quality photos to your supplier for accurate matching. Consider the same tile brand and batch if possible. Test the new tiles in a small area first to see how they blend with the old ones, ensuring a seamless look before full installation.
Conclusion
With patience and a steady hand, you’ve transformed your pool’s edge from worn to wonderful. Like a painter restoring a masterpiece, you’ve brought new life to your space, turning a simple tile band into a shining centerpiece. Keep it clean and gentle, and your work will sparkle for years to come. Remember, every tile laid is a small victory, a whisper of your effort echoing in your backyard oasis. You’ve truly made it your own.