If your pump won’t start, start by checking if the circuit breaker has tripped or if there’s a power outage. Confirm the outlet works by plugging in another device. Next, verify your control panel settings and reset if needed. Inspect the intake and discharge lines for blockages or damage. Finally, test the pressure and float switches, and examine the wiring for faults. Continue exploring each step to troubleshoot effectively and fix the issue on your own.
Key Takeaways
- Verify the circuit breaker is on and the outlet supplies power to avoid electrical issues.
- Check the control panel for correct settings and reset it to clear glitches.
- Inspect intake and discharge lines for debris, kinks, or obstructions restricting water flow.
- Test and replace faulty pressure or float switches causing shutdowns.
- Examine wiring connections for damage, corrosion, or loose contacts using a multimeter.

Blue Sea Systems 7054 Push Button Reset Only Quick Connect Circuit Breaker – 10 Amp
- Branch circuit protection: Suitable for 24-hour circuits
- Compact design: Enables high-density configurations
- Push-to-reset: Easy reset operation
As an affiliate, we earn on qualifying purchases.
As an affiliate, we earn on qualifying purchases.
Is the Power Supply Working? Check the Circuit Breaker and Power Source
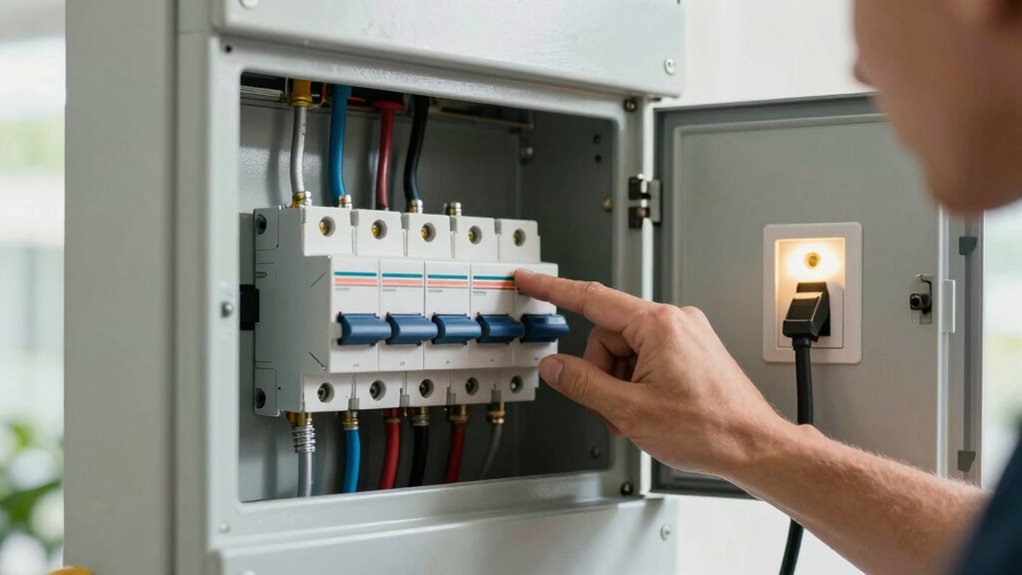
Before assuming your pump is broken, make sure the power supply is working properly. Voltage fluctuation can cause inconsistent power flow, affecting your pump’s operation. Check if the circuit breaker hasn’t tripped; a power outage might also be the culprit. Sometimes, a sudden power outage or a blown fuse can cut power to the pump without you realizing it. Ensure the outlet is functioning by plugging in another device. If you notice frequent voltage fluctuations, consider installing a surge protector to stabilize the power. Confirm that the circuit breaker is on and hasn’t tripped, especially after a storm or power surge. Addressing these issues first can save you time and unnecessary service calls. Proper power supply is essential for your pump to operate correctly. Additionally, monitoring voltage stability can help prevent future power issues and protect your equipment.
Are the Control Panel and Settings Correct? Reset or Adjust if Needed

If the power supply checks out but your pump still won’t start, the control panel and settings might be be the issue. Start with control panel troubleshooting by ensuring the display shows correct information and no error messages. Check the settings adjustment: verify that the pump’s mode, speed, and timers are correctly configured. Sometimes, a simple reset can resolve glitches. Use the table below to review key controls:
| Control Parameter | Correct Setting | Action Needed |
|---|---|---|
| Pump Mode | Automatic / Manual | Reset if incorrect |
| Timer Settings | Proper start/stop times | Adjust as necessary |
| Speed Control | Appropriate for your needs | Reset or adjust |
Making these adjustments helps guarantee proper operation before calling for professional help. Additionally, reviewing the control panel for any signs of malfunction can prevent unnecessary service calls. Regularly inspecting the electrical connections can also help identify potential issues early. Moreover, consulting the user manual can provide specific guidance on troubleshooting procedures. It’s also beneficial to check for any software updates that might resolve known issues or bugs. Another useful step is to verify the power source to ensure consistent voltage supply to avoid operational issues.
Is the Pump Clogged or Blocked? Inspect Intake and Discharge Lines
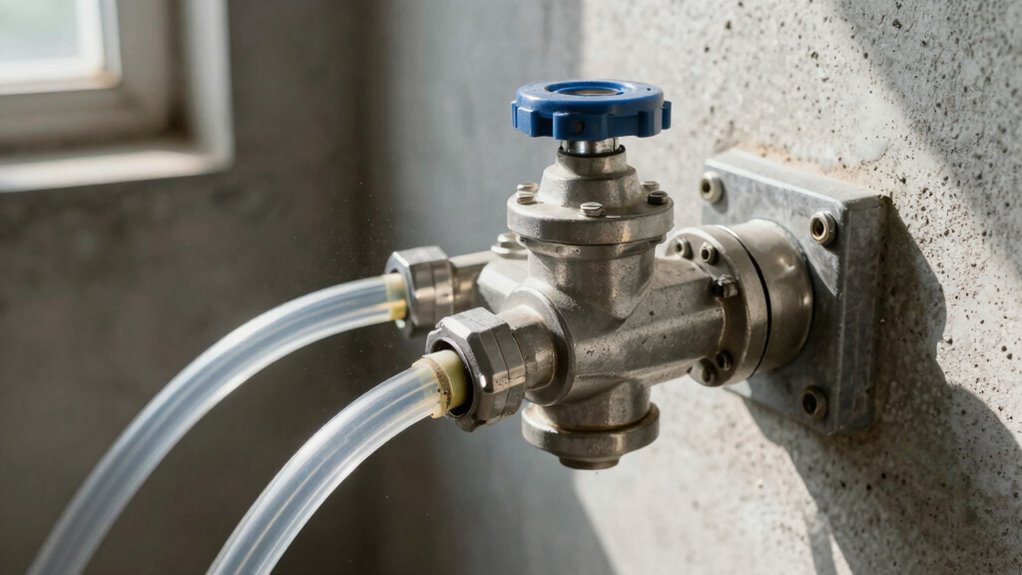
Clogged or blocked intake and discharge lines are common reasons a pump won’t start or operate properly. If the intake is obstructed, the pump can’t draw water efficiently, causing it to stall or fail to activate. Similarly, a discharge blockage prevents water from flowing out, increasing pressure and potentially shutting down the pump’s operation. To check, turn off the pump and inspect the intake line for debris, dirt, or buildup. Clear any obstructions and ensure the intake screen is clean. Next, examine the discharge line for kinks or restrictions that could impede flow. Removing debris or fixing kinks can restore proper water movement and allow the pump to function correctly. Regular inspection helps prevent these issues from causing pump failure. Additionally, understanding the regional flavors and insights of your system can assist in diagnosing unusual performance problems. Being familiar with the system components and potential failure points can help identify issues early and maintain optimal operation. Performing routine maintenance practices is essential to prevent buildup and ensure all parts function smoothly, ultimately extending the lifespan of your pump and avoiding unexpected breakdowns.
Are the Pressure Switch and Float Switch Operating Properly? Test and Replace if Necessary
Pressure switches and float switches are essential components that control your pump’s operation, so ensuring they’re working correctly is crucial. The pressure switch activates your pump when pressure drops below a set level, while the float switch senses water levels and turns the pump on or off accordingly. To test these switches, first disconnect power and locate each one. For the pressure switch, gently press or adjust the switch to see if it triggers the pump. With the float switch, lift or lower the float to verify it activates the pump. If either switch doesn’t respond or shows signs of damage—such as corrosion, cracks, or sticking—you should replace it. Proper functioning switches ensure your pump operates efficiently and prevent unexpected failures. Testing switch functionality is a simple way to confirm they’re working correctly before calling a professional.
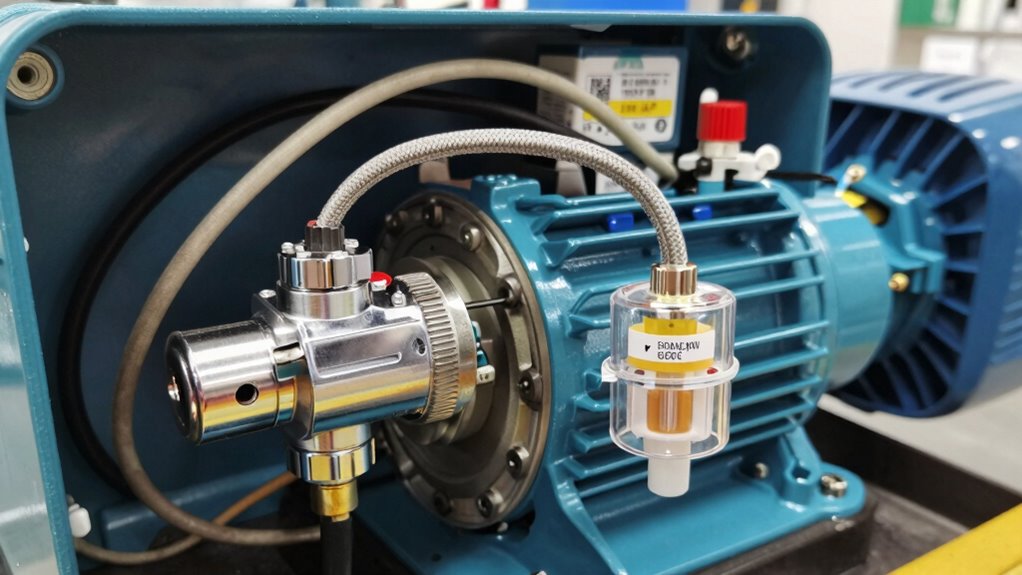
Are There Electrical Faults or Wiring Issues? Inspect Connections and Test Circuits
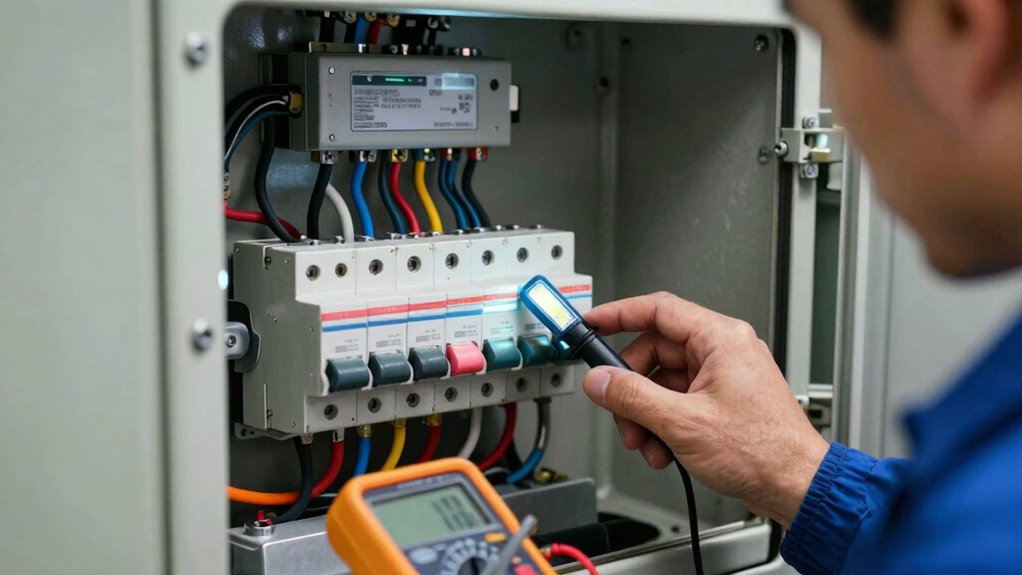
Electrical faults or wiring issues are common causes of pump failures, so it’s important to carefully inspect all connections and test the circuits. Begin by turning off the power and checking for loose or damaged wiring, ensuring all connections are secure. Look for signs of corrosion, burnt wires, or broken insulation that could disrupt electrical flow. Use a multimeter to test circuits for continuity and proper voltage levels. If you find electrical faults, such as short circuits or open circuits, repair or replace the wiring as needed. Addressing wiring issues promptly can prevent further damage and ensure your pump operates safely. Always prioritize safety by disconnecting power before inspecting or working on electrical components. Properly maintained wiring is essential for reliable pump performance. Additionally, inspecting your vehicle’s electrical system regularly can help identify potential issues before they cause pump failure. Regular testing and circuit inspection can also help detect subtle problems early, preventing costly repairs down the line. Remember that proper maintenance of electrical connections can extend the lifespan of your pump and improve overall safety.
Frequently Asked Questions
How Can I Tell if the Pump’s Motor Is Faulty?
You can tell if your pump’s motor is faulty by listening for unusual noises or if it’s not running at all. Check for electrical faults like blown fuses or tripped circuit breakers. Use a multimeter to test the motor’s voltage and continuity, ensuring it receives power and isn’t damaged internally. If these checks reveal issues, your pump motor likely needs repair or replacement.
What Safety Precautions Should I Take Before Inspecting the Pump?
Before inspecting the pump, you should always wear safety gear like gloves and safety glasses to protect yourself. Make sure to disconnect the power supply by turning off the power disconnect or unplugging the unit. This prevents accidental electrical shocks or injuries while you check the pump. Never work on electrical equipment with the power connected, and double-check that the power is off before proceeding with any inspection.
Can a Dirty Filter Cause the Pump Not to Start?
A dirty filter can act like a stubborn gatekeeper, blocking the flow and preventing your pump from starting. When debris accumulation causes filter blockage, it restricts water movement, making the pump work harder or refuse to run altogether. Regularly checking and cleaning your filter helps keep debris from piling up, ensuring smooth operation. Don’t let debris accumulation turn your pump into a dormant machine—clean filters keep everything flowing effortlessly.
How Often Should I Perform Maintenance Checks on My Pump?
You should perform maintenance checks on your pump at least once every three to six months, depending on usage and environment. Following a regular maintenance schedule helps catch issues early and reduces troubleshooting frequency. Inspect filters, check for leaks, and verify all components are functioning properly. Regular maintenance not only prolongs your pump’s lifespan but also minimizes unexpected breakdowns, making it easier to troubleshoot problems before they become serious.
What Are Common Signs of Electrical Wiring Problems in Pumps?
Electrical faults and wiring issues can be like silent signals warning you that something’s wrong. You might notice the pump making humming noises without starting, or see flickering lights near the motor. Burnt smells, visible frayed wires, or frequent tripping of circuit breakers also point to wiring problems. Keep an eye out for these signs, as addressing electrical faults early can prevent more costly repairs down the line.
Conclusion
If your pump still won’t start after these checks, it’s like chasing shadows in the dark. Sometimes, the problem lies beyond simple fixes, and calling in a professional is your best bet. Don’t let frustration drown out the solution—think of these steps as your lighthouse guiding you safely through the storm. With a little patience and attention, you’ll illuminate the path back to smooth operation and peace of mind.