To seal leaks around jets, lights, and skimmers in your concrete pool, start by removing any old, damaged sealant and inspect the areas for cracks or gaps. Use a high-quality waterproof epoxy or polyurethane specifically designed for concrete surfaces to fill these gaps and cracks. Apply the sealant carefully and ensure all fittings are tightly sealed. Regular maintenance and inspections can help prevent future leaks—continue on to learn more effective techniques and tips.
Key Takeaways
- Remove old sealant and debris around jets, lights, and skimmers to prepare for effective sealing.
- Inspect gaskets and replace any damaged or worn components before resealing.
- Apply high-quality, waterproof sealant or epoxy specifically designed for concrete pools around fittings.
- Use hydraulic cement for sealing larger cracks or breaches near fixtures for a durable fix.
- Gradually refill the pool and monitor for leaks to ensure the sealing repairs are successful.
Noticing a sudden drop in your pool’s water level can be frustrating, but identifying and sealing leaks promptly can save you time and money. When it comes to leaks around jets, lights, and skimmers in your concrete pool, understanding proper waterproofing techniques is essential. These areas are common points where water can escape, especially if the waterproofing has deteriorated over time or if installation wasn’t thorough initially. The first step in effective pool maintenance is inspecting these fixtures carefully. Look for cracks, gaps, or signs of water seeping around the fittings. Sometimes, the leak isn’t obvious, and you may need to perform a simple dye test—adding a pool dye near the suspected area and observing if it’s pulled into cracks or around fittings. This helps confirm the leak’s exact location. Additionally, considering the contrast ratio of your pool lighting can help assess how well the fixtures are contributing to the overall aesthetic, though it’s more relevant for visual appeal than waterproofing.
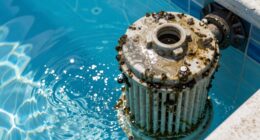
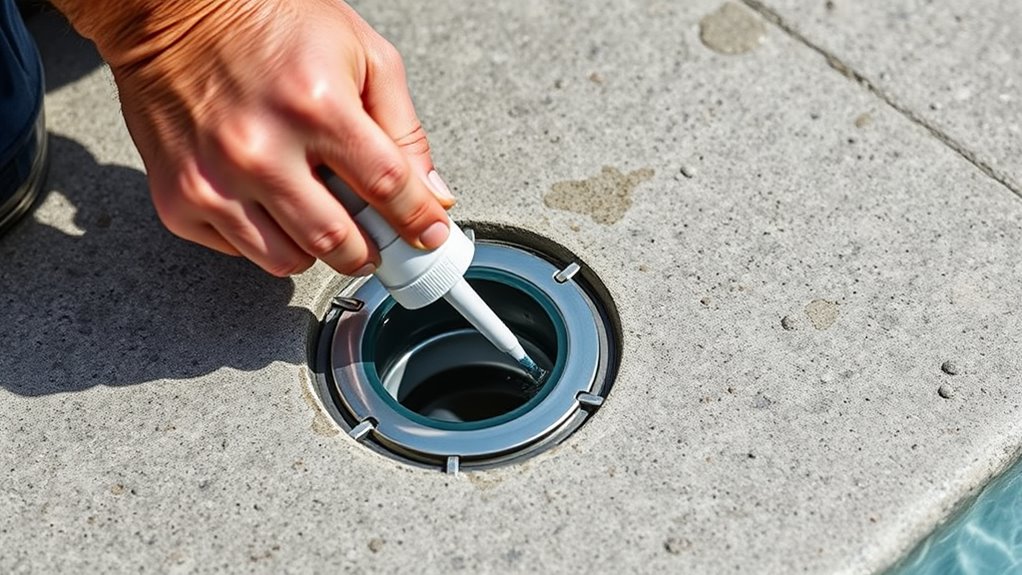
Once you’ve identified the leak, your focus should shift to sealing it properly. For leaks around jets and skimmers, it’s crucial to remove any old, worn-out sealant or caulking first. Use a putty knife or scraper to clear debris and remnants of previous waterproofing materials. Applying a high-quality, waterproof sealant designed specifically for concrete pools is vital. These sealants are flexible and durable, accommodating the natural expansion and contraction of the concrete. When sealing around lights, you might need to remove the light fixture itself, inspect the gasket or O-ring for damage, and replace it if necessary. Reinstall the fixture with fresh sealant, ensuring a tight, waterproof fit. For skimmers, check the gasket and the sealing surface; if they’re cracked or worn, replacing them provides a more dependable waterproof barrier.
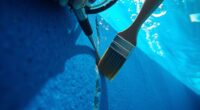
Waterproofing techniques should be thorough and precise. Use a waterproof epoxy or polyurethane sealant for cracks or small gaps. For larger breaches, consider applying a pool-rated hydraulic cement, which can fill and seal significant leaks. After sealing, it’s wise to refill the pool gradually and monitor the leak’s status over the next couple of days. This step confirms that your repairs hold and that no further water loss occurs. Regular pool maintenance, including inspecting fittings and reapplying sealant when needed, helps prevent leaks from developing again. Remember, sealing leaks around jets, lights, and skimmers isn’t just about fixing a problem—it’s about maintaining the integrity of your entire pool system, ensuring longevity and safe enjoyment. Proper waterproofing techniques keep your pool water-tight and your maintenance routine more manageable.
Frequently Asked Questions
How Can I Identify Leaks Around Pool Jets and Skimmers?
You can identify leaks around pool jets and skimmers by conducting a simple water loss test during routine pool maintenance. First, turn off all equipment and measure the water level. If it drops substantially over 24 hours, it indicates a leak. Check for cracks or gaps around jets and skimmers. Detecting leaks early helps conserve water and keeps your pool in top shape, saving you money and reducing environmental impact.
What Tools Are Best for Sealing Small Leaks?
Did you know that over 70% of pool leaks are caused by small cracks or gaps? To seal small leaks, you should use epoxy or a waterproof sealant designed for concrete pools. Confirm your pool’s chemical balance is proper before sealing, and consider maintaining your pool cover to prevent debris from worsening leaks. Tools like caulking guns, putty knives, and rubber mallets are essential for effective sealing and long-lasting results.
Are DIY Sealants Effective Long-Term Solutions?
DIY sealants can be a temporary fix, but they often aren’t effective long-term solutions. For lasting results, you need to guarantee your pool’s chemical balance and follow proper winterizing procedures, which help prevent leaks from worsening. While DIY products may work initially, professional repairs are more reliable over time, especially around jets, lights, and skimmers. Regular maintenance and inspections help keep your pool leak-free longer.
When Should I Call a Professional Pool Technician?
Like a detective piecing together clues, you should call a professional pool technician when DIY efforts fail to stop leaks or if you notice ongoing water loss. Poor pool chemistry or missed seasonal maintenance can worsen leaks over time. A pro can accurately diagnose issues, ensure proper sealing, and protect your investment, saving you from costly repairs down the road. Don’t wait—expert help keeps your pool in top shape.
How Often Should I Inspect for Leaks in My Pool?
You should inspect your pool for leaks at least once a month during regular pool maintenance. Keep an eye on water levels and monitor water chemistry, as changes can indicate leaks. Regular inspections help you catch issues early, saving you money and preventing damage. If you notice a sudden drop in water levels or unexplained changes in water chemistry, it’s time to call a professional to assess and seal any leaks promptly.
Conclusion
Sealing those pesky pool leaks is like patching tiny cracks in a sinking ship—you keep it afloat and sparkling. When you seal around jets, lights, and skimmers, you’re sealing in peace of mind and a crystal-clear oasis. Don’t let leaks turn your backyard paradise into a sinking ship; instead, take action and restore your pool’s perfect glow. With a little effort, your pool will shine brighter than ever, inviting you to plunge into endless summer days.